
| 
| |
|
|
This page contains photographs of British Columbia's Highway 97 (Okanagan Highway), arranged by location from Vernon
northerly to the Highway 1 Junction at Monte Creek. All photographs displayed on this page were taken by the Webmaster (Cameron Bevers). To view photos of other
British Columbia Highways, please select a highway number listed on the
British Columbia Photograph Index Page. Click on any thumbnail to see a larger image!
Please note that all photographs displayed on this website are protected by copyright. These photographs must not be
reproduced, published, electronically stored or copied, distributed, or posted onto other websites without my written permission. If you want to use photos from this
website, please email me first for permission. Thank-you!
|
|---|
|
Page 4: BC Highway 97 (Okanagan Highway) Photographs: Vernon to Highway 1


Left - Green guide sign marking the upcoming exit to Kamloops on northbound Hwy 97, about 6 km north of Vernon. See an
Enlarged Photo Here. (Photograph taken on June 3, 2017 - © Cameron Bevers) Right - View of Hwy 97 at Pleasant Valley Road near Swan Lake, facing south towards Vernon. Between Vernon and the Hwy 97A Interchange at Swan Lake, Hwy 97 is a four-lane undivided highway. The urban fringes of Vernon can be seen in the distance at the southern end of Swan Lake. See an Enlarged Photo Here. (Photograph taken on June 3, 2017 - © Cameron Bevers) 

Left - Green guide sign marking the upcoming Hwy 97 & Hwy 97A Interchange at Swan Lake. The Okanagan Highway (Hwy 97) exits from the through highway, and
begins heading northwesterly towards the Trans-Canada Highway (Hwy 1) and Kamloops. The through highway at this interchange (Hwy 97A) continues north towards Salmon
Arm and Sicamous. See an Enlarged Photo Here. (Photograph taken on June 3, 2017 - © Cameron Bevers) Right - Facing south along Hwy 97 towards Vernon from the Hwy 97A Interchange at Swan Lake. Due to the extensive roadside development along Hwy 97, service or frontage roads have been built in some locations to reduce the number of private access points to Hwy 97. Frontage roads control access on each approach to the Hwy 97 & Hwy 97A Interchange. See an Enlarged Photo Here. (Photograph taken on June 3, 2017 - © Cameron Bevers) 

Left - Approaching the Hwy 97 & Hwy 97A Interchange at Swan Lake, facing north. One lane exits to Hwy 97 at right, while two through lanes continue north
towards Sicamous via Hwy 97A. Salmon Arm is also accessible from this interchange via Hwy 97A, which leads to Hwy 97B north of Enderby. British Columbia has many
highways bearing the number "97"! See an Enlarged Photo Here. (Photograph taken on June 3, 2017 - © Cameron Bevers) Right - Green guide sign marking the northbound exit to Hwy 97 at Swan Lake. Northbound motorists are provided with plenty of advance notice that Hwy 97 in about to depart from the through highway ahead, although this sudden change in the highway's routes undoubtedly catches some motorists by surprise. Most of the highway signs along Hwy 97 in the Vernon area are in Federal Highways Administration (FHWA) font. This font type did not see widespread use in British Columbia. See an Enlarged Photo Here. (Photograph taken on June 3, 2017 - © Cameron Bevers) 

Left - View of the Hwy 97 & Hwy 97A Interchange at Swan Lake, facing north. The ramps at this interchange are in a diamond configuration. See an
Enlarged Photo Here. (Photograph taken on June 3, 2017 - © Cameron Bevers) Right - Green guide sign on the northbound exit ramp to Hwy 97. Traffic bound for Kamloops must turn left at the end of the ramp. Since this is a diamond interchange, motorists can also re-enter northbound Hwy 97A towards Sicamous by continuing straight ahead onto the on-ramp. See an Enlarged Photo Here. (Photograph taken on June 3, 2017 - © Cameron Bevers) 

Left - Destination guide sign at the entrance to the northbound on-ramp at the Hwy 97 & Hwy 97A Interchange. See an
Enlarged Photo Here. (Photograph taken on June 3, 2017 - © Cameron Bevers) Right - Facing west towards the Hwy 97 & Hwy 97A Interchange from the cliff along the eastern side of the highway. When this interchange was first built in the mid-2000s, a large cut had to be excavated in the cliff to accommodate the eastern half of the interchange. See an Enlarged Photo Here. (Photograph taken on June 3, 2017 - © Cameron Bevers) 

Left - Eastern side of the Hwy 97 Underpass at the Hwy 97A Interchange at Swan Lake. The two highways presumably met at an at-grade intersection previously.
See an Enlarged Photo Here. (Photograph taken on June 3, 2017 - © Cameron Bevers) Right - Facing north along the Vernon-Sicamous Highway (Hwy 97A) from the Hwy 97 Interchange at Swan Lake. See an Enlarged Photo Here. (Photograph taken on June 3, 2017 - © Cameron Bevers) 

Left - Facing south along the Vernon-Sicamous Highway (Hwy 97A) towards the Hwy 97 Interchange at Swan Lake. The route of Hwy 97A ends at this interchange. The
through highway continues straight ahead towards Vernon via Hwy 97 South. Motorists can also exit the highway at right and head towards Kamloops via Hwy 97 North. See
an Enlarged Photo Here. (Photograph taken on June 3, 2017 - © Cameron Bevers) Right - Green guide sign on southbound Hwy 97A marking the exit to Kamloops via Hwy 97 North and the through highway to Vernon via Hwy 97 South. See an Enlarged Photo Here. (Photograph taken on June 3, 2017 - © Cameron Bevers) 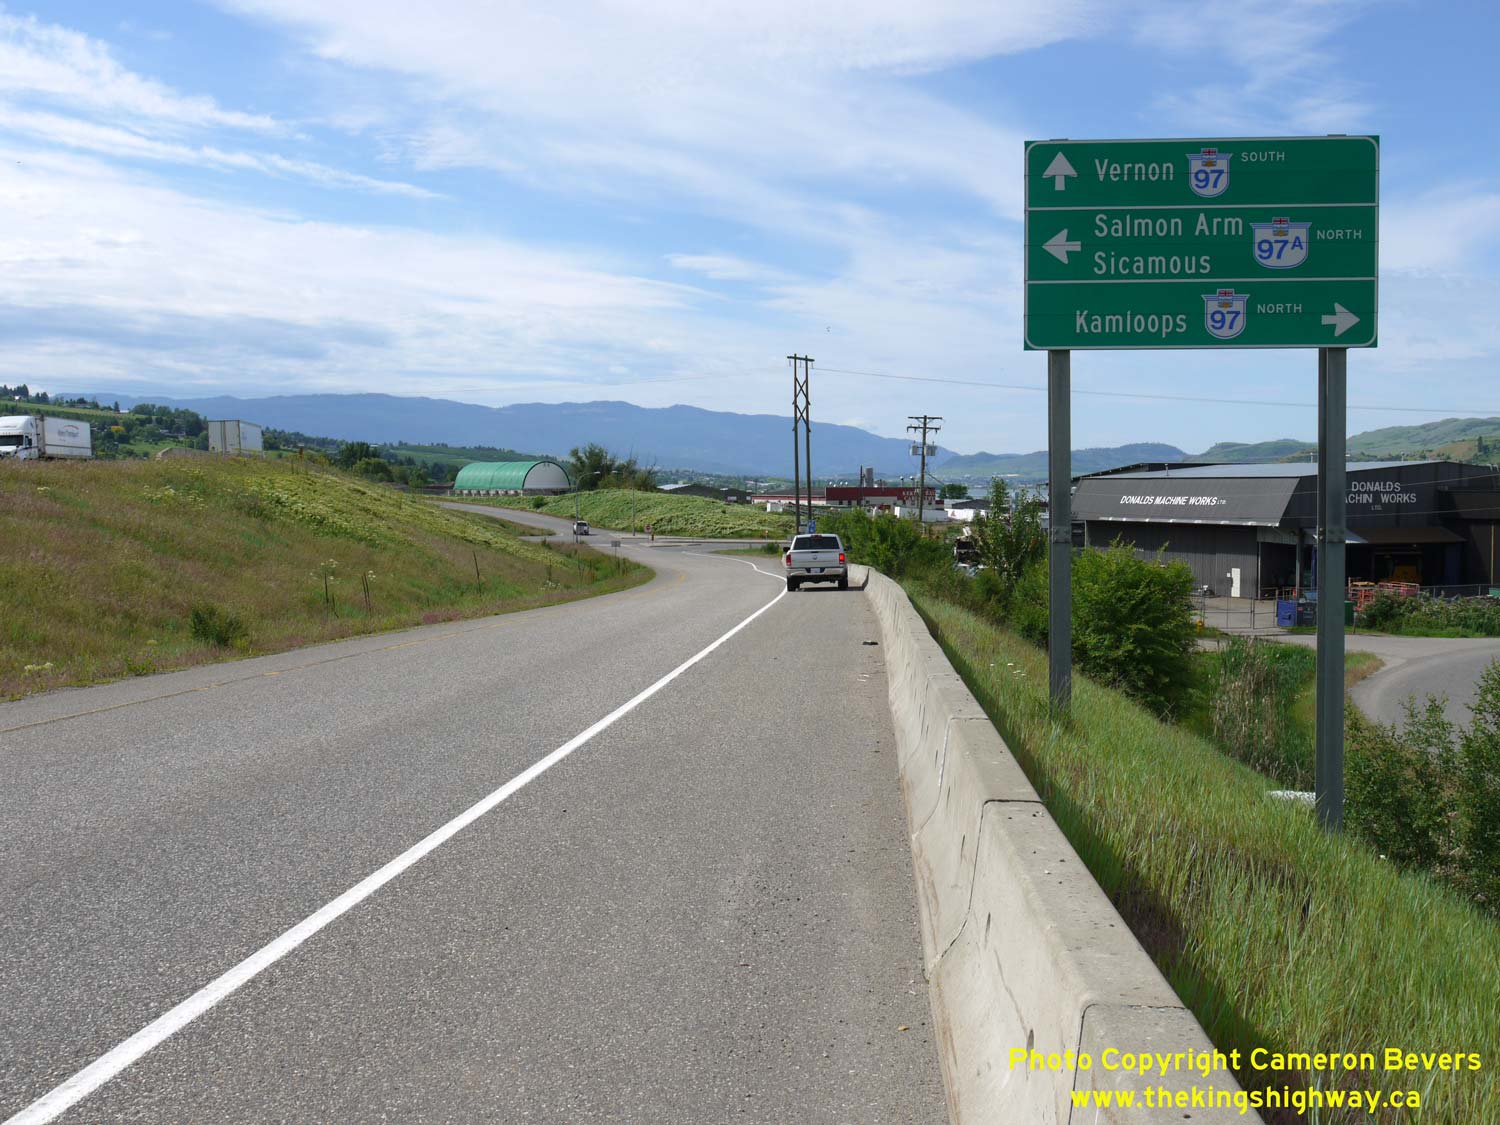

Left - Green guide sign on the southbound exit ramp at the Hwy 97 & Hwy 97A Interchange. Traffic bound for Kamloops must turn right at the end of the ramp.
Motorists can also continue straight ahead onto the on-ramp to southbound Hwy 97 towards Vernon, or U-turn and head north towards Sicamous via Hwy 97A. See an
Enlarged Photo Here. (Photograph taken on June 3, 2017 - © Cameron Bevers) Right - Facing north along Hwy 97 towards Falkland and Kamloops from the Hwy 97A Interchange. Although the highway follows a predominantly east-west route between Swan Lake and Cache Creek, the route of Hwy 97 is signed in its entirety as a north-south route. See an Enlarged Photo Here. (Photograph taken on June 3, 2017 - © Cameron Bevers) 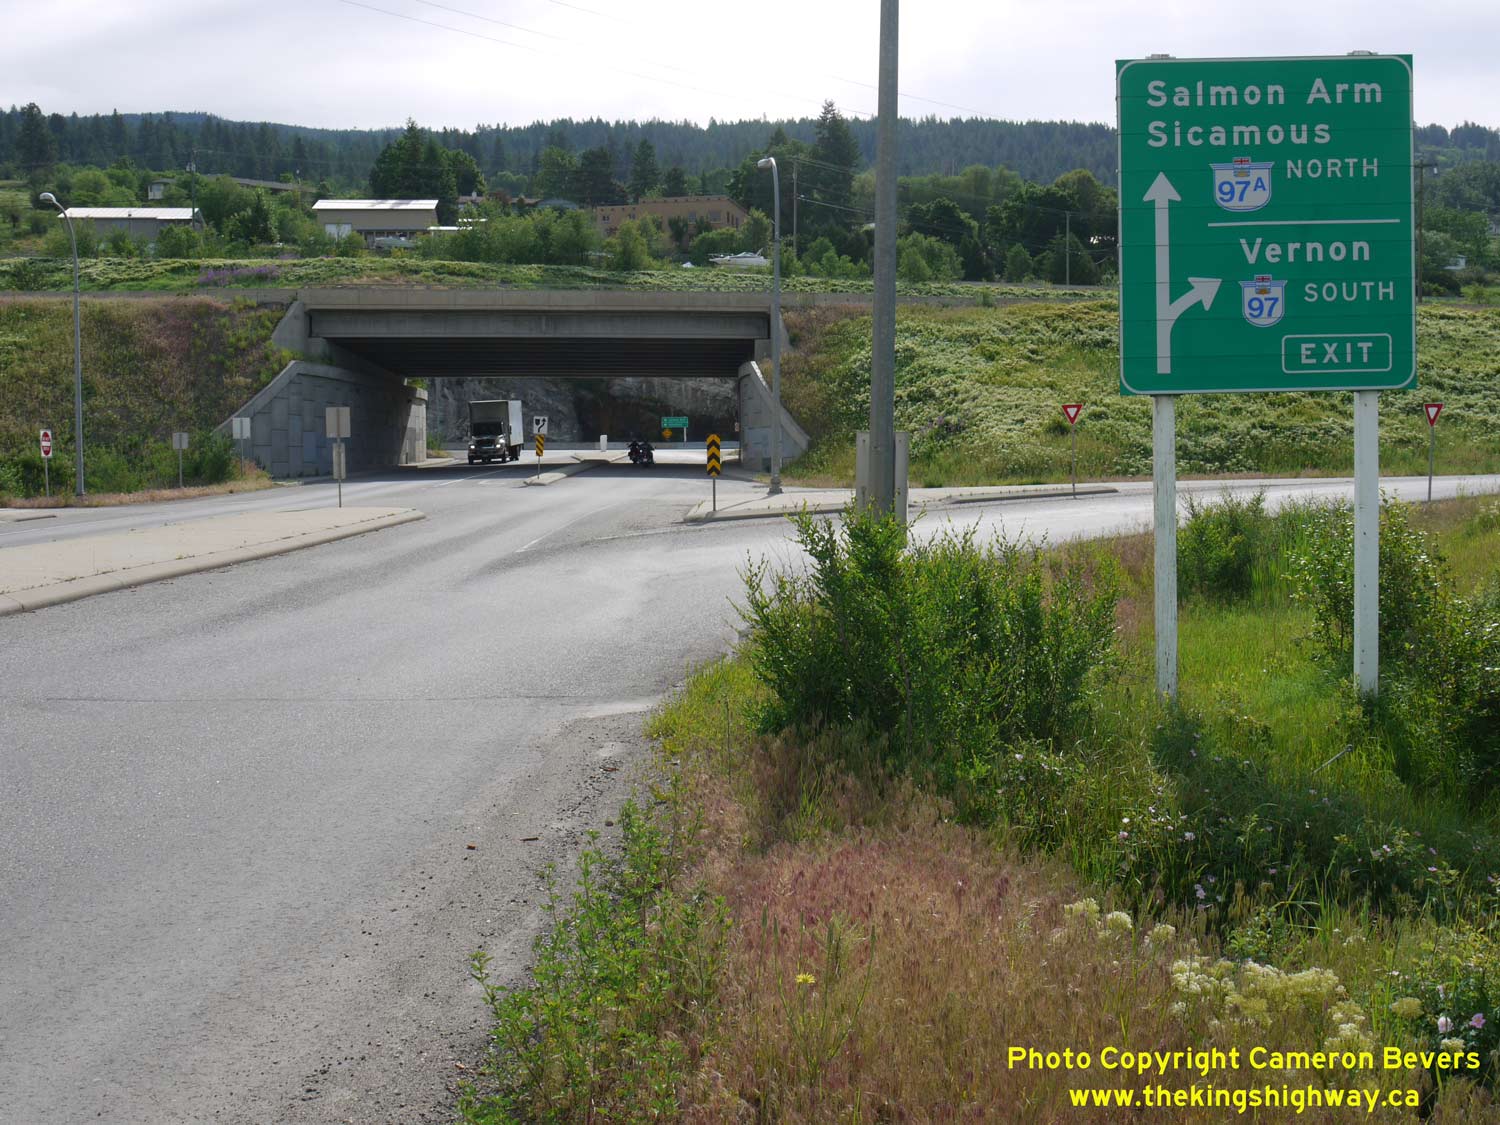

Left - Green guide sign marking the Hwy 97 & Hwy 97A Interchange, facing east. Southbound traffic must turn right to continue south to Vernon via the
Okanagan Highway (Hwy 97). Motorists can also continue through the underpass and turn left to head north towards Sicamous and Salmon Arm via Hwy 97A. See an
Enlarged Photo Here. (Photograph taken on June 3, 2017 - © Cameron Bevers) Right - An at-grade railway crossing exists immediately to the west of the Hwy 97 & Hwy 97A Interchange at Swan Lake. See an Enlarged Photo Here. (Photograph taken on June 3, 2017 - © Cameron Bevers) 

Left - Green guide sign marking the upcoming Hwy 97 & Hwy 97A Interchange, facing east. See an
Enlarged Photo Here. (Photograph taken on June 3, 2017 - © Cameron Bevers) Right - View of Hwy 97, facing west from the Hwy 97A Interchange at Swan Lake. From here, Hwy 97 generally heads in a northwesterly direction to Kamloops, via Falkland. Most sections of Hwy 97 between the Hwy 97A Interchange and the Trans-Canada Highway (Hwy 1) Interchange at Monte Creek are only two lanes. See an Enlarged Photo Here. (Photograph taken on June 3, 2017 - © Cameron Bevers) 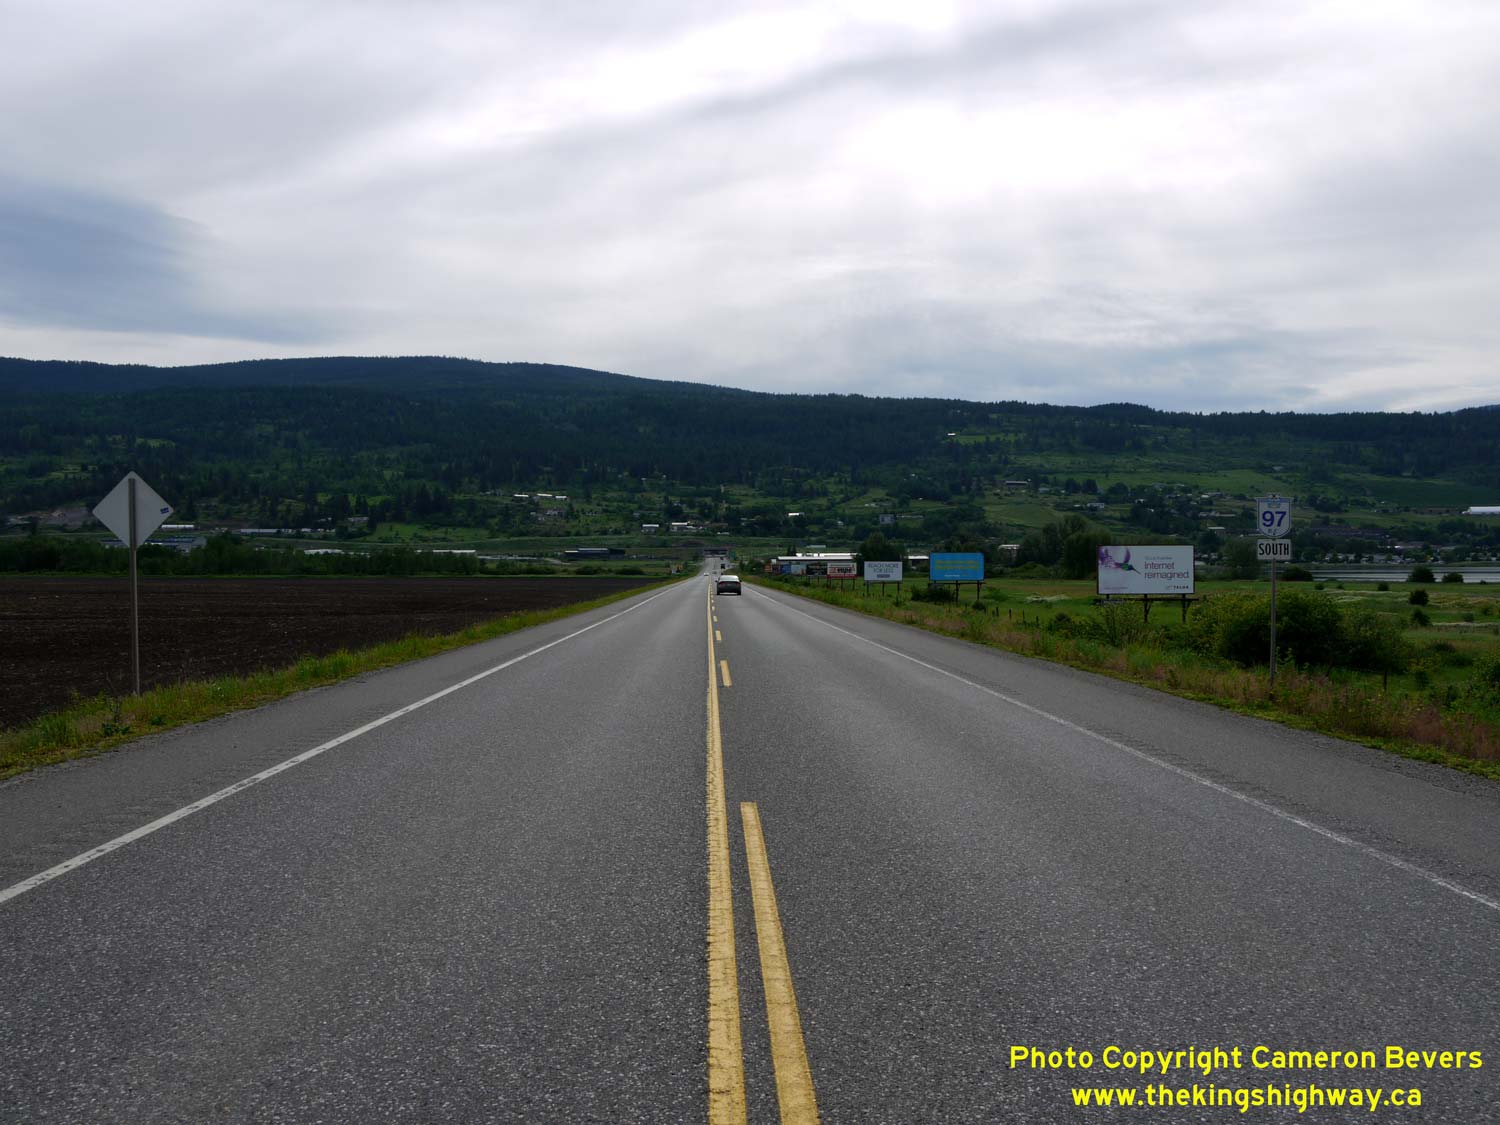

Left - Facing south along the Okanagan Highway (Hwy 97), about 1 km northwest of the Hwy 97A Interchange at Swan Lake. See an
Enlarged Photo Here. (Photograph taken on June 3, 2017 - © Cameron Bevers) Right - Approaching the Historic O'Keefe Ranch on Hwy 97, located about 4 km north of Swan Lake. See an Enlarged Photo Here. (Photograph taken on June 3, 2017 - © Cameron Bevers) 

Left - Facing south along Hwy 97 towards the Historic O'Keefe Ranch from Westside Road. This long road runs along the western side of Okanagan Lake from Hwy 97
southerly to West Kelowna, where it rejoins with Hwy 97 just south of the Okanagan Lake Bridge. Long-distance traffic through the Okanagan Valley may find that it is
slightly shorter to use Westside Road rather than use the busy route of Hwy 97 via Vernon and Kelowna. See an
Enlarged Photo Here. (Photograph taken on June 3, 2017 - © Cameron Bevers) Right - North of Westside Road, Hwy 97 climbs up into the forested mountains lining the western side of the Okanagan Valley. A pair of concurrent passing lanes exists about 15 km north of the Hwy 97A Interchange at Swan Lake, meaning that Hwy 97 briefly widens to a four-lane undivided cross section. See an Enlarged Photo Here. (Photograph taken on June 3, 2017 - © Cameron Bevers) 

Left - Facing south along Hwy 97 about 15 km north of Swan Lake, showing the start of the concurrent passing lane section. See an
Enlarged Photo Here. (Photograph taken on June 3, 2017 - © Cameron Bevers) Right - Distance guide sign on southbound Hwy 97, about 18 km south of Falkland. See an Enlarged Photo Here. (Photograph taken on June 3, 2017 - © Cameron Bevers) 

Left - Facing south along Hwy 97 at Smith Road, located about 6 km south of Falkland. Some of the mountains along the rim of this narrow valley rise more than
800 metres (2,625 feet) above Hwy 97. This alpine valley scene is dramatically different than the dry, desert-like characteristics which typify most of the Okanagan
Highway's route. See an Enlarged Photo Here. (Photograph taken on June 3, 2017 - © Cameron Bevers) Right - Reverse curve on the Okanagan Highway (Hwy 97) facing south, about 5 km south of Falkland. See an Enlarged Photo Here. (Photograph taken on June 3, 2017 - © Cameron Bevers) 

Left - Facing north along the Okanagan Highway (Hwy 97), about 4 km south of Falkland. The long-abandoned mine works of Falkland can be seen clinging to the
side of the cliffs above the town in the background. Amongst the old mine works, a large Canadian flag with the town's name "Falkland" forms a very prominent landmark
along the Okanagan Highway. See an Enlarged Photo Here. (Photograph taken on June 3, 2017 - © Cameron Bevers) Right - Estekwalan Mountain forms a rather dramatic background as Hwy 97 approaches Falkland from the south. See an Enlarged Photo Here. (Photograph taken on June 3, 2017 - © Cameron Bevers) 

Left - Facing south along Hwy 97 towards Vernon from the southern entrance to Falkland. See an
Enlarged Photo Here. (Photograph taken on June 3, 2017 - © Cameron Bevers) Right - Falkland's main street (Hwy 97) is lined on both sides with Canadian flags. By and large, Canadians tend to be fairly subtle when it comes to displaying national patriotism, which makes Falkland's overtly colourful flag display along Hwy 97 rather noteworthy. See an Enlarged Photo Here. (Photograph taken on June 3, 2017 - © Cameron Bevers) 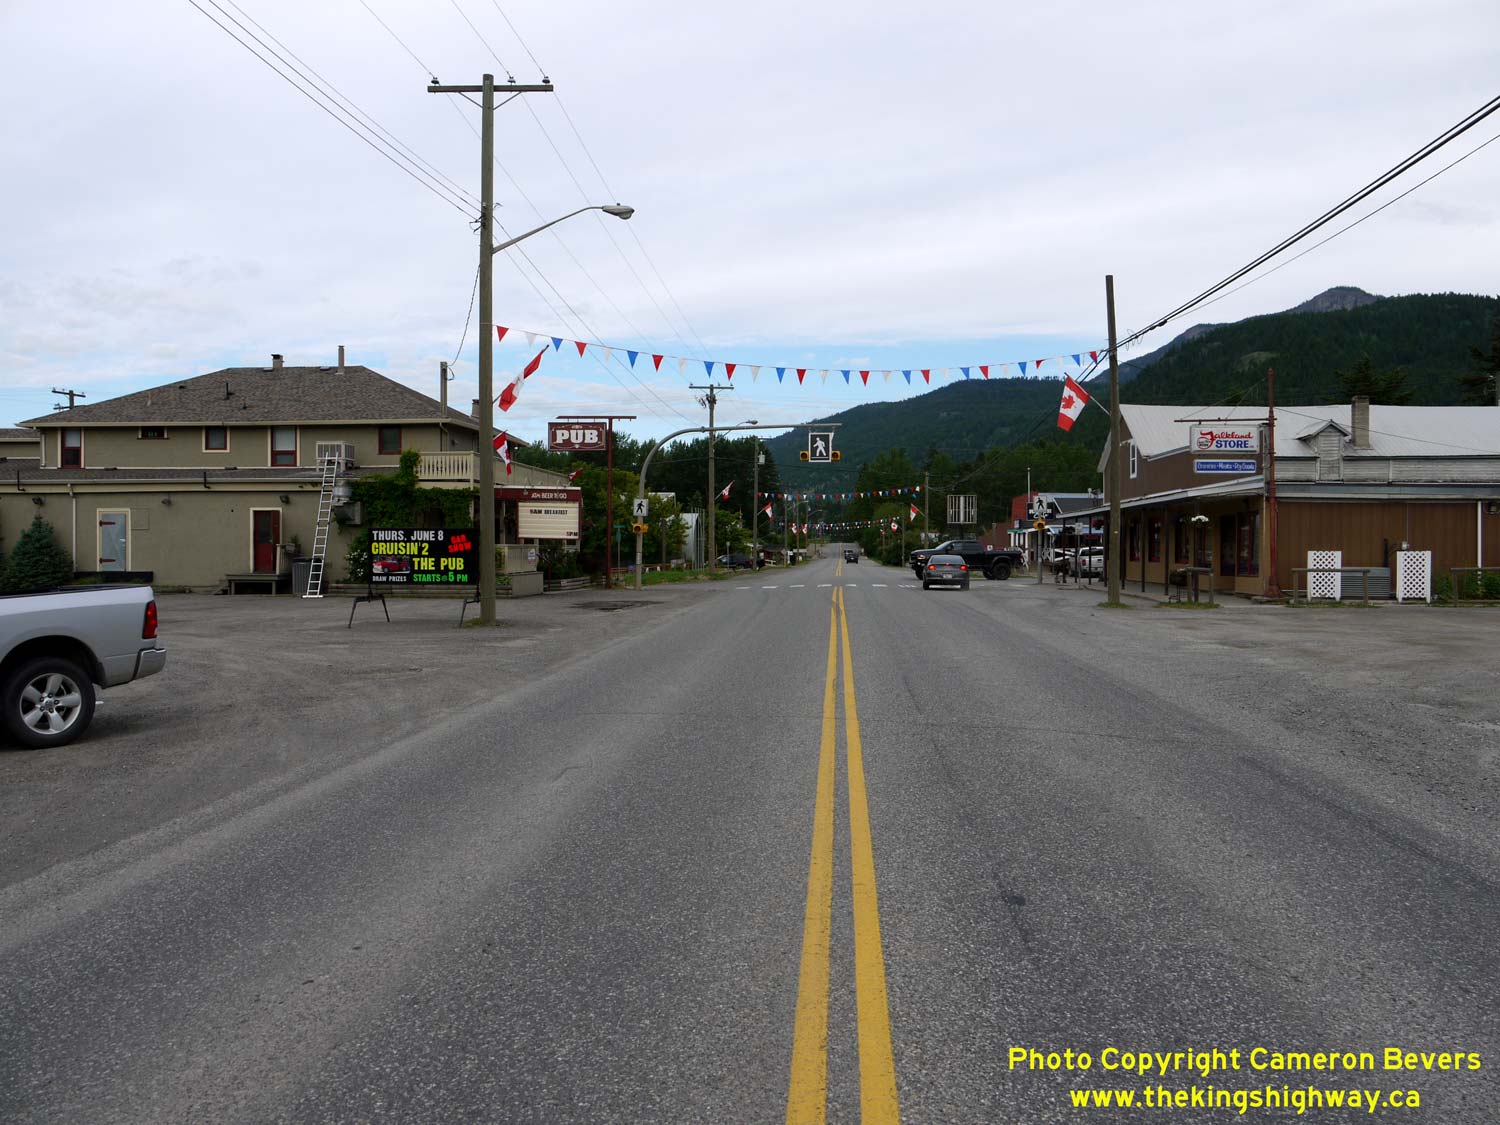
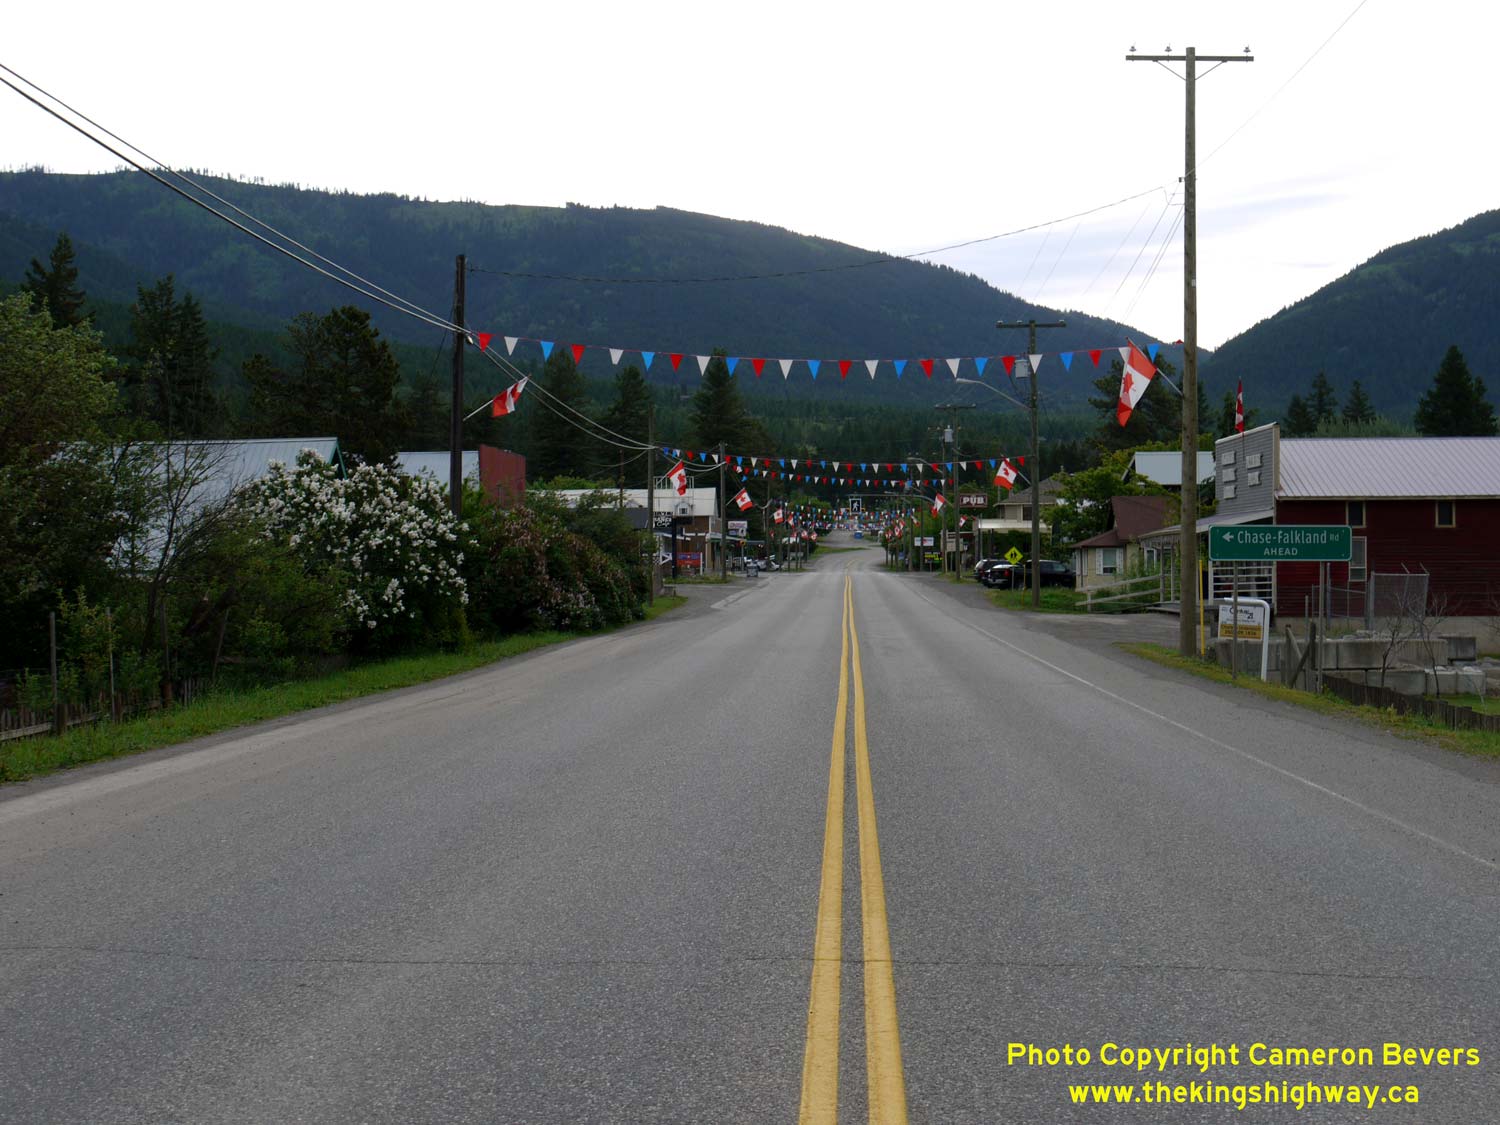
Left - View of Hwy 97 in Falkland at the Chase-Falkland Road, facing north towards Kamloops. See an
Enlarged Photo Here. (Photograph taken on June 3, 2017 - © Cameron Bevers) Right - Facing south along Hwy 97 in Falkland, approaching the Chase-Falkland Road. This cut-off route heads north from Hwy 97 to connect with Hwy 1 near Chase. See an Enlarged Photo Here. (Photograph taken on June 3, 2017 - © Cameron Bevers) 

Left - Distance guide sign on northbound Hwy 97 departing Falkland. See an
Enlarged Photo Here. (Photograph taken on June 3, 2017 - © Cameron Bevers) Right - Facing south along Hwy 97, about 2 km north of Falkland. See an Enlarged Photo Here. (Photograph taken on June 3, 2017 - © Cameron Bevers) 

Left - Facing north along Hwy 97 towards Kamloops, about 3 km north of Falkland. See an
Enlarged Photo Here. (Photograph taken on June 3, 2017 - © Cameron Bevers) Right - North of Falkland, Hwy 97 passes through a flat and fertile valley. This dead-straight section of Hwy 97 appears about 15 km north of Falkland. See an Enlarged Photo Here. (Photograph taken on June 2, 2017 - © Cameron Bevers) 
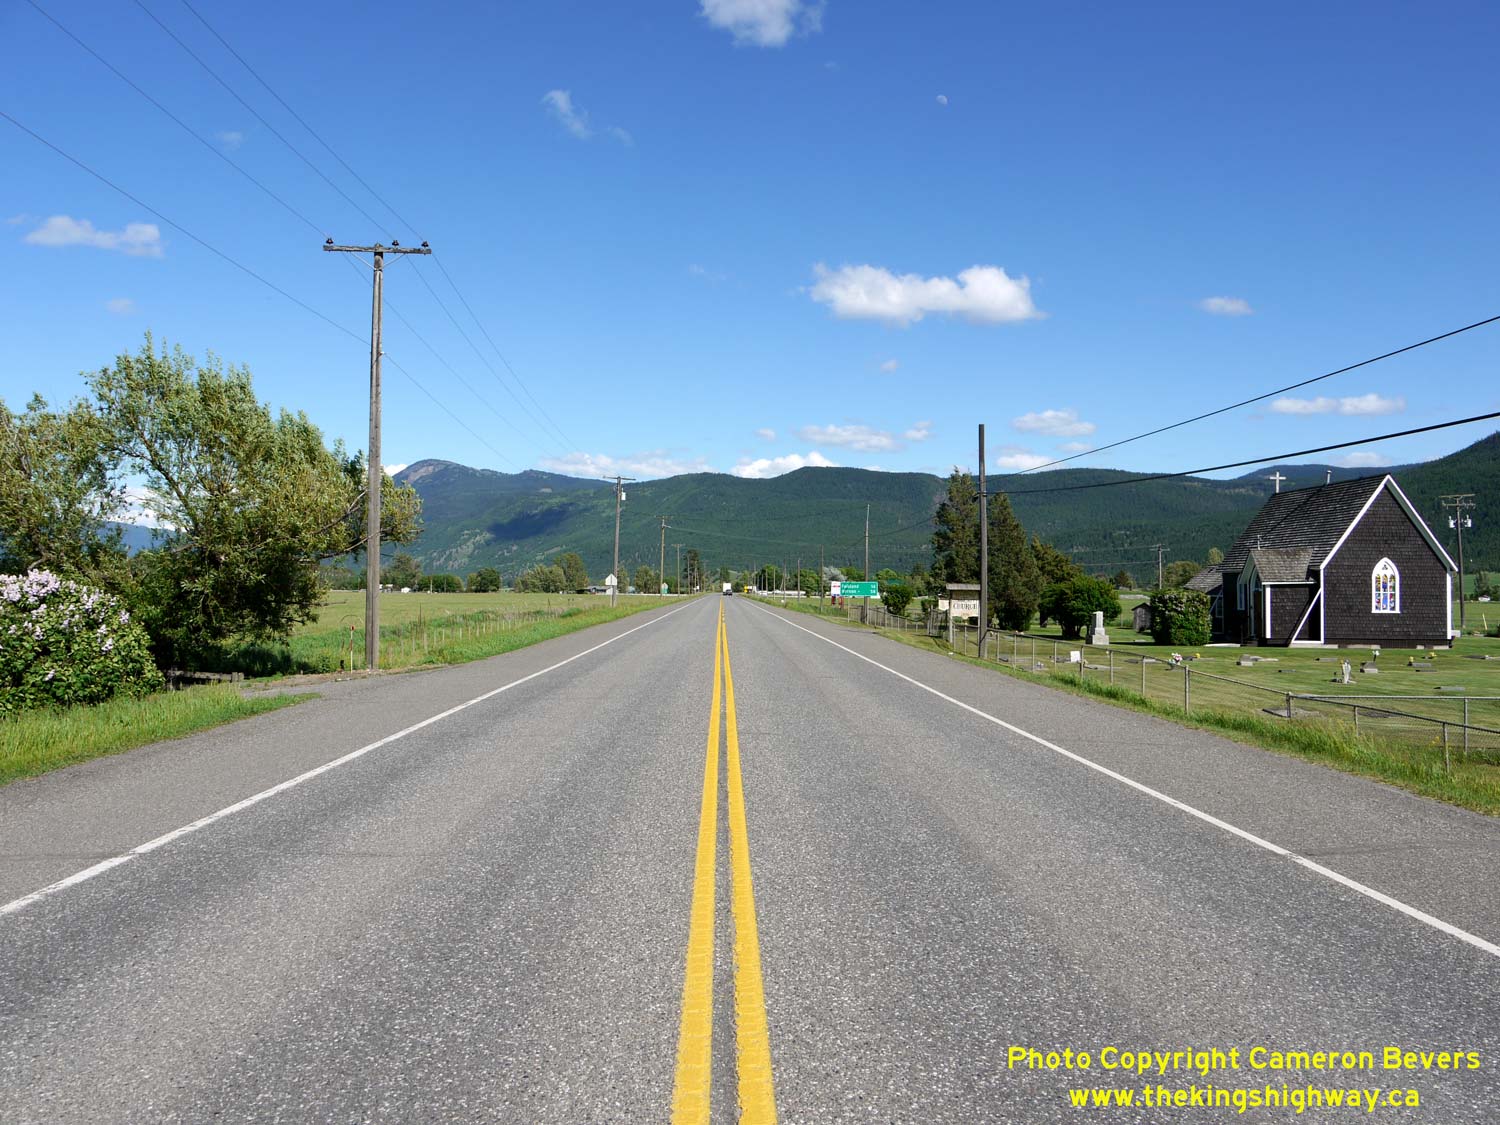
Left - Distance guide sign on southbound Hwy 97 near Westwold. See an
Enlarged Photo Here. (Photograph taken on June 2, 2017 - © Cameron Bevers) Right - Facing south along Hwy 97 towards Vernon from the southern entrance to Westwold. See an Enlarged Photo Here. (Photograph taken on June 2, 2017 - © Cameron Bevers) 

Left - View of Hwy 97 at Westwold, facing south towards Vernon. See an
Enlarged Photo Here. (Photograph taken on June 2, 2017 - © Cameron Bevers) Right - Facing north along Hwy 97 approaching Monte Lake, about 23 km north of Falkland. See an Enlarged Photo Here. (Photograph taken on June 2, 2017 - © Cameron Bevers) 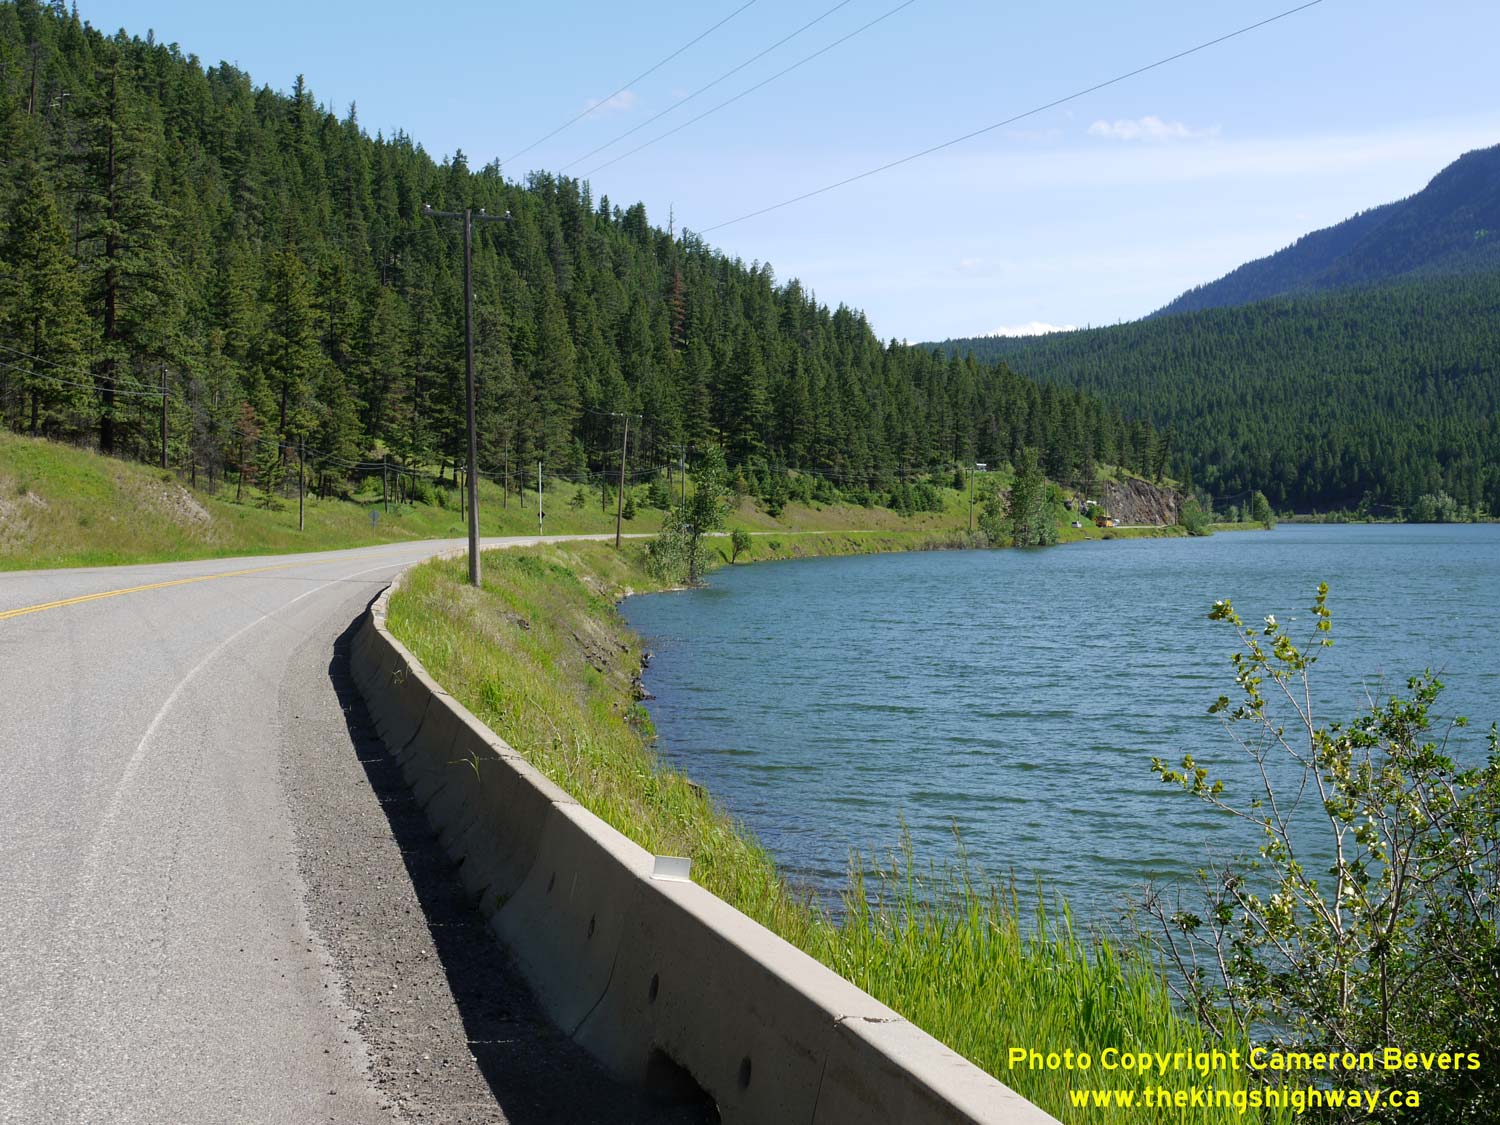
Left - Facing south along Hwy 97 at Monte Lake, located about 49 km south of Kamloops. See an
Enlarged Photo Here. (Photograph taken on June 2, 2017 - © Cameron Bevers) Right - Hwy 97 runs along the eastern shore of Monte Lake, as the highway heads north towards Kamloops. See an Enlarged Photo Here. (Photograph taken on June 2, 2017 - © Cameron Bevers) 

Left - Facing north along Hwy 97 approaching the community of Monte Lake. See an
Enlarged Photo Here. (Photograph taken on June 2, 2017 - © Cameron Bevers) Right - Facing south along Hwy 97 towards Vernon from the southern entrance to the community of Monte Lake. See an Enlarged Photo Here. (Photograph taken on June 2, 2017 - © Cameron Bevers) 
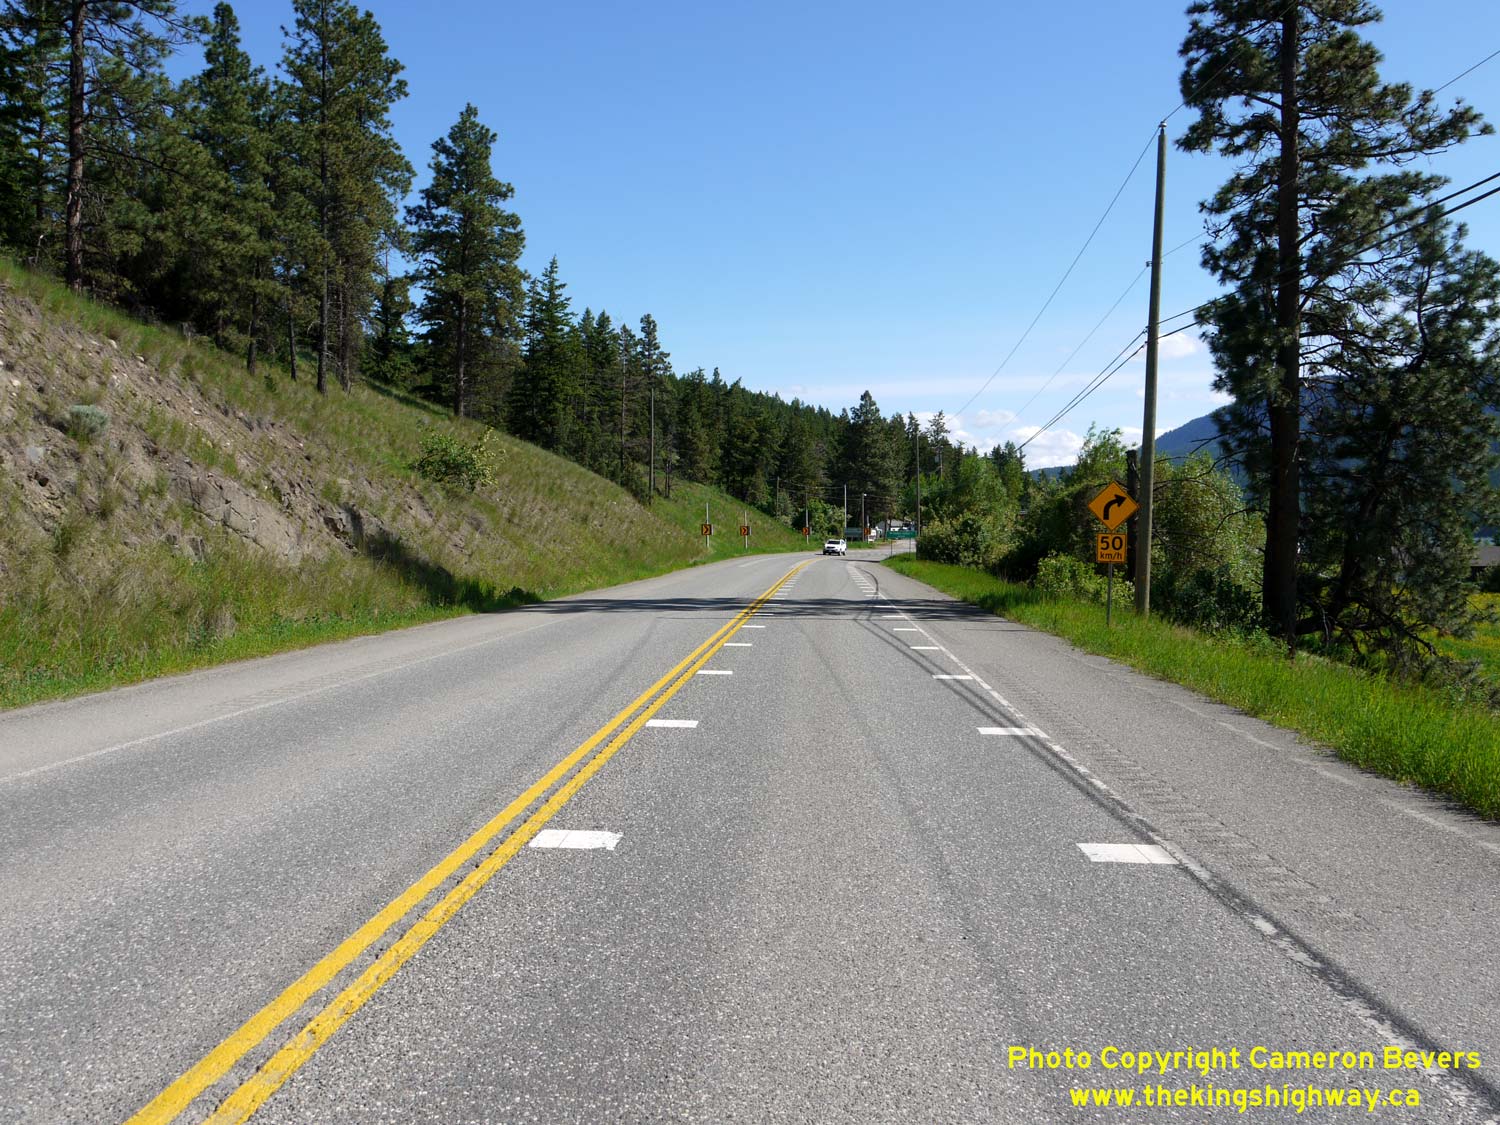
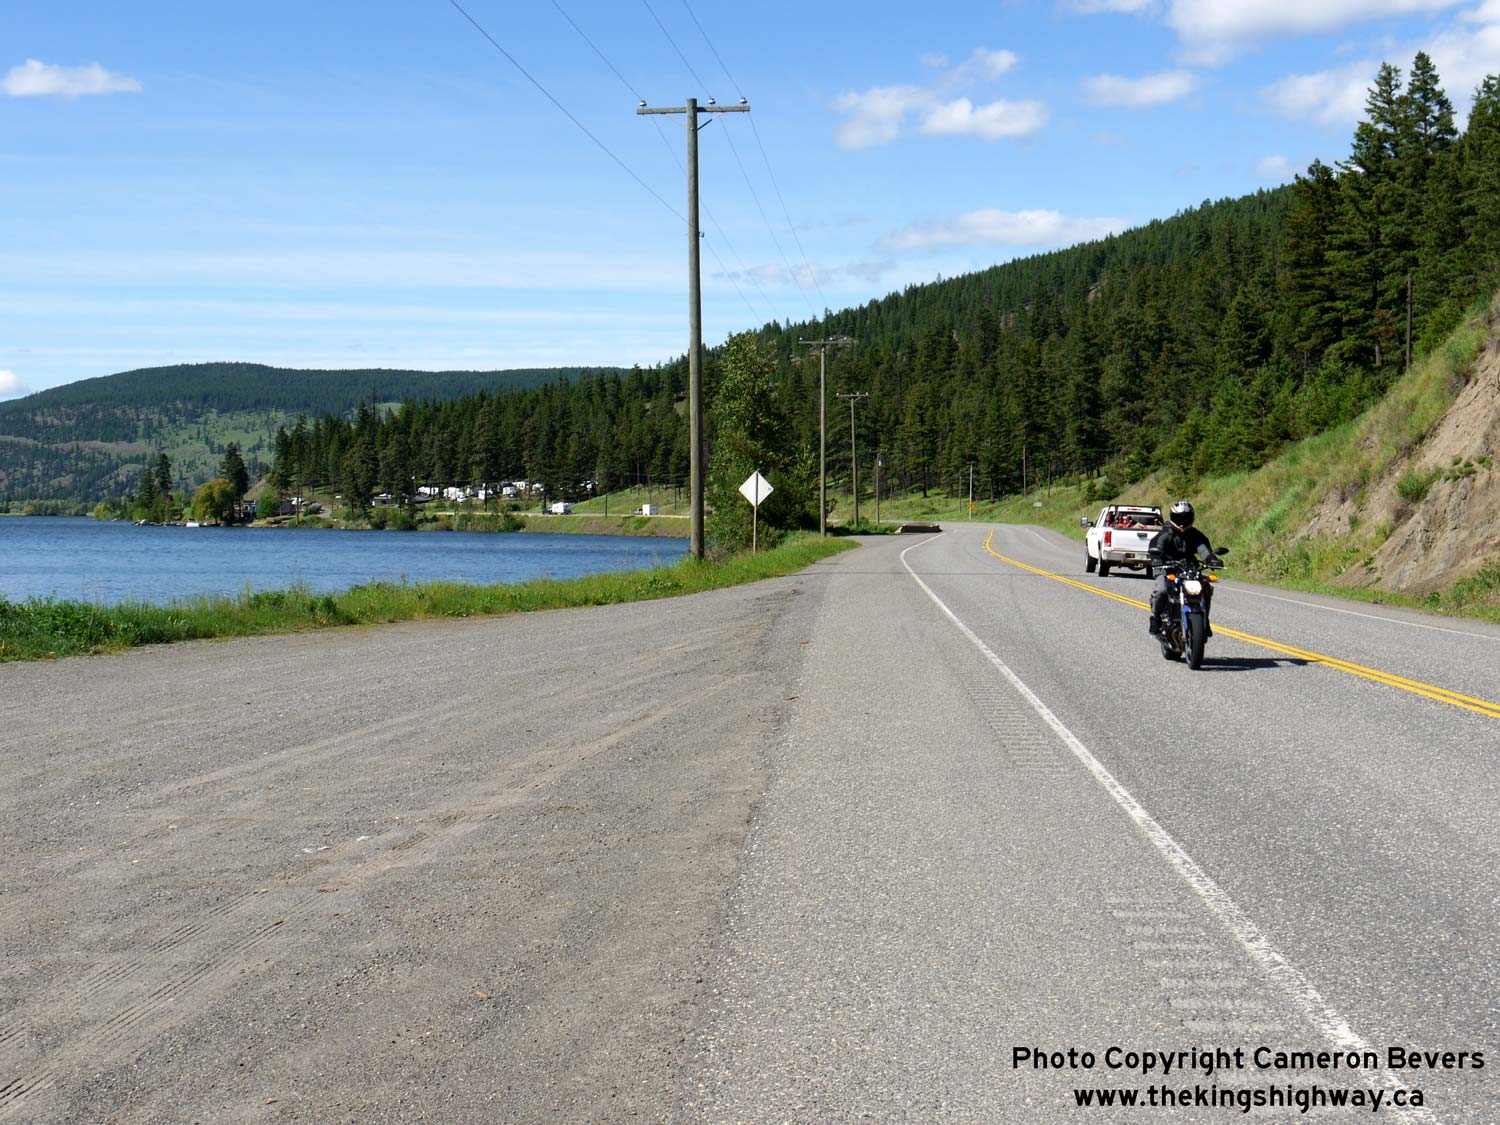
Left - Special pavement markings were installed along the northbound lane of Hwy 97 on the approach to a sharp curve in the community of Monte Lake. See an
Enlarged Photo Here. (Photograph taken on June 2, 2017 - © Cameron Bevers) Right - Facing south along Hwy 97 approaching the curve at Monte Lake. The intervals between the white pavement marking ticks along the sides of the southbound lane of Hwy 97 decrease in length approaching the curve. This gives motorists the impression that they are driving faster than they really are, which hopefully encourages the driver to quickly reduce their vehicle speed. This collision countermeasure feature has been used in a handful places in British Columbia where, presumably, there have been a large number of loss-of-control type collisions. See an Enlarged Photo Here. (Photograph taken on June 2, 2017 - © Cameron Bevers) 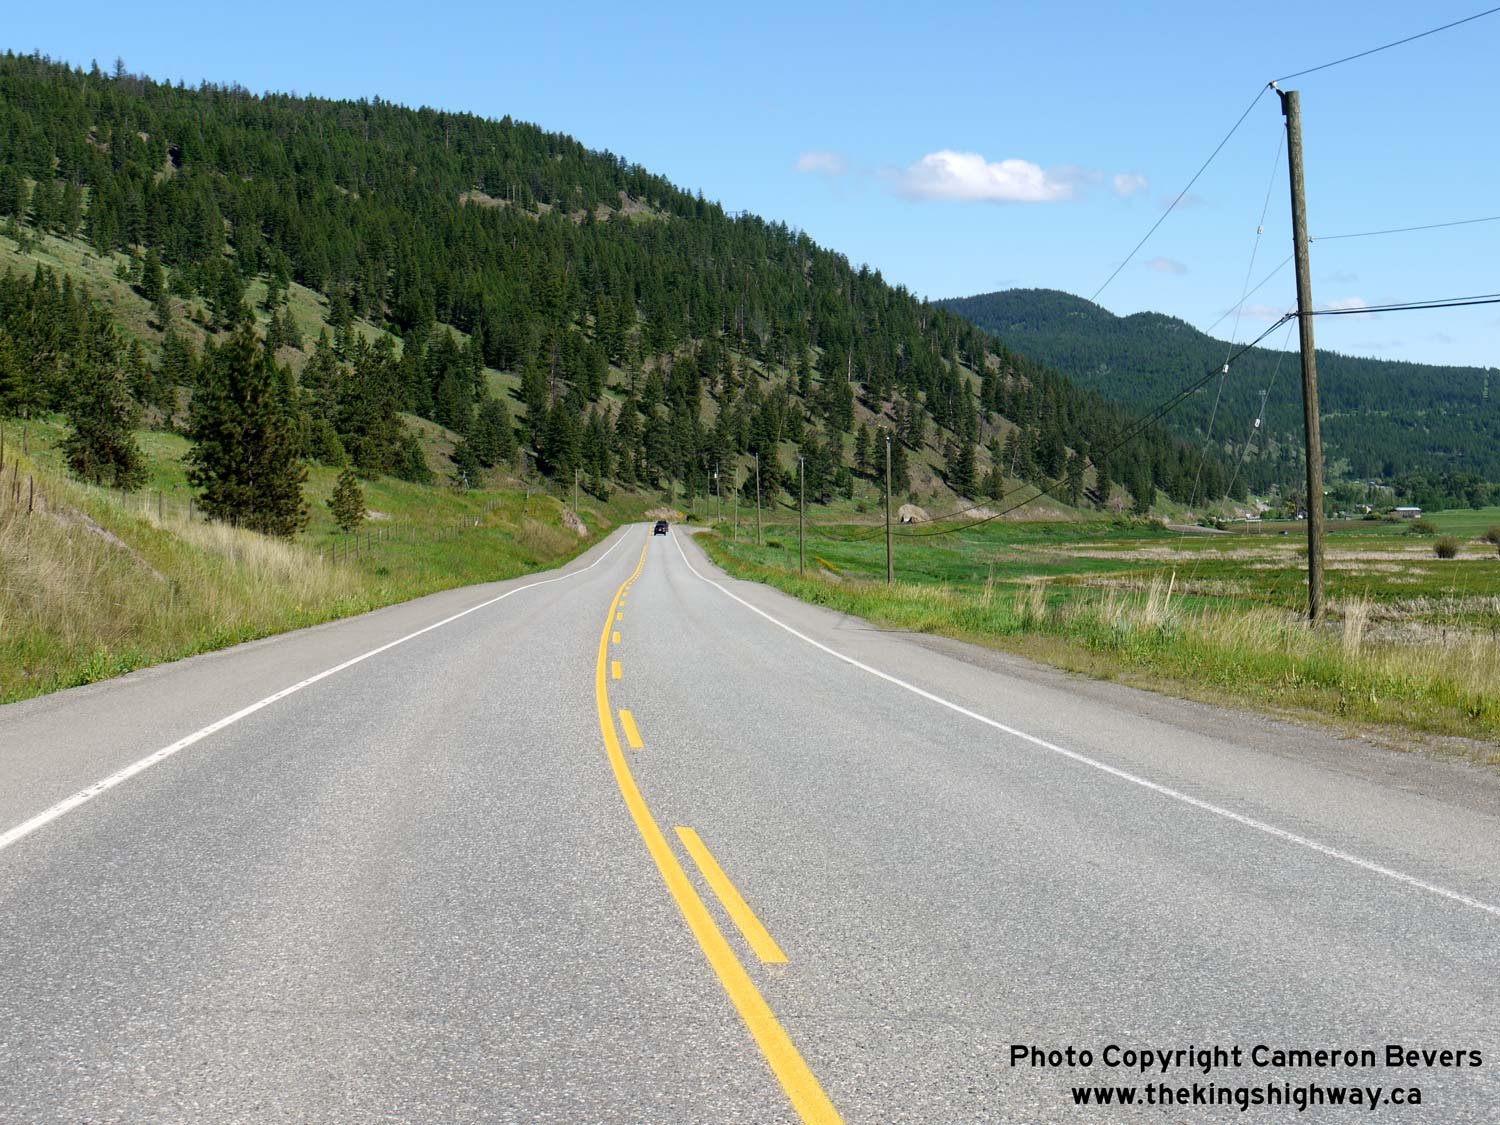
Left - Facing south along Hwy 97, about 4 km north of Monte Lake. See an
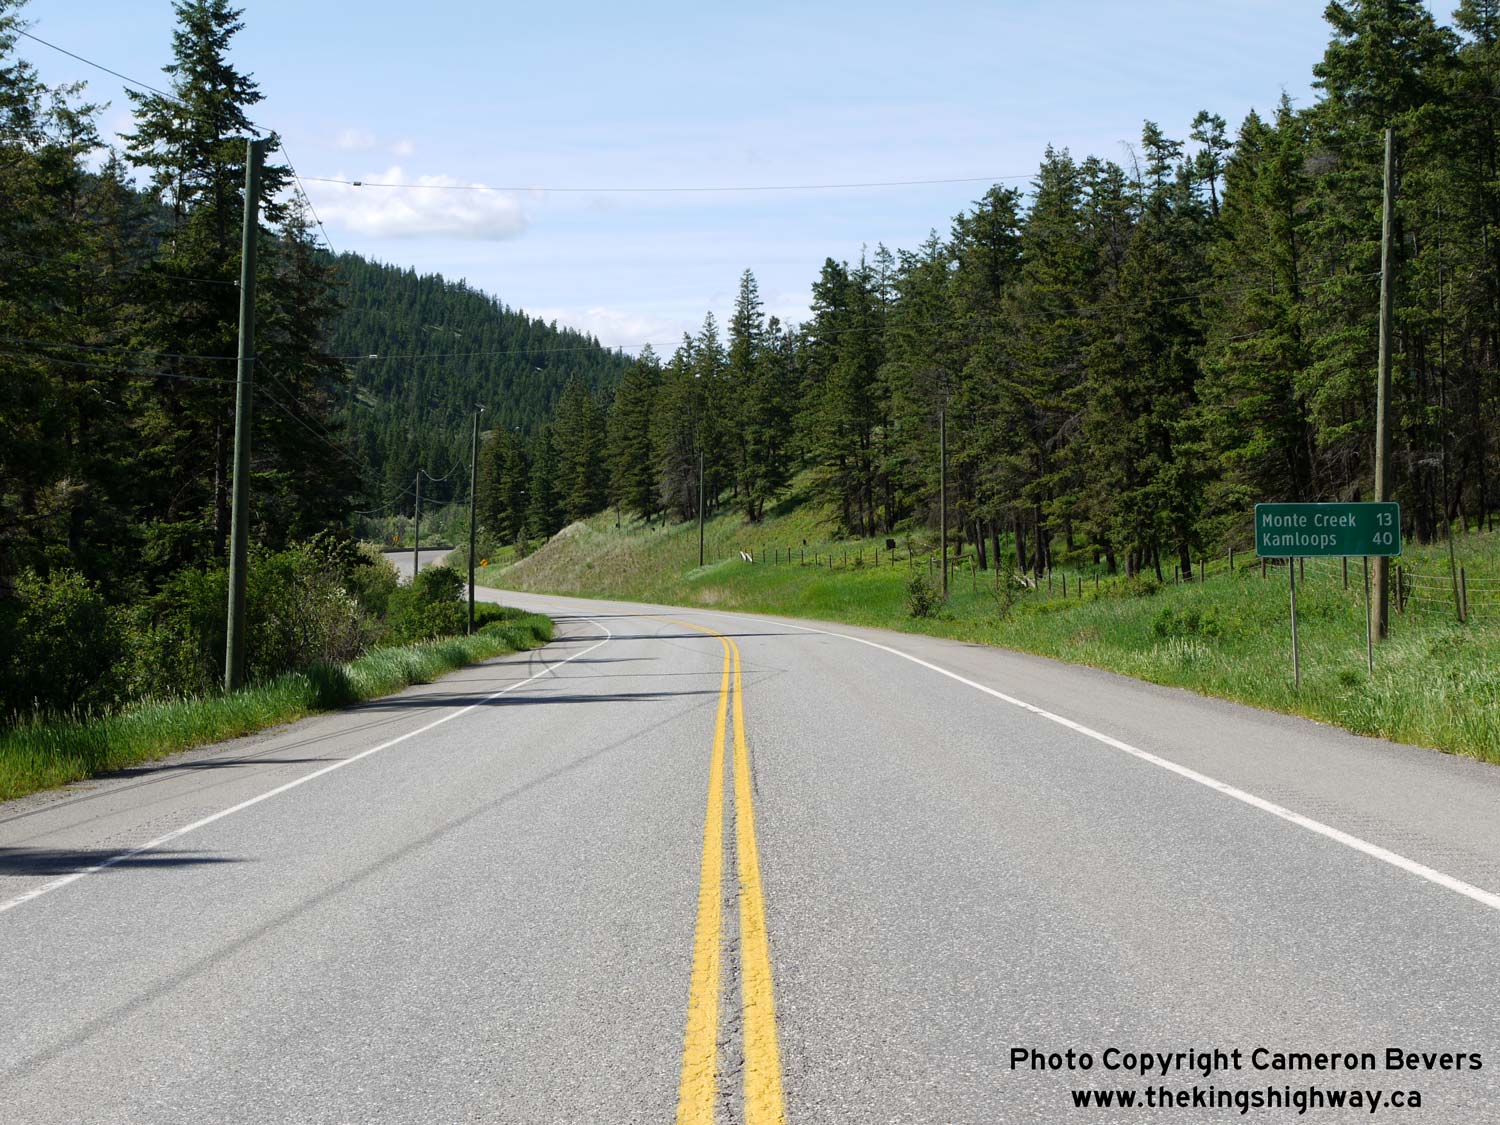
Enlarged Photo Here. (Photograph taken on June 2, 2017 - © Cameron Bevers) Right - Facing north along Hwy 97 about 40 km south of Kamloops. Hwy 97 connects to the Trans-Canada Highway (Hwy 1), about 13 km ahead at Monte Creek. See an Enlarged Photo Here. (Photograph taken on June 2, 2017 - © Cameron Bevers) 

Left - Distance guide sign on southbound Hwy 97, about 13 km south of Monte Creek. See an
Enlarged Photo Here. (Photograph taken on June 2, 2017 - © Cameron Bevers) Right - Hwy 97 seems to disappear without a trace over a vertical crest curve, about 9 km south of Monte Creek. See an Enlarged Photo Here. (Photograph taken on June 2, 2017 - © Cameron Bevers) 

Left - A truck brake check turnout exists along northbound Hwy 97, just before it descends towards the Trans-Canada Highway (Hwy 1) Interchange at Monte Creek.
See an Enlarged Photo Here. (Photograph taken on June 5, 2015 - © Cameron Bevers) Right - Green guide sign marking the upcoming Trans-Canada Highway (Hwy 1) Interchange at Monte Creek. See an Enlarged Photo Here. (Photograph taken on June 5, 2015 - © Cameron Bevers) 
Above - Hwy 97 widens to a four-lane divided highway as it approaches the Hwy 1 Interchange at Monte Creek. See an
Enlarged Photo Here. (Photograph taken on June 5, 2015 - © Cameron Bevers)
Continue north along BC Highway 97 from the Highway 1 Junction to Kamloops |
|---|
Links to Adjacent BC Highway Photograph Pages:
Back to BC Highway 41 Photos /
British Columbia Highways Photo Index /
On to BC Highway 97A Photos
Ontario Highway History - Main Menu / Vacation Highway Photos - Main Menu Website contents, photos & text © 2002-2026, Cameron
Bevers (Webmaster) - All Rights Reserved / Contact Me
|
|---|