
| 
| |
|
|
This page contains photographs of British Columbia's Highway 5 (Southern Yellowhead Highway), arranged by location from Little
Fort southerly to Kamloops. All photographs displayed on this page were taken by the Webmaster (Cameron Bevers). To view photos of other British Columbia Highways,
please select a highway number listed on the British Columbia Photograph Index Page. Click on any
thumbnail to see a larger image!
Please note that all photographs displayed on this website are protected by copyright. These photographs must not be
reproduced, published, electronically stored or copied, distributed, or posted onto other websites without my written permission. If you want to use photos from this
website, please email me first for permission. Thank-you!
|
|---|
|
Page 2: BC Highway 5 (Southern Yellowhead Highway) Photographs: Little Fort to Kamloops

Left - Facing north along Hwy 5 from Little Fort. The Southern Yellowhead Highway (Hwy 5) connects to the main route of the Yellowhead Highway (Hwy 16) at Tete
Jaune Cache, located about 245 km to the north. From there, motorists can either follow Hwy 16 west of Prince George or Hwy 16 east through the Yellowhead Pass to
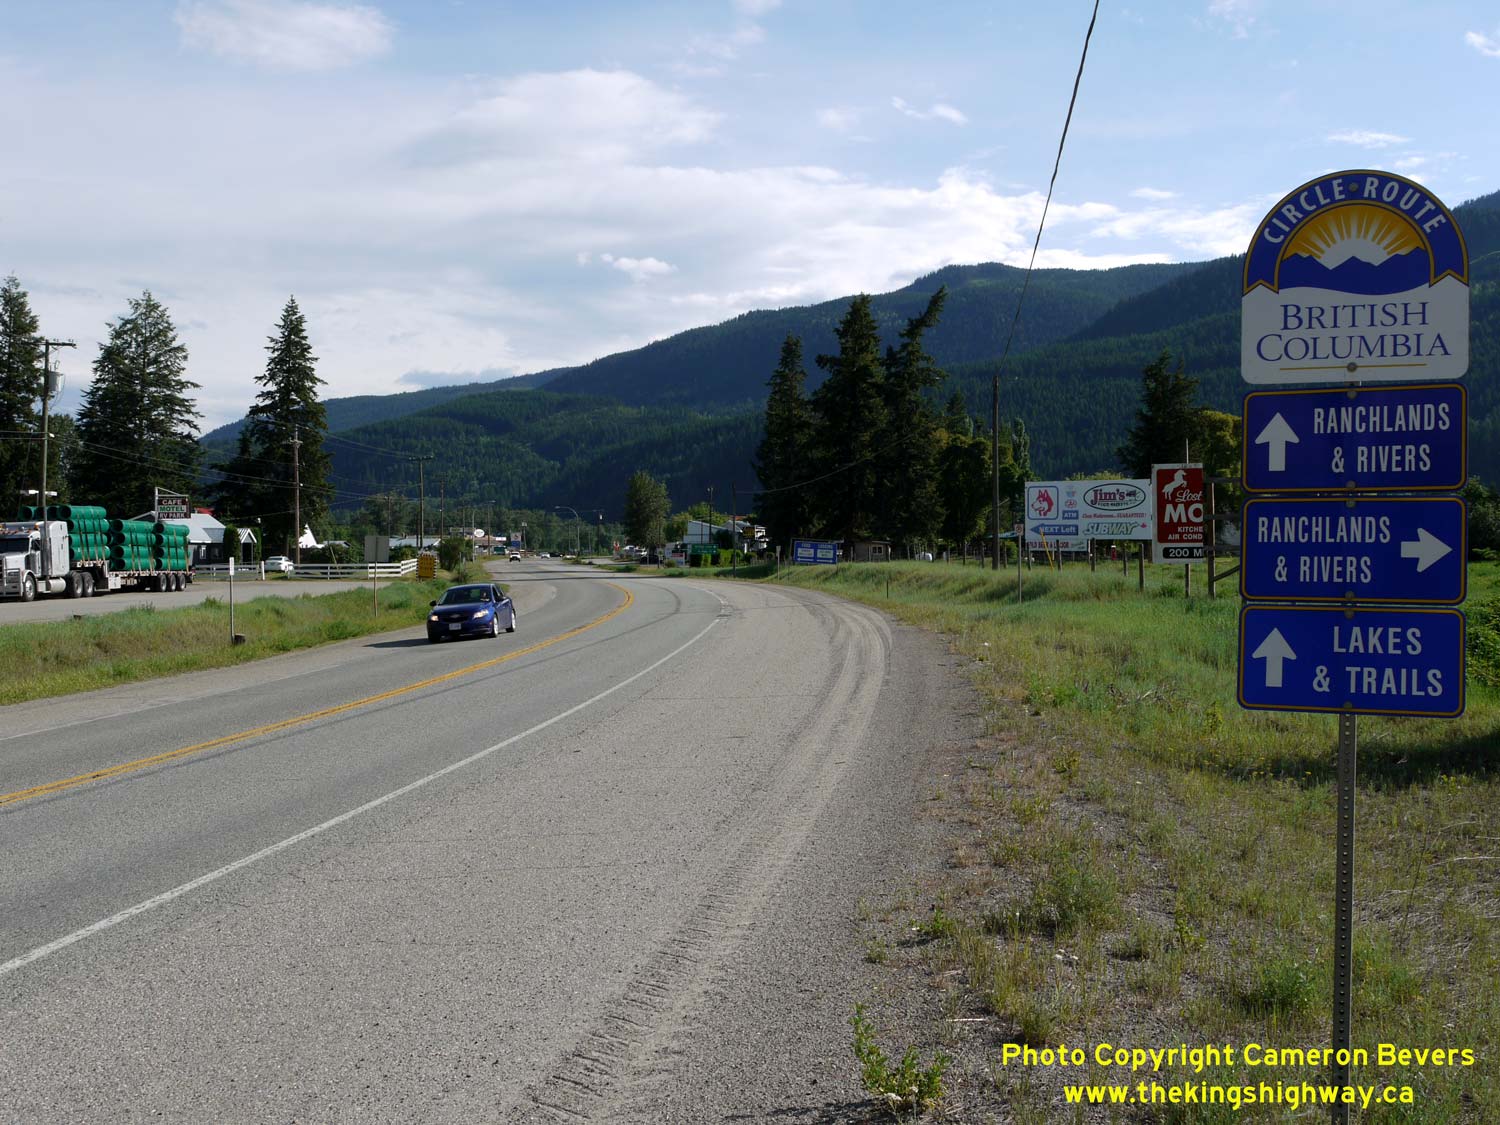
Jasper, Alberta. See an Enlarged Photo Here. (Photograph taken on June 1, 2015 - © Cameron Bevers) Right - British Columbia Tourist Route markers on southbound Hwy 5 approaching Little Fort. This section of Hwy 5 forms part of the Lakes & Trails and Ranchlands & Rivers Routes. The latter tourist route also follows Hwy 24 west from Little Fort. See an Enlarged Photo Here. (Photograph taken on June 1, 2015 - © Cameron Bevers) 
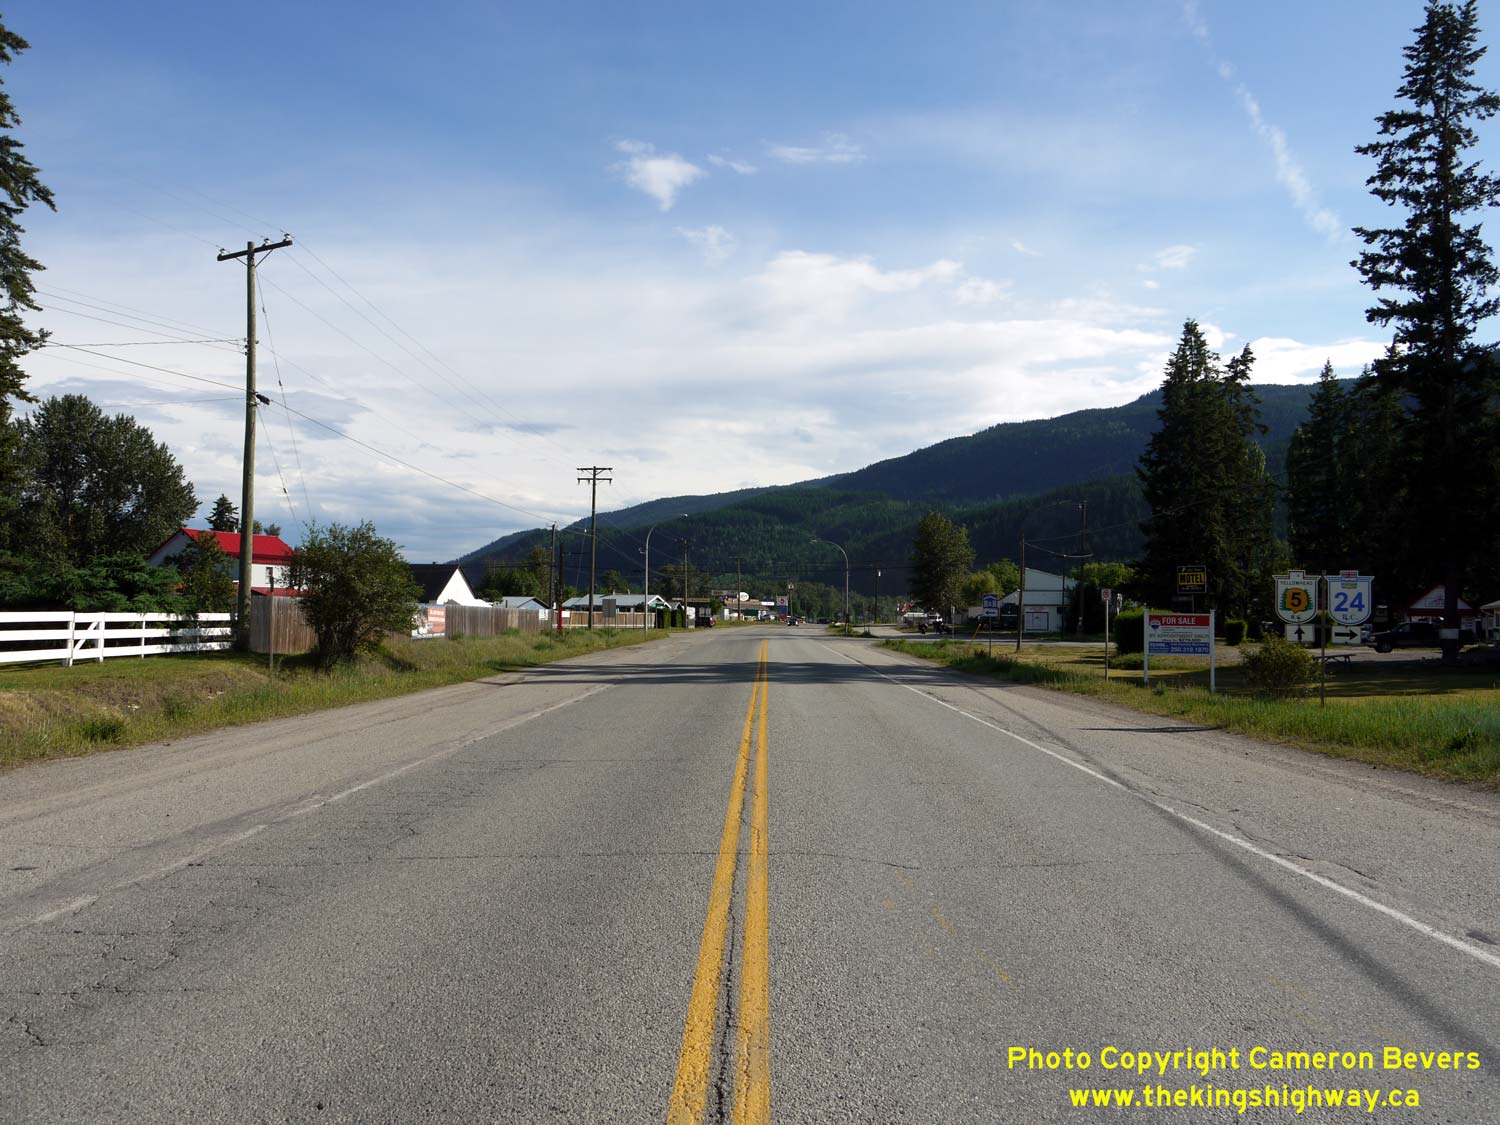
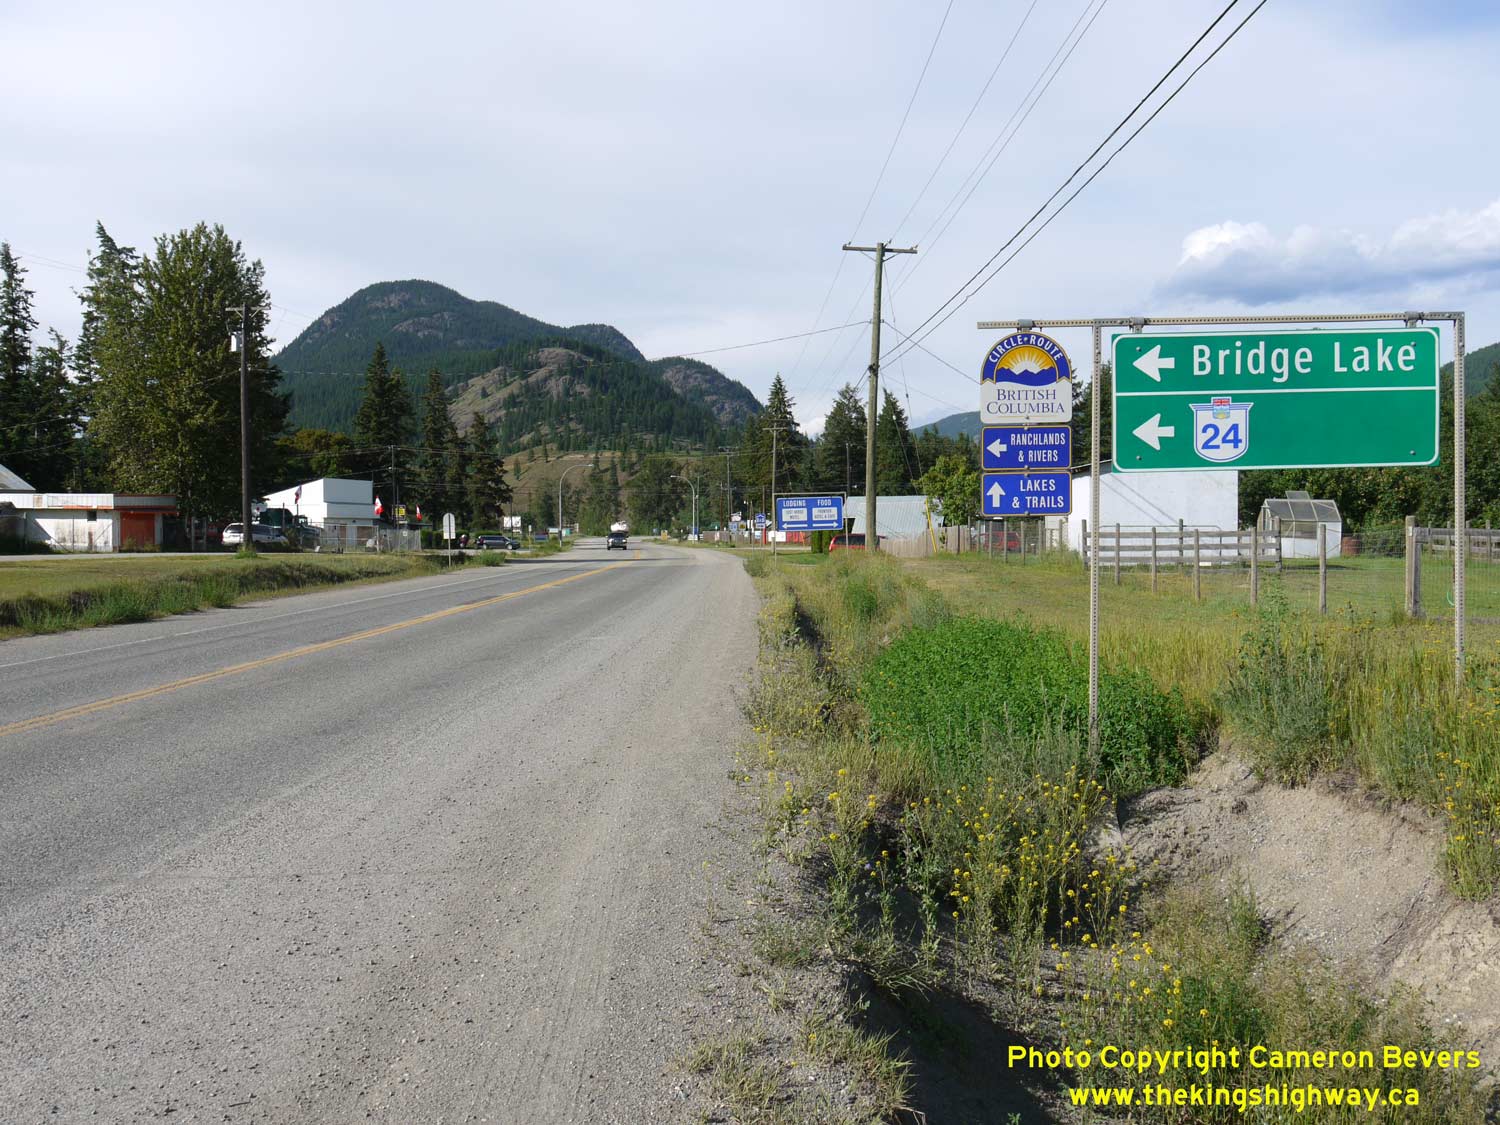
Left - Guide signs on southbound Hwy 5 approaching the Hwy 24 Junction. Hwy 24 extends west from Little Fort to Hwy 97, passing through the small community of
Bridge Lake. See an Enlarged Photo Here. (Photograph taken on June 1, 2015 - © Cameron Bevers) Right - Oversized Hwy 5 & Hwy 24 route markers on southbound Hwy 5 in Little Fort. The intersection is not very conspicuous, which is the likely reason for the larger route markers. It would be very easy for motorists to miss this highway junction, as it appears to be a small side street at first glance. See an Enlarged Photo Here. (Photograph taken on June 1, 2015 - © Cameron Bevers) 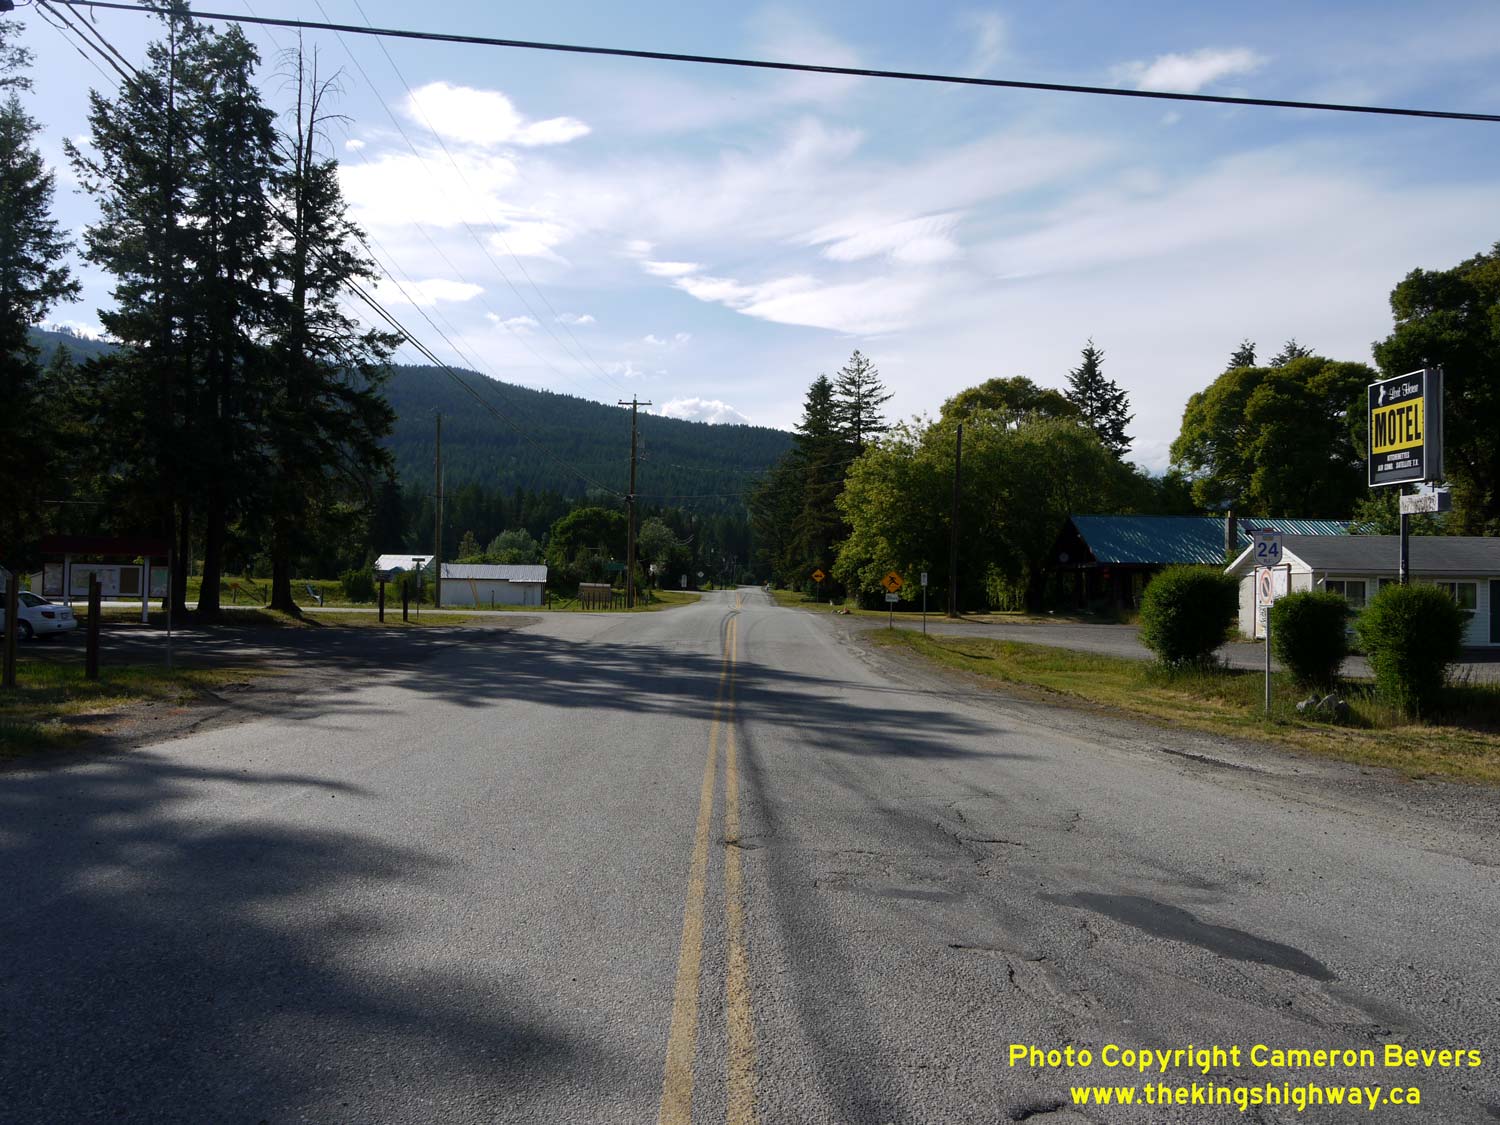
Left - Facing west along Hwy 24 from the Hwy 5 Junction. Hwy 24 provides the only east-west highway connection to Hwy 97 between Kamloops and Tete Jaune Cache.
See an Enlarged Photo Here. (Photograph taken on June 1, 2015 - © Cameron Bevers) Right - Approaching the eastern terminus of Hwy 24 at the Hwy 5 Junction in Little Fort. See an Enlarged Photo Here. (Photograph taken on June 1, 2015 - © Cameron Bevers) 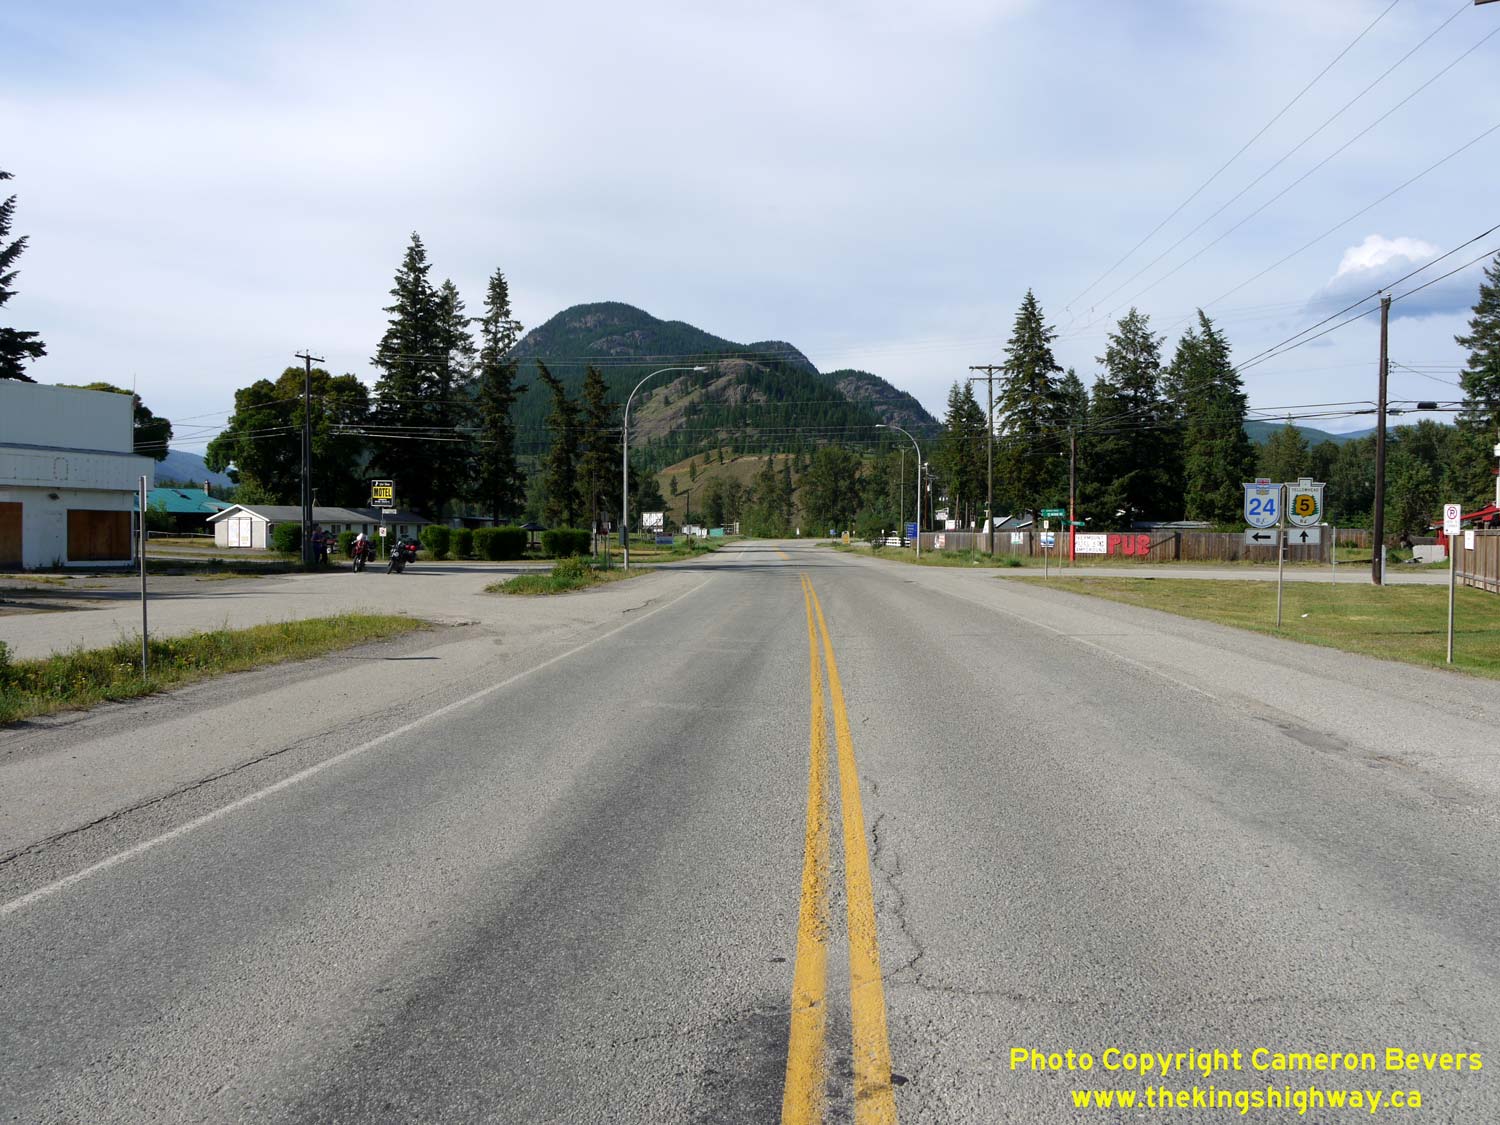
Left - Facing north along Hwy 5 in Little Fort approaching the Hwy 24 Junction. See an
Enlarged Photo Here. (Photograph taken on June 1, 2015 - © Cameron Bevers) Right - Green guide sign marking the upcoming Hwy 24 Junction on northbound Hwy 5. See an Enlarged Photo Here. (Photograph taken on June 1, 2015 - © Cameron Bevers) 

Left - Oversized Hwy 5 & Hwy 24 route markers on northbound Hwy 5 in Little Fort. See an
Enlarged Photo Here. (Photograph taken on June 1, 2015 - © Cameron Bevers) Right - Facing south along the Southern Yellowhead Highway (Hwy 5) towards Kamloops from Little Fort. See an Enlarged Photo Here. (Photograph taken on June 1, 2015 - © Cameron Bevers) 

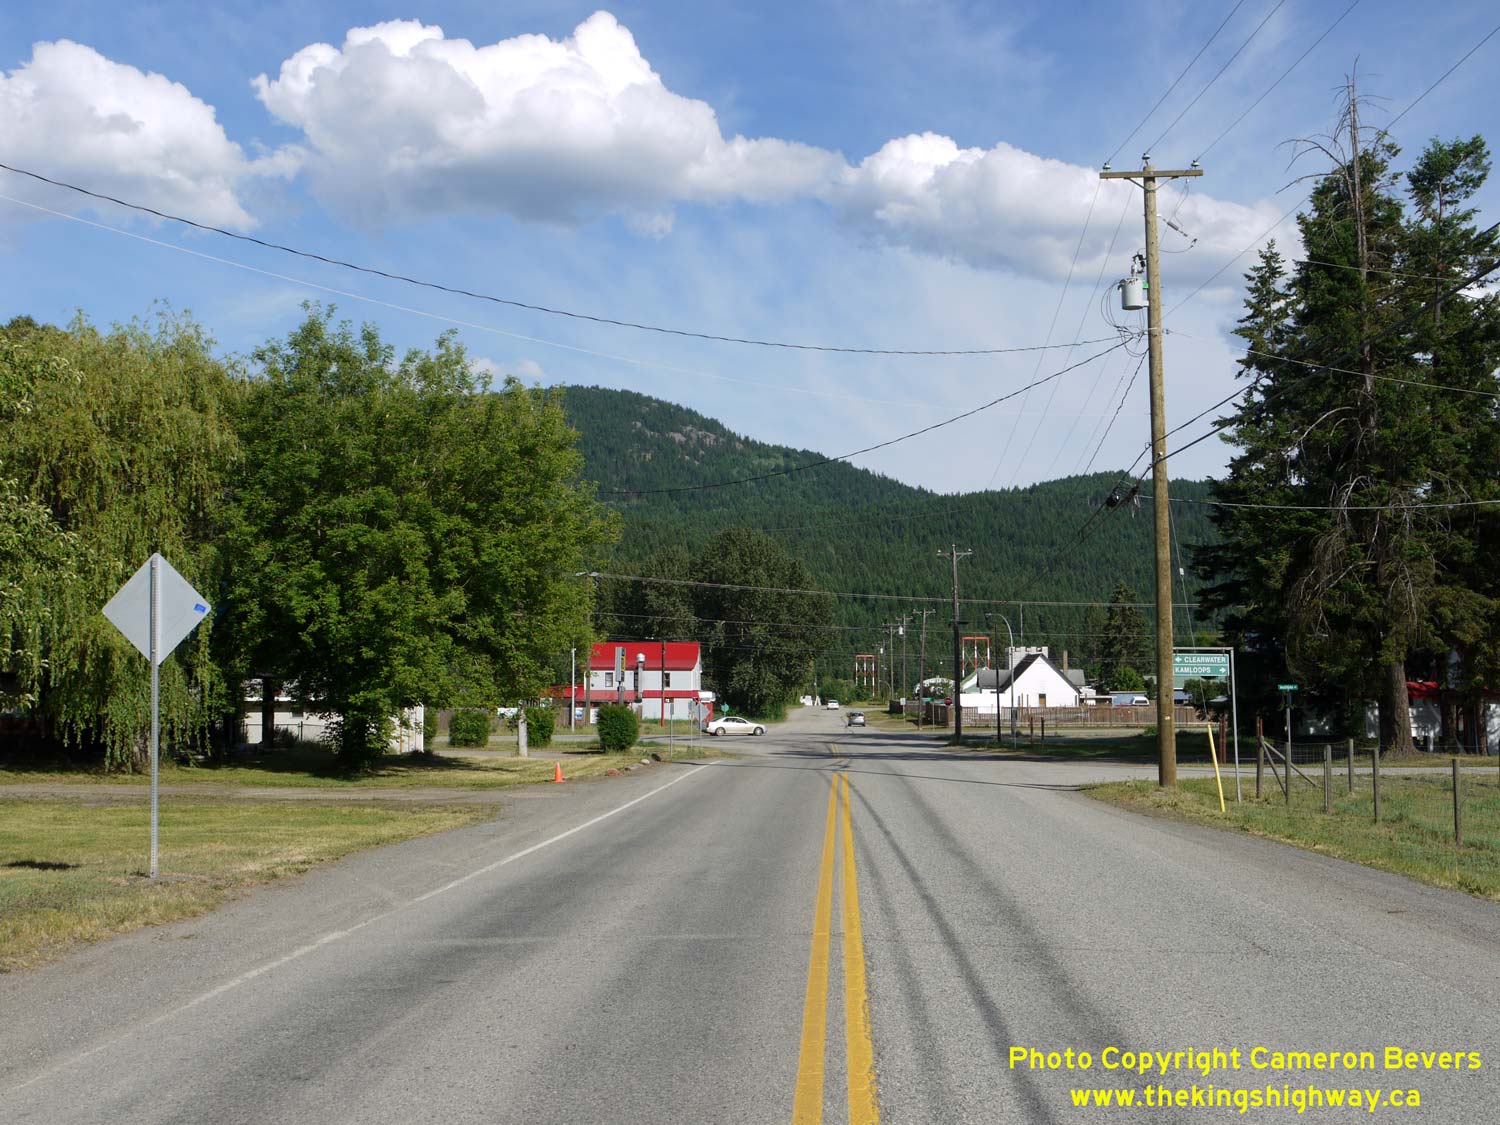
Left - Approaching Little Fort on Hwy 5, facing north. This small community lies at the Hwy 5 & Hwy 24 Junction, about 90 km north of Kamloops. See an
Enlarged Photo Here. (Photograph taken on June 1, 2015 - © Cameron Bevers) Right - Distance guide sign on southbound Hwy 5 departing Little Fort. See an Enlarged Photo Here. (Photograph taken on June 1, 2015 - © Cameron Bevers) 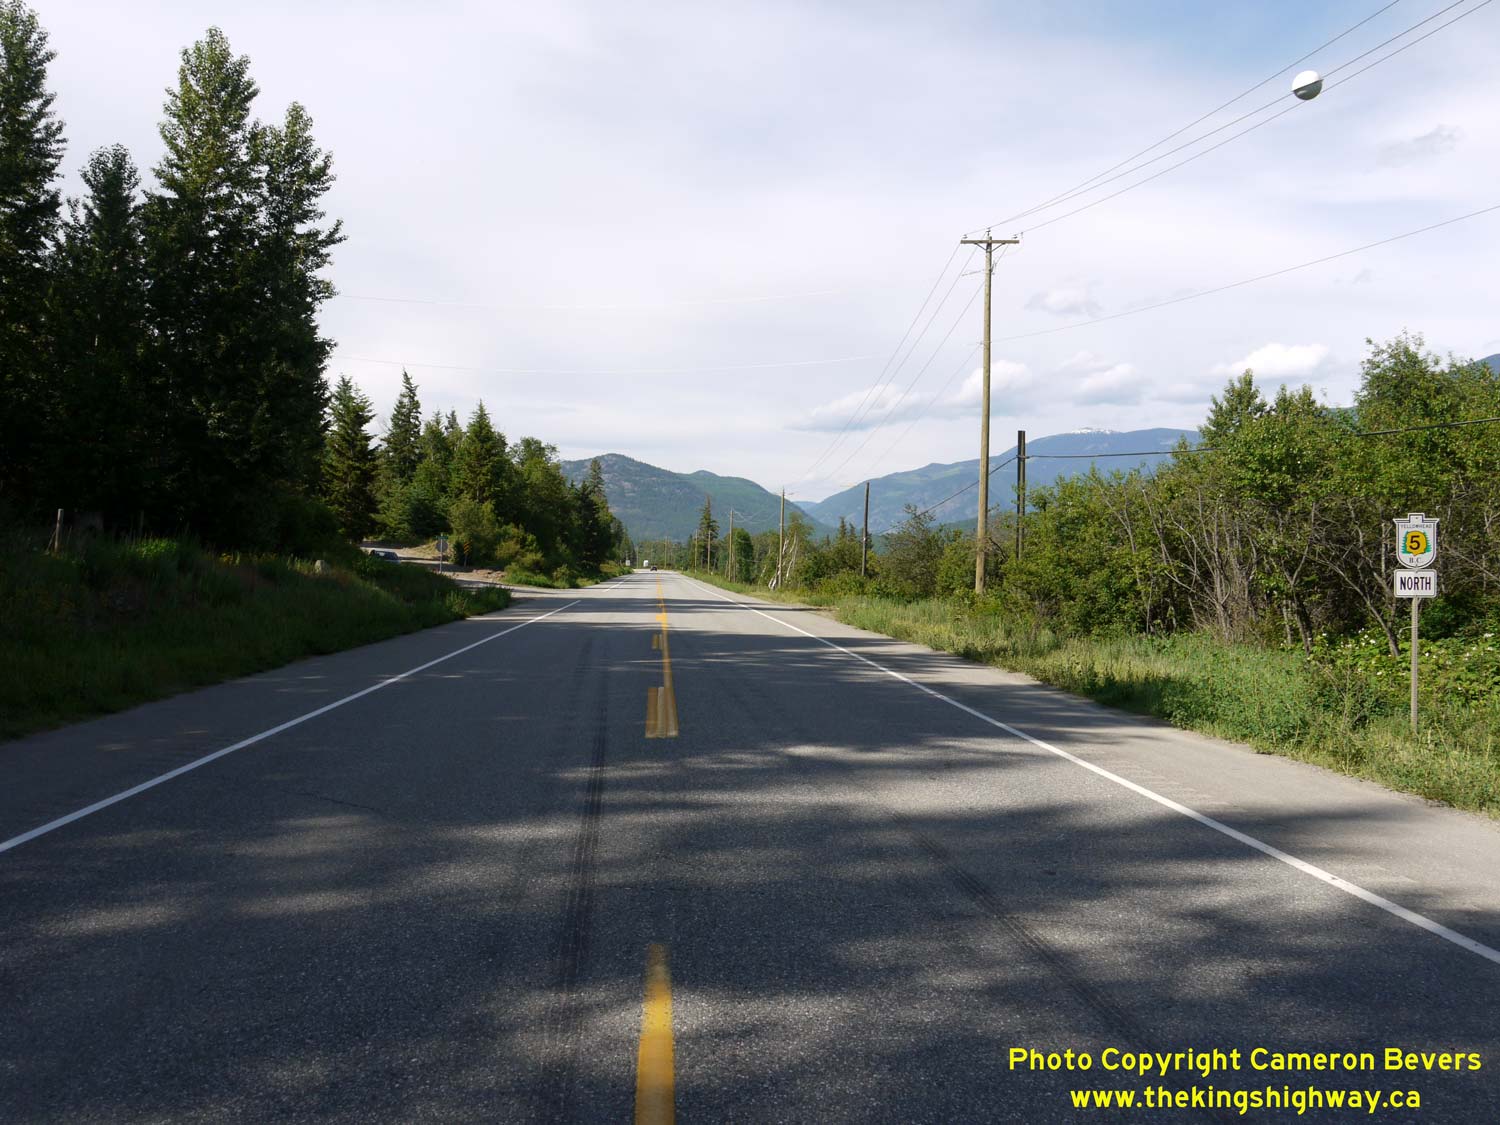

Left - Yellowhead Highway route marker on northbound Hwy 5 near Little Fort. See an
Enlarged Photo Here. (Photograph taken on June 1, 2015 - © Cameron Bevers) Right - Distance guide sign on southbound Hwy 5 between Little Fort and Barriere. See an Enlarged Photo Here. (Photograph taken on June 1, 2015 - © Cameron Bevers) 

Left - Distance guide sign on northbound Hwy 5 between Barriere and Little Fort. See an
Enlarged Photo Here. (Photograph taken on June 1, 2015 - © Cameron Bevers) Right - Facing north along Hwy 5, about 15 km south of Little Fort. See an Enlarged Photo Here. (Photograph taken on June 1, 2015 - © Cameron Bevers) 

Left - Facing north along Hwy 5 from the North Thompson River Bridge in Barriere. See an
Enlarged Photo Here. (Photograph taken on June 1, 2015 - © Cameron Bevers) Right - North Thompson River Bridge on Hwy 5 in Barriere, facing south. See an Enlarged Photo Here. (Photograph taken on June 1, 2015 - © Cameron Bevers) 

Left - Facing south along Hwy 5 towards Barriere at the North Thompson River Bridge. See an
Enlarged Photo Here. (Photograph taken on June 1, 2015 - © Cameron Bevers) Right - North Thompson River Bridge on Hwy 5 in Barriere. This impressive structure spans both the North Thompson River as well as an adjacent railway line. See an Enlarged Photo Here. (Photograph taken on June 1, 2015 - © Cameron Bevers) 
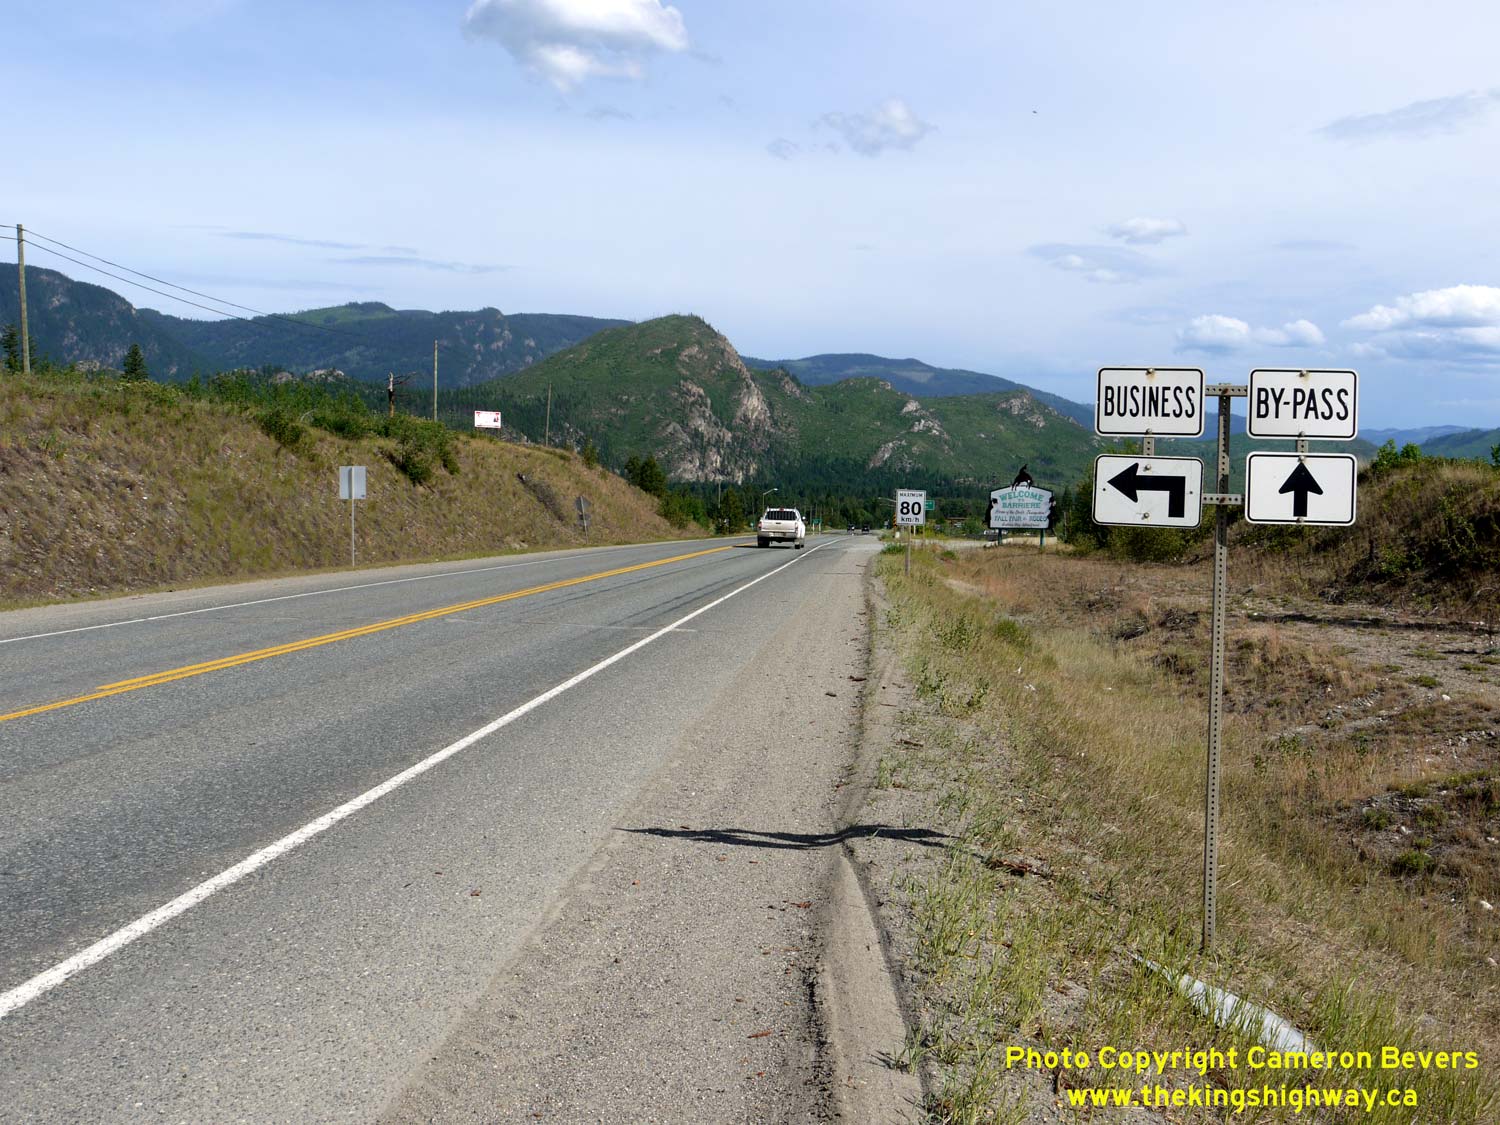
Left - Distance guide sign on northbound Hwy 5 departing Barriere. See an
Enlarged Photo Here. (Photograph taken on June 1, 2015 - © Cameron Bevers) Right - Signs marking the Barriere Business Route on southbound Hwy 5. A bypass was built around the town in the late 1950s. See an Enlarged Photo Here. (Photograph taken on June 1, 2015 - © Cameron Bevers) 
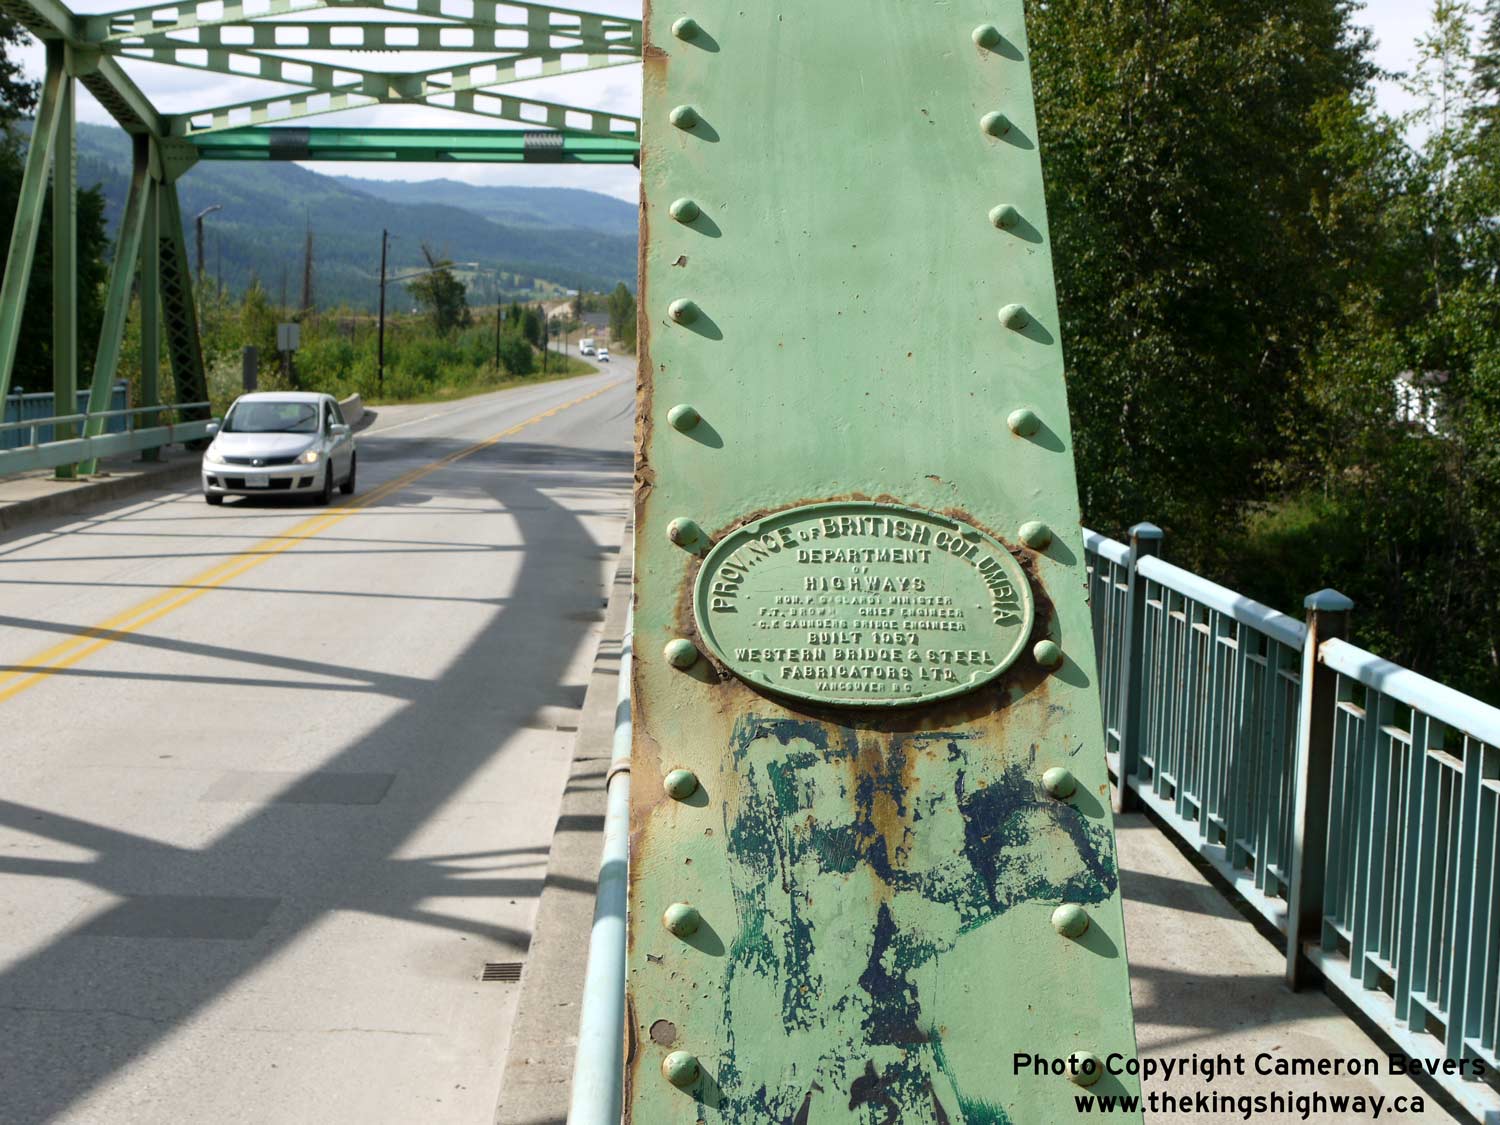
Left - Facing south along Hwy 5 towards Kamloops at the Barriere River Bridge. See an
Enlarged Photo Here. (Photograph taken on June 1, 2015 - © Cameron Bevers) Right - Bridge manufacturer's plaque on the Barriere River Bridge on the Barriere Bypass (Hwy 5). See an Enlarged Photo Here. (Photograph taken on June 1, 2015 - © Cameron Bevers) 
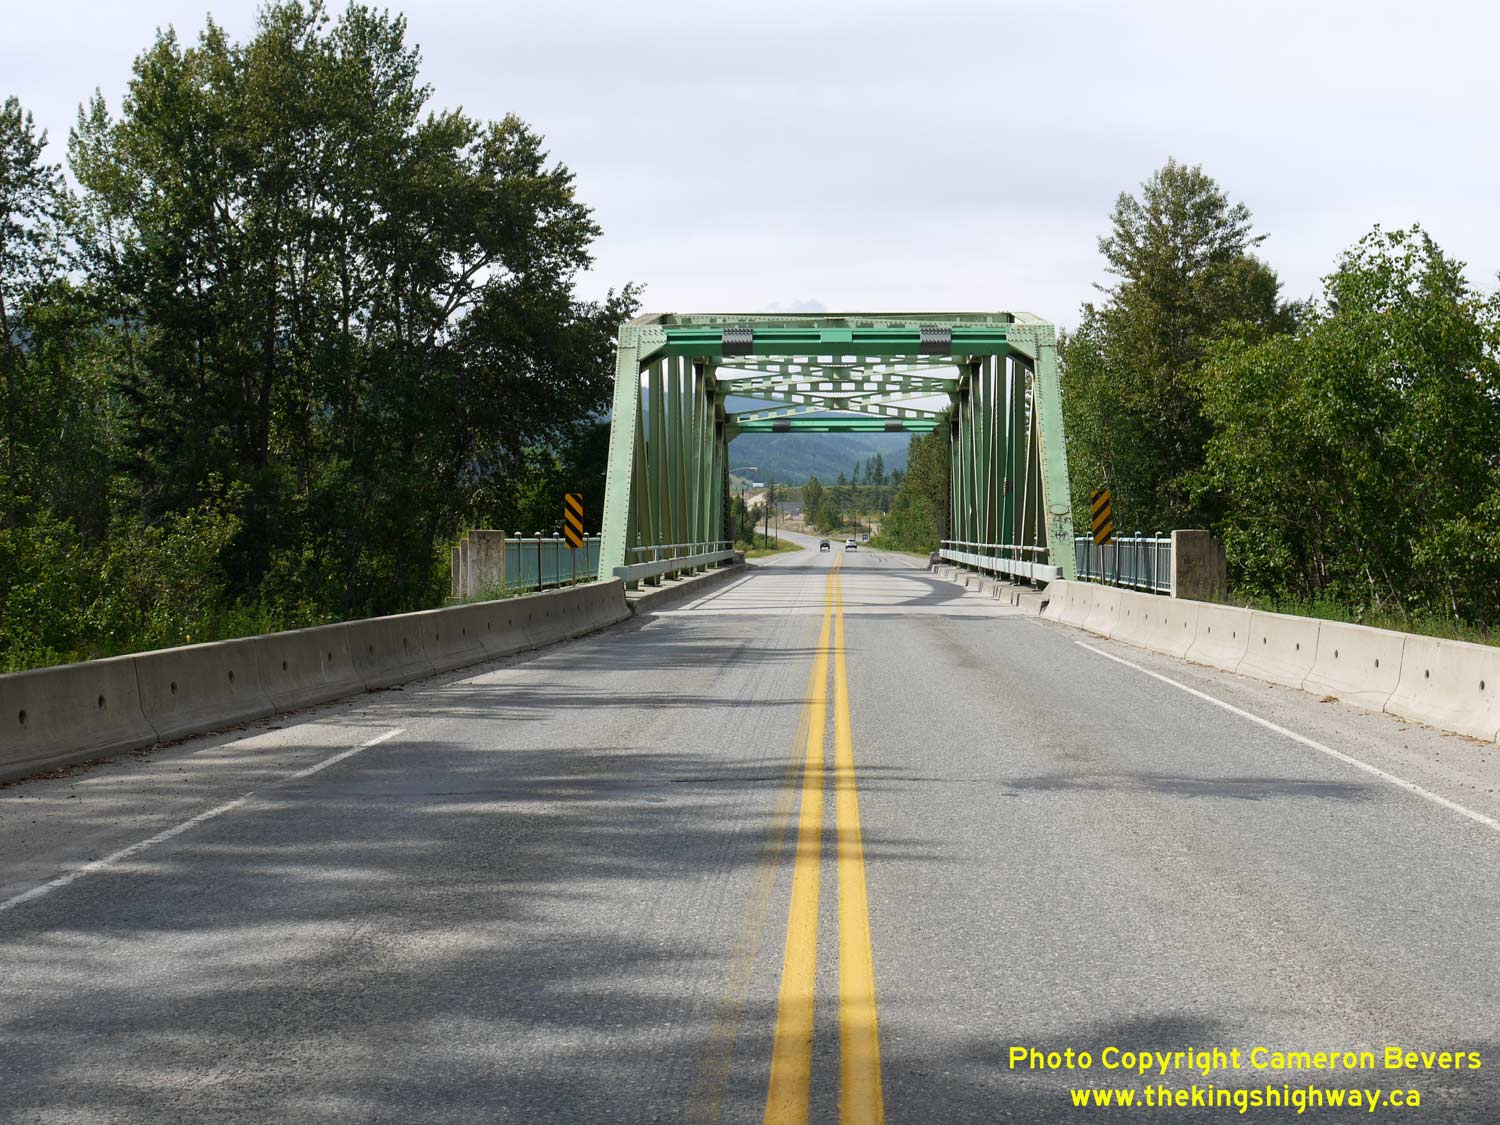
Left - The Barriere River Bridge on Hwy 5 is a single span steel through truss (Pratt type) structure. The bridge was completed in 1957. See an
Enlarged Photo Here. (Photograph taken on June 1, 2015 - © Cameron Bevers) Right - Facing north along the Barriere Bypass (Hwy 5) towards the Barriere River Bridge. See an Enlarged Photo Here. (Photograph taken on June 1, 2015 - © Cameron Bevers) 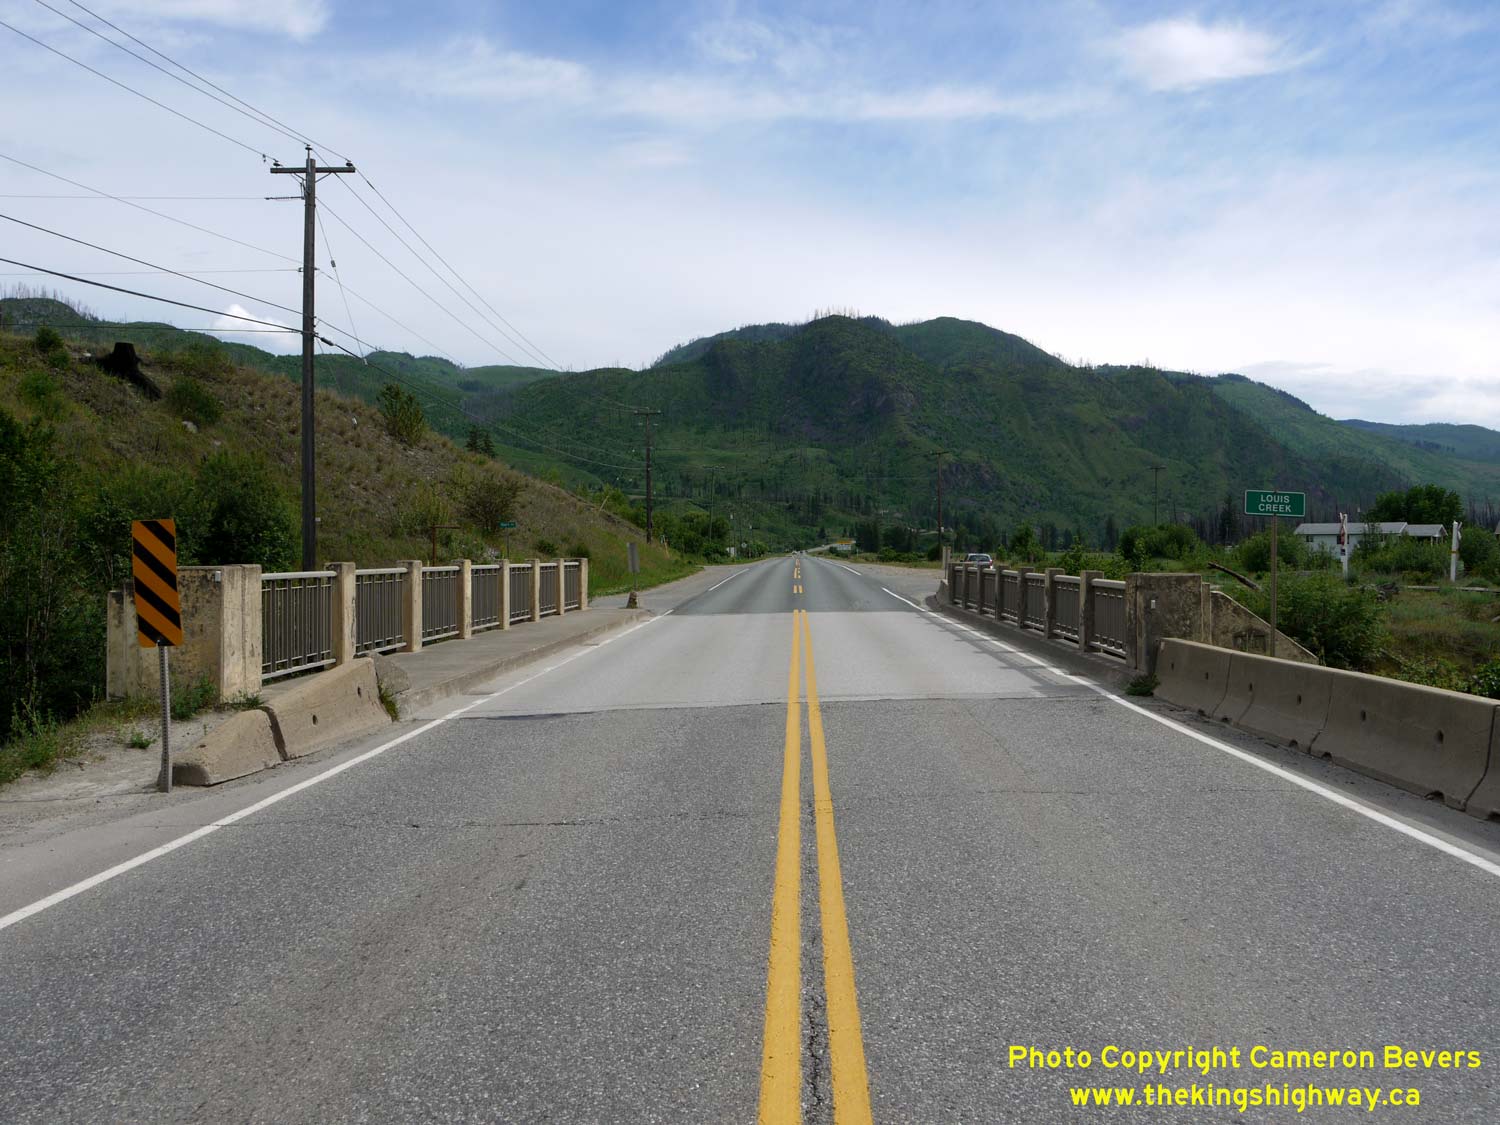
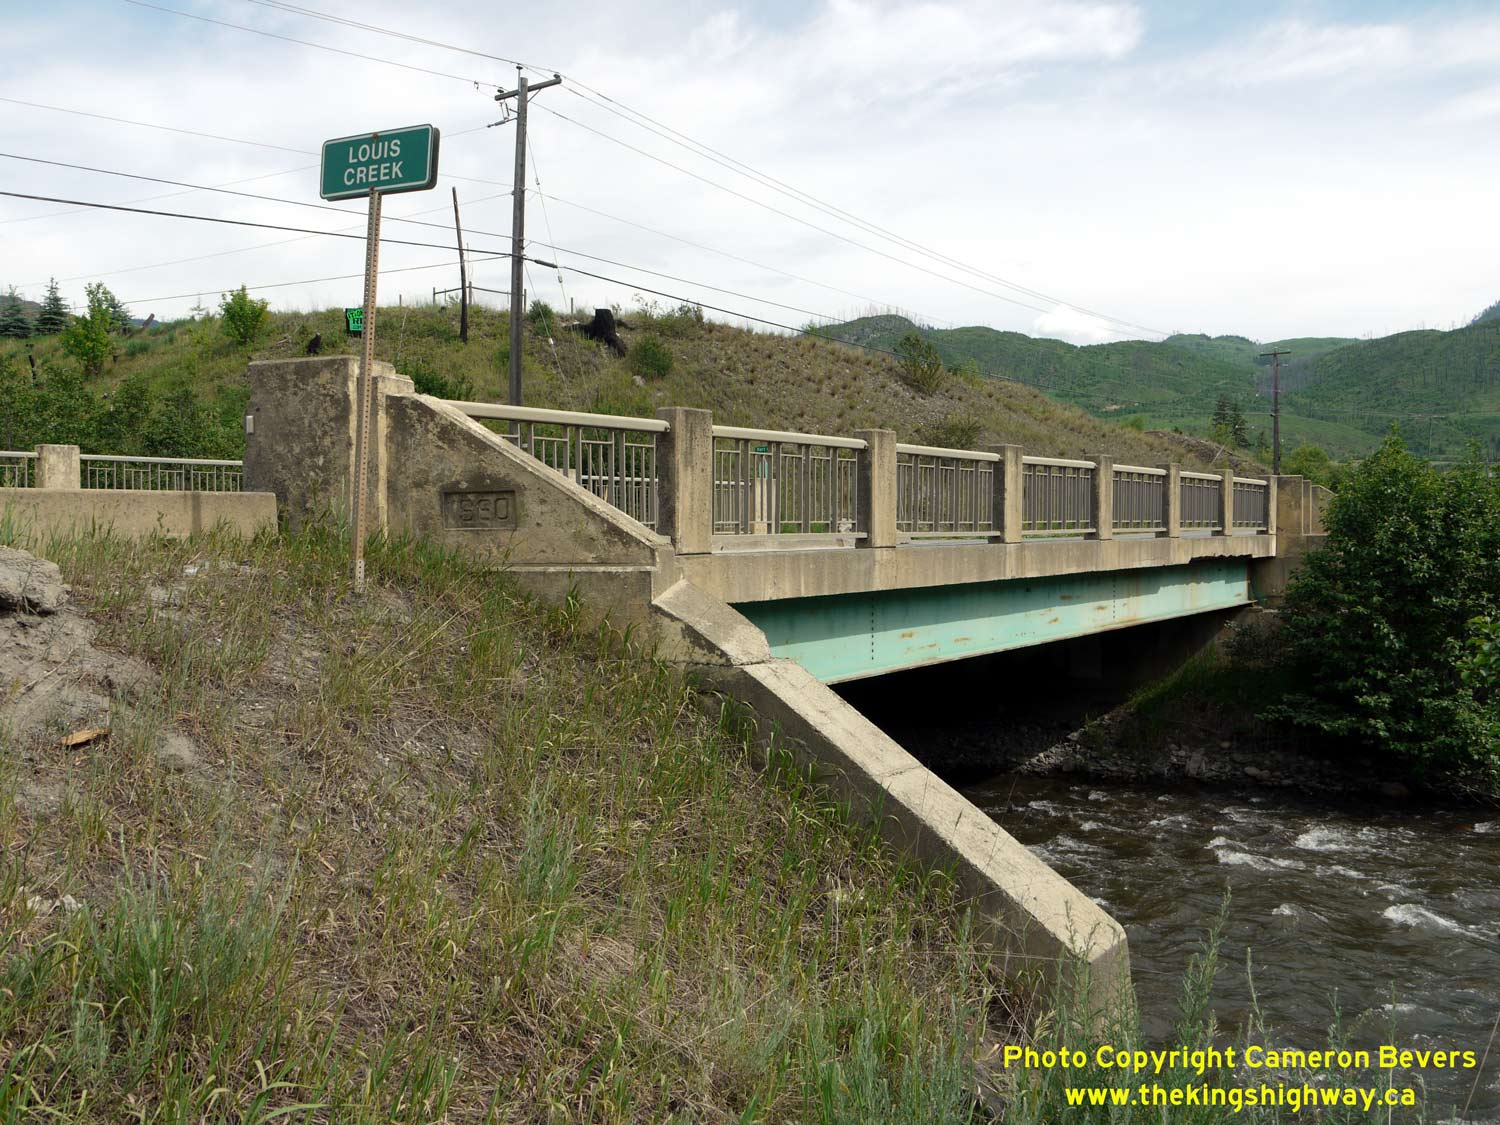
Left - Facing south along Hwy 5 towards Kamloops at the Louis Creek Bridge, located 4 km south of Barriere. See an
Enlarged Photo Here. (Photograph taken on June 1, 2015 - © Cameron Bevers) Right - Side view of the Louis Creek Bridge on Hwy 5. This single span steel beam structure was completed in 1960. See an Enlarged Photo Here. (Photograph taken on June 1, 2015 - © Cameron Bevers) 

Left - Facing north along Hwy 5 towards Barriere at the Louis Creek Bridge. See an
Enlarged Photo Here. (Photograph taken on June 1, 2015 - © Cameron Bevers) Right - View of the North Thompson River beside Hwy 5 facing north, about 6 km south of Barriere. See an Enlarged Photo Here. (Photograph taken on June 1, 2015 - © Cameron Bevers) 

Left - The North Thompson River squeezes through a narrow valley south of Barriere. Hwy 5 passes beneath these imposing cliffs on its route south towards
Kamloops. See an Enlarged Photo Here. (Photograph taken on June 1, 2015 - © Cameron Bevers) Right - A spectacular view of Hwy 5 about 10 km south of Barriere, as the highway winds north through the North Thompson River Valley. See an Enlarged Photo Here. (Photograph taken on June 1, 2015 - © Cameron Bevers) 

Left - Close-up view of the North Thompson River Valley and Hwy 5. A large forest fire swept through this valley in 2003, leaving behind a scar that will
likely be visible for many more decades. Sadly, the blaze was caused by careless smoking. See an
Enlarged Photo Here. (Photograph taken on June 1, 2015 - © Cameron Bevers) Right - Distance guide sign on southbound Hwy 5, about 12 km south of Barriere. See an Enlarged Photo Here. (Photograph taken on June 1, 2015 - © Cameron Bevers) 

Left - A winding section of the Southern Yellowhead Highway (Hwy 5) about 13 km south of Barriere. See an
Enlarged Photo Here. (Photograph taken on June 1, 2015 - © Cameron Bevers) Right - Distance guide sign on northbound Hwy 5, about 14 km south of Barriere. See an Enlarged Photo Here. (Photograph taken on June 1, 2015 - © Cameron Bevers) 

Left - Hwy 5 passes through fields dotted with large conifers near McLure. See an
Enlarged Photo Here. (Photograph taken on June 1, 2015 - © Cameron Bevers) Right - Facing south along Hwy 5 from Orchard Lake Road, located about 22 km south of Barriere. See an Enlarged Photo Here. (Photograph taken on June 1, 2015 - © Cameron Bevers) 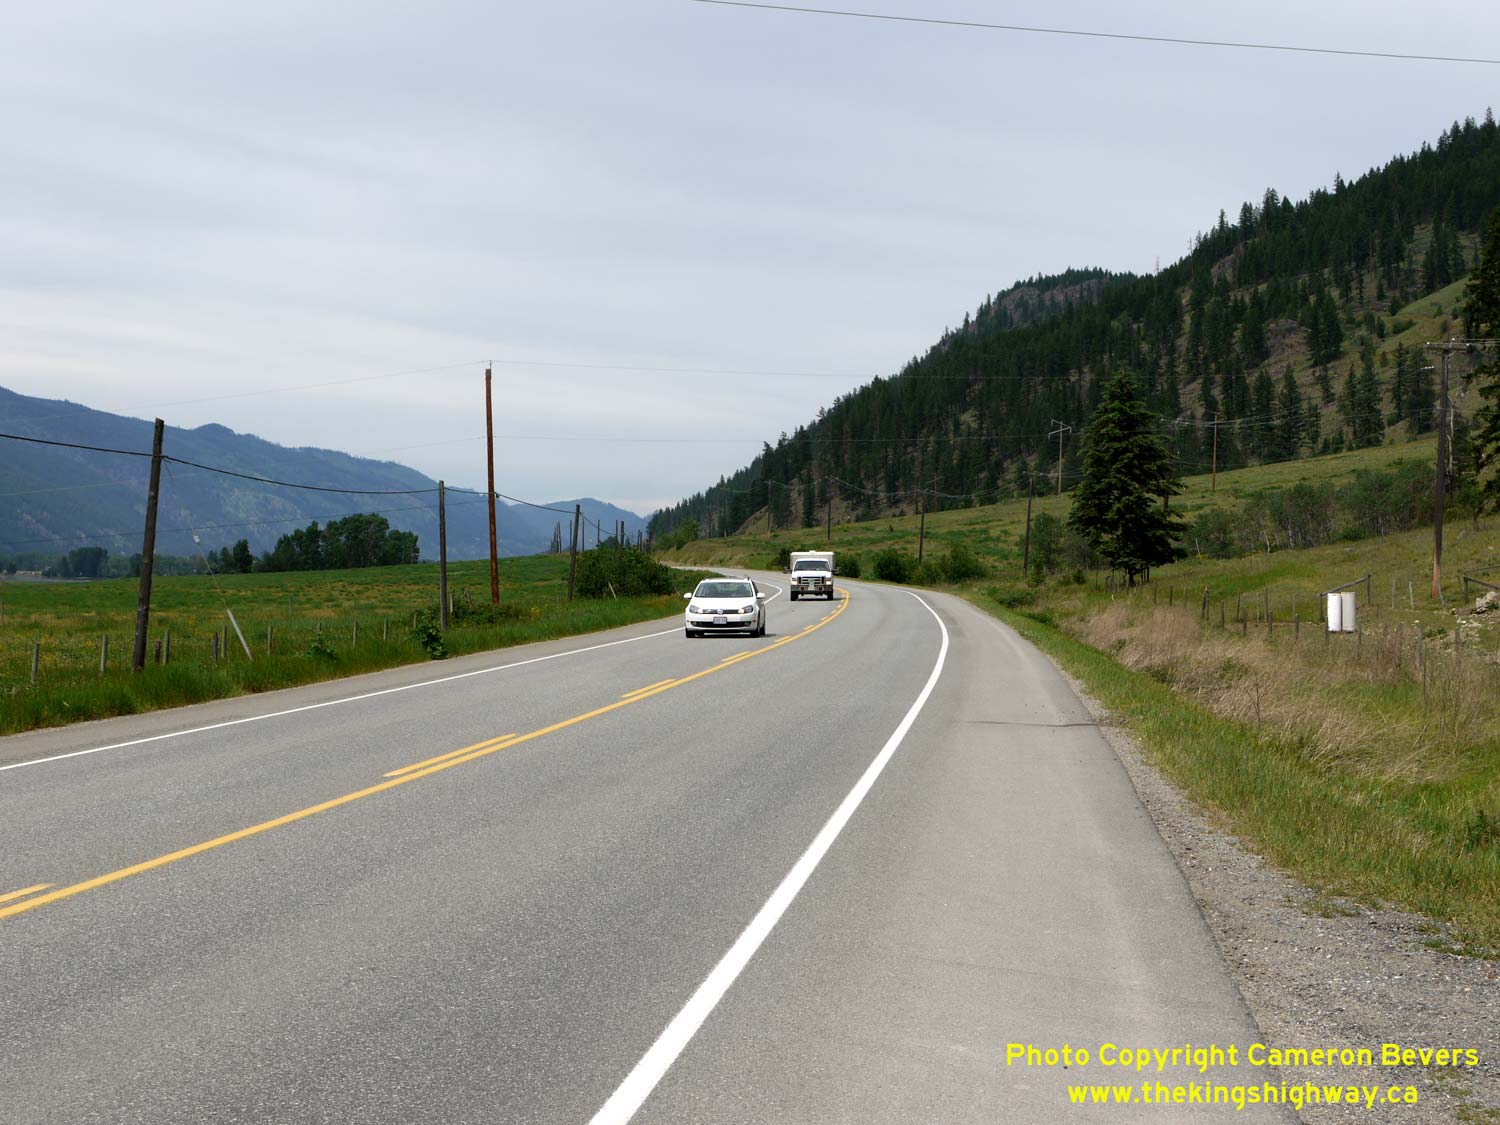

Left - Facing north along Hwy 5, about 27 km south of Barriere. See an
Enlarged Photo Here. (Photograph taken on June 1, 2015 - © Cameron Bevers) Right - Facing north along Hwy 5, about 23 km north of Kamloops. See an Enlarged Photo Here. (Photograph taken on June 1, 2015 - © Cameron Bevers) 

Left - Facing south along Hwy 5, about 21 km north of Kamloops. See an
Enlarged Photo Here. (Photograph taken on June 1, 2015 - © Cameron Bevers) Right - Distance guide sign on northbound Hwy 5 near Heffley Creek. See an Enlarged Photo Here. (Photograph taken on June 1, 2015 - © Cameron Bevers) 

Left - End of the four-lane highway at Heffley Creek. From this point northerly, Hwy 5 is a conventional two-lane highway. See an
Enlarged Photo Here. (Photograph taken on June 1, 2015 - © Cameron Bevers) Right - Approaching Heffley Creek on the Southern Yellowhead Highway (Hwy 5), facing south towards Kamloops. See an Enlarged Photo Here. (Photograph taken on June 1, 2015 - © Cameron Bevers) 
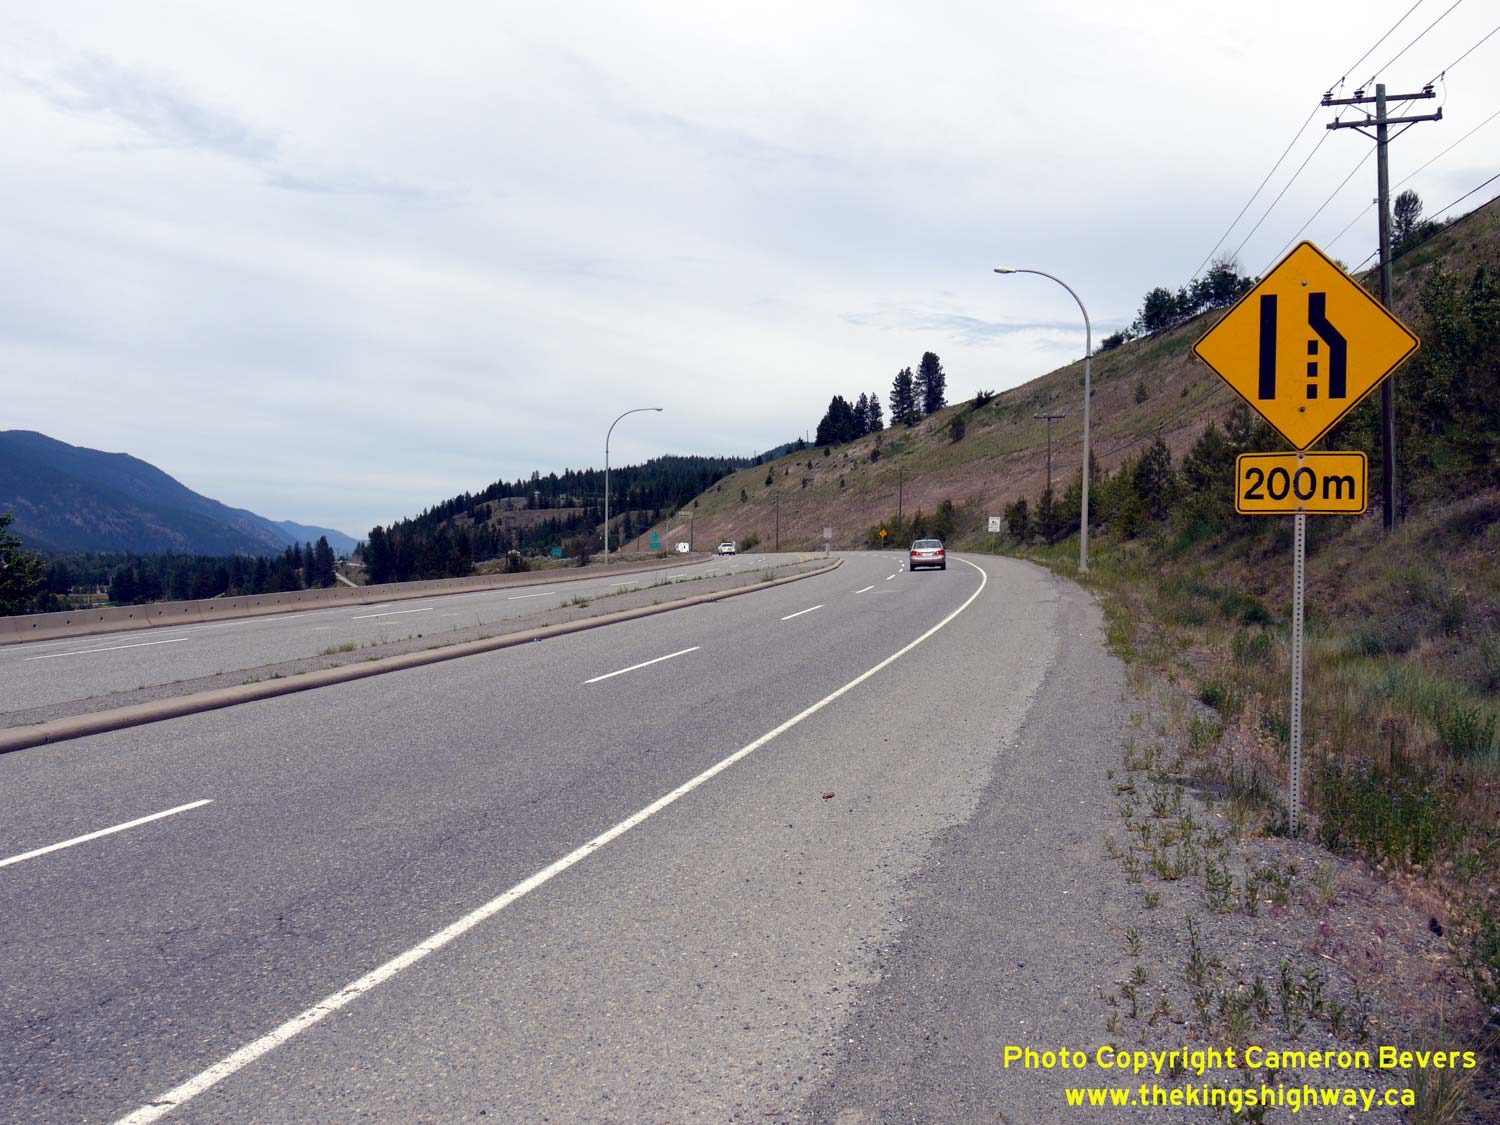
Left - Facing south along Hwy 5 at Heffley Creek. See an
Enlarged Photo Here. (Photograph taken on June 1, 2015 - © Cameron Bevers) Right - At Heffley Creek, Hwy 5 narrows from four lanes down to two lanes. See an Enlarged Photo Here. (Photograph taken on June 1, 2015 - © Cameron Bevers) 

Left - Facing south towards Kamloops along the Heffley Creek Bypass (Hwy 5). Originally, Hwy 5 passed through Heffley Creek. See an
Enlarged Photo Here. (Photograph taken on June 1, 2015 - © Cameron Bevers) Right - Several sections of the Southern Yellowhead Highway were bypassed over the years. Here, a former alignment of Hwy 5 intersects with the present-day route of Hwy 5, which now bypasses the small community of Heffley Creek. See an Enlarged Photo Here. (Photograph taken on June 1, 2015 - © Cameron Bevers) 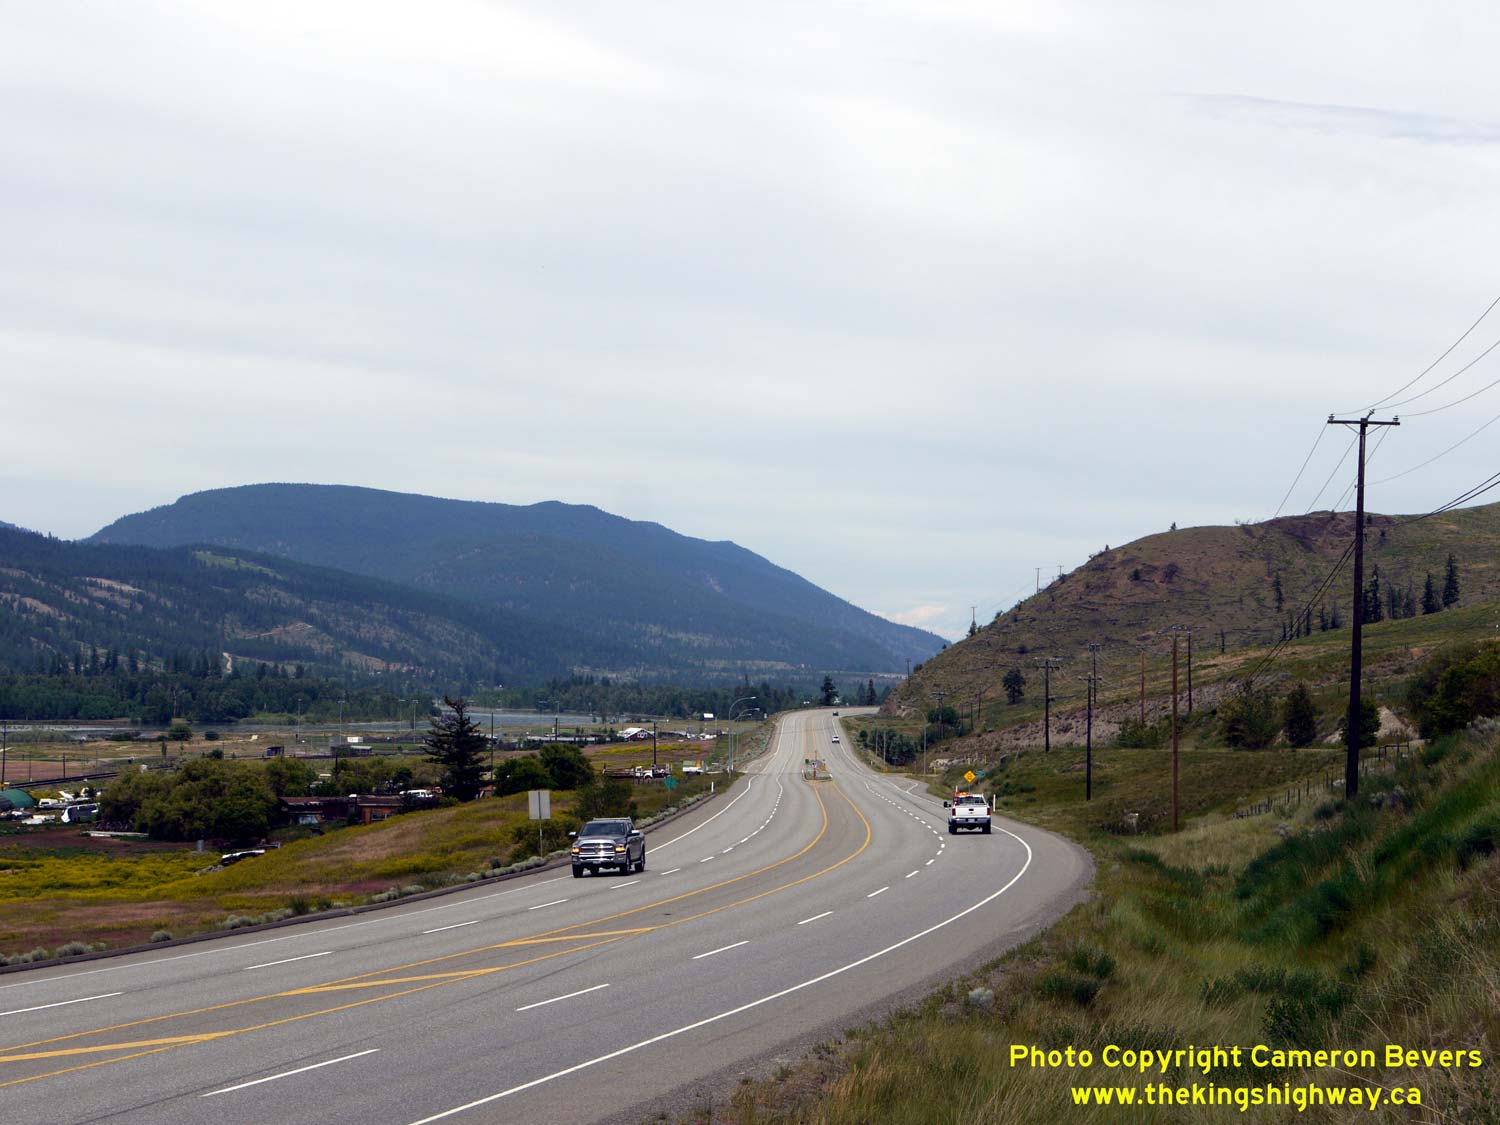

Left - Facing north along Hwy 5 near Palmer Forsythe Road, located about 12 km north of Kamloops. See an
Enlarged Photo Here. (Photograph taken on June 1, 2015 - © Cameron Bevers) Right - This long curve on Hwy 5 is located about 12 km north of Kamloops. See an Enlarged Photo Here. (Photograph taken on June 1, 2015 - © Cameron Bevers) 

Left - Facing north along Hwy 5 towards Barriere at Rayleigh. See an
Enlarged Photo Here. (Photograph taken on June 1, 2015 - © Cameron Bevers) Right - Facing south along Hwy 5 towards Kamloops at Rayleigh. See an Enlarged Photo Here. (Photograph taken on June 1, 2015 - © Cameron Bevers) 
Left - Facing north along Hwy 5 approaching Rayleigh. See an
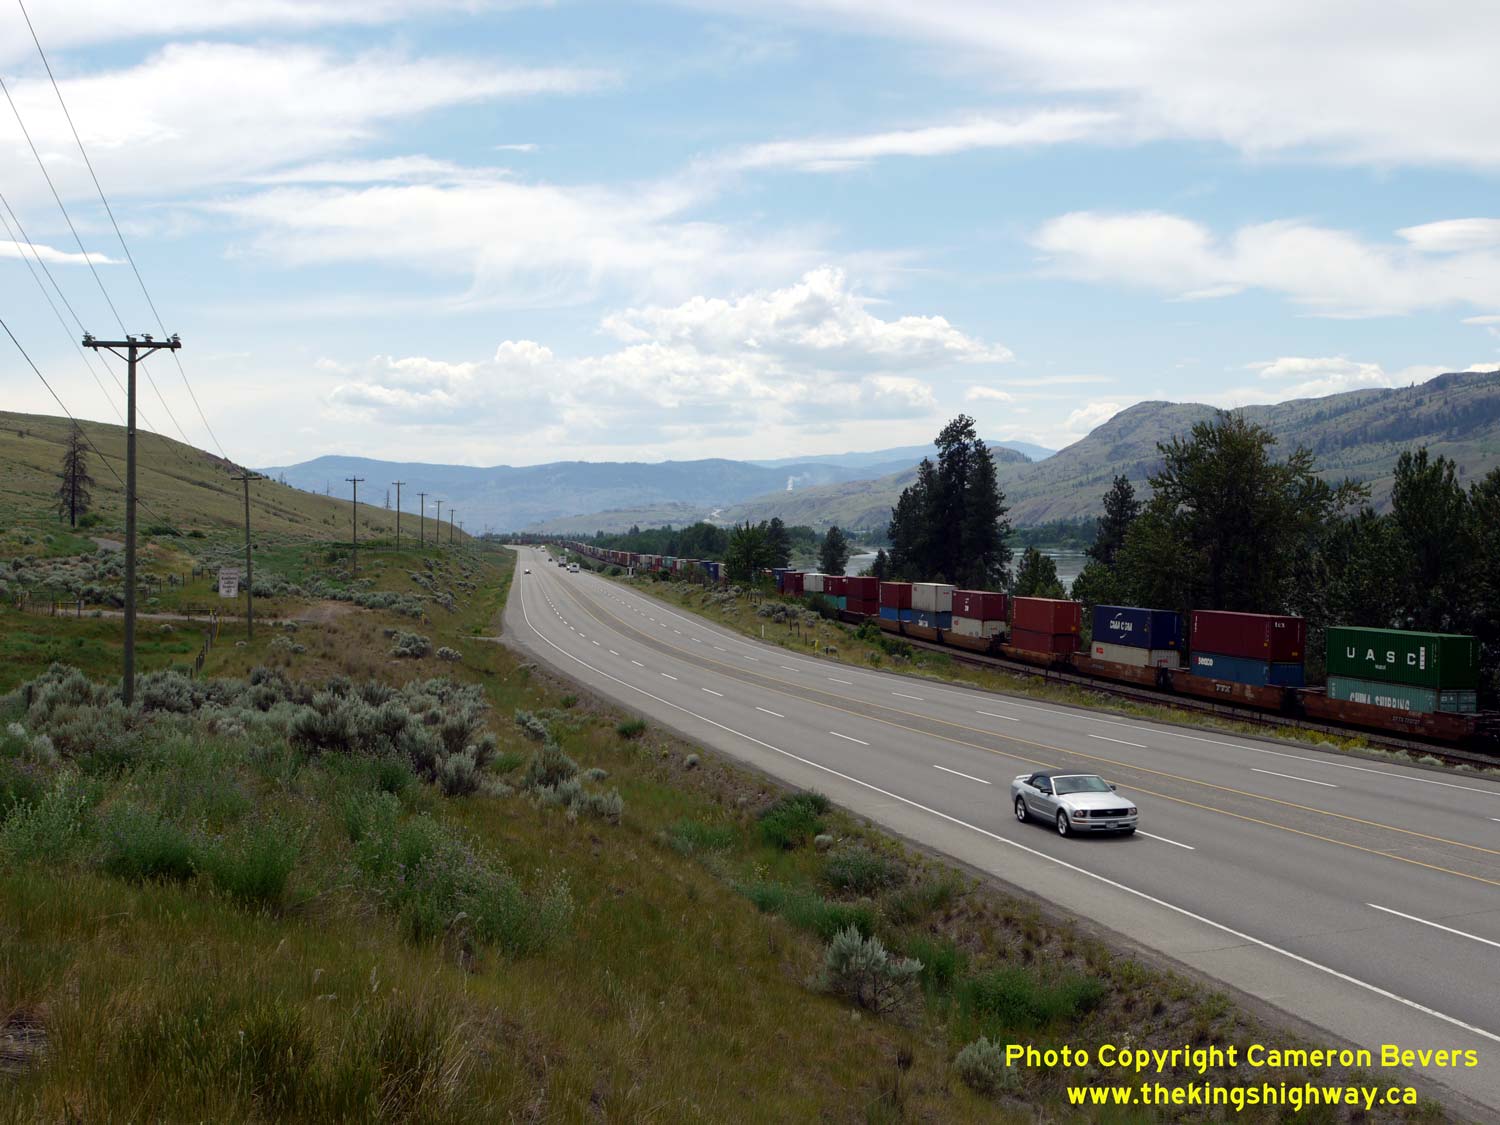
Enlarged Photo Here. (Photograph taken on June 1, 2015 - © Cameron Bevers) Right - The North Thompson River corridor is important for both highway and railway transportation. Note the long freight train beside Hwy 5 at right. See an Enlarged Photo Here. (Photograph taken on June 1, 2015 - © Cameron Bevers) 

Left - Facing south along Hwy 5, about 4 km north of Kamloops. The highway continues north with a four-lane undivided cross section from Kamloops to Heffley
Creek. See an Enlarged Photo Here. (Photograph taken on June 1, 2015 - © Cameron Bevers) Right - Hwy 5 passes through some scenic grasslands north of Kamloops. Sage bush dots the dry landscape. See an Enlarged Photo Here. (Photograph taken on June 1, 2015 - © Cameron Bevers) 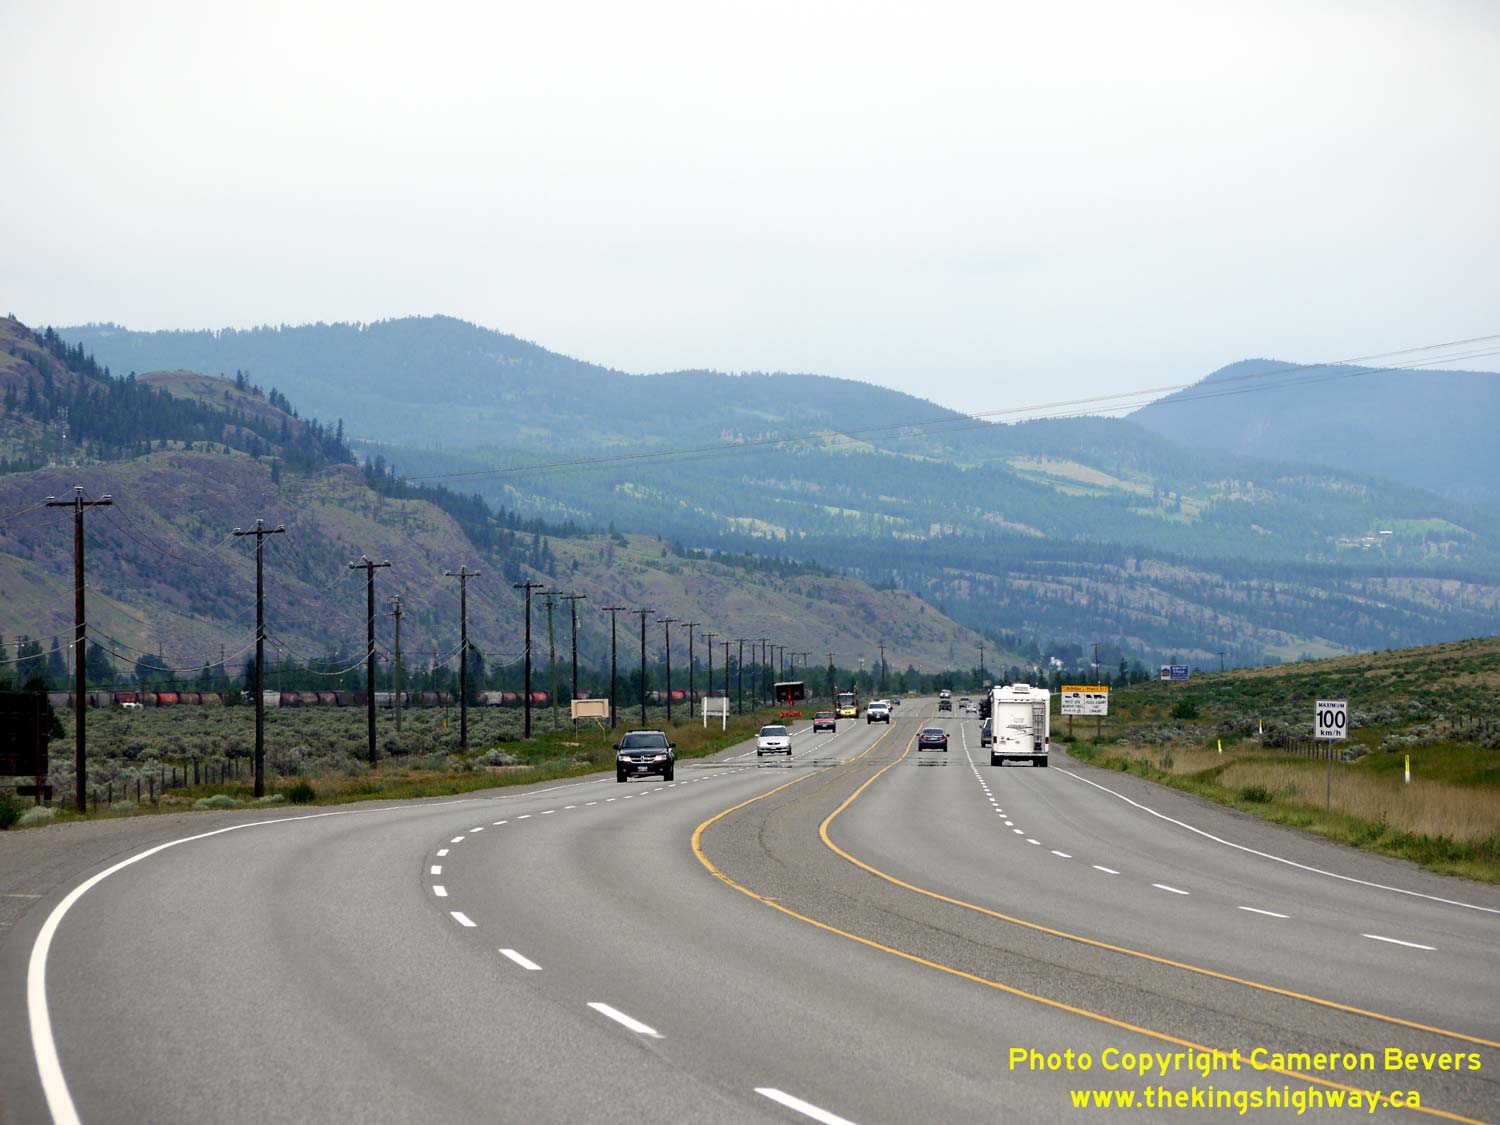

Left - View of Hwy 5 about 1 km north of Kamloops, facing north. See an
Enlarged Photo Here. (Photograph taken on June 1, 2015 - © Cameron Bevers) Right - Facing south along Hwy 5, about 1 km north of Kamloops. See an Enlarged Photo Here. (Photograph taken on June 1, 2015 - © Cameron Bevers) 

Left - Facing south along Hwy 5 towards Halston Avenue & Paul Lake Road in Kamloops. See an
Enlarged Photo Here. (Photograph taken on June 1, 2015 - © Cameron Bevers) Right - Variable message sign on northbound Hwy 5, facing north near Halston Avenue & Paul Lake Road. See an Enlarged Photo Here. (Photograph taken on June 1, 2015 - © Cameron Bevers) 

Left - Facing north along Hwy 5 at Halston Avenue & Paul Lake Road. Halston Avenue is Kamloops' main east-west arterial street. Accordingly, the northbound
left turn from Hwy 5 onto Halston Avenue has dual left-turn lanes which are very heavily-utilized. See an
Enlarged Photo Here. (Photograph taken on June 1, 2015 - © Cameron Bevers) Right - Overhead guide signs on southbound Hwy 5 approaching the Trans-Canada Highway (Hwy 1 & Hwy 97) Interchange. Heading east from Kamloops, Hwy 1 & Hwy 97 share a single route for about 20 km. Hwy 97 then turns south towards Vernon and Kelowna while Hwy 1 continues east towards Salmon Arm and Banff, Alberta. Heading west from this interchange, Hwy 1, Hwy 5 & Hwy 97 all join together into a single overlapped route via the Kamloops Freeway. West of Kamloops, Hwy 1 & Hwy 5 continue southwest towards Vancouver, while Hwy 97 turns north towards Prince George at Cache Creek. See an Enlarged Photo Here. (Photograph taken on June 1, 2015 - © Cameron Bevers) 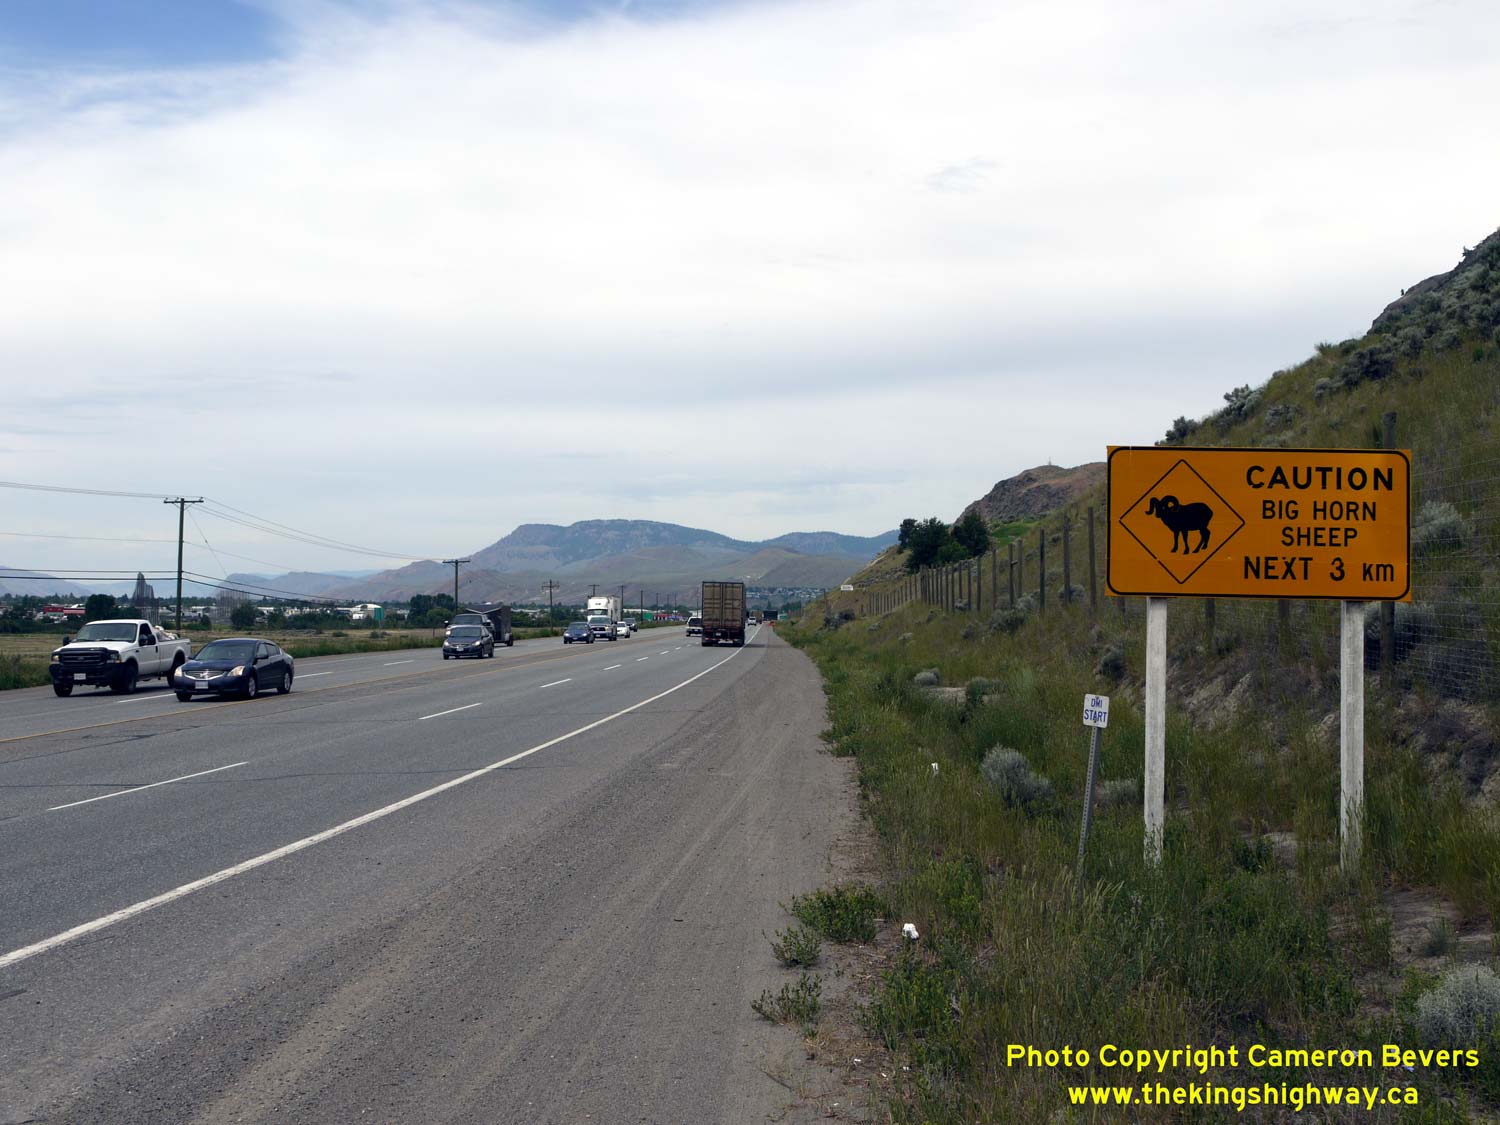

Left - Sign warning motorists of bighorn sheep along the East Kamloops Bypass (Hwy 5). See an
Enlarged Photo Here. (Photograph taken on June 1, 2015 - © Cameron Bevers) Right - Distance guide sign on northbound Hwy 5 in Kamloops. Since there are no major destinations along Hwy 5 north of Kamloops, distances are also provided to the ultimate control centres of Prince George and Jasper, Alberta. Both destinations are both accessible via Hwy 16 from Hwy 5's northern terminus. See an Enlarged Photo Here. (Photograph taken on June 1, 2015 - © Cameron Bevers) 
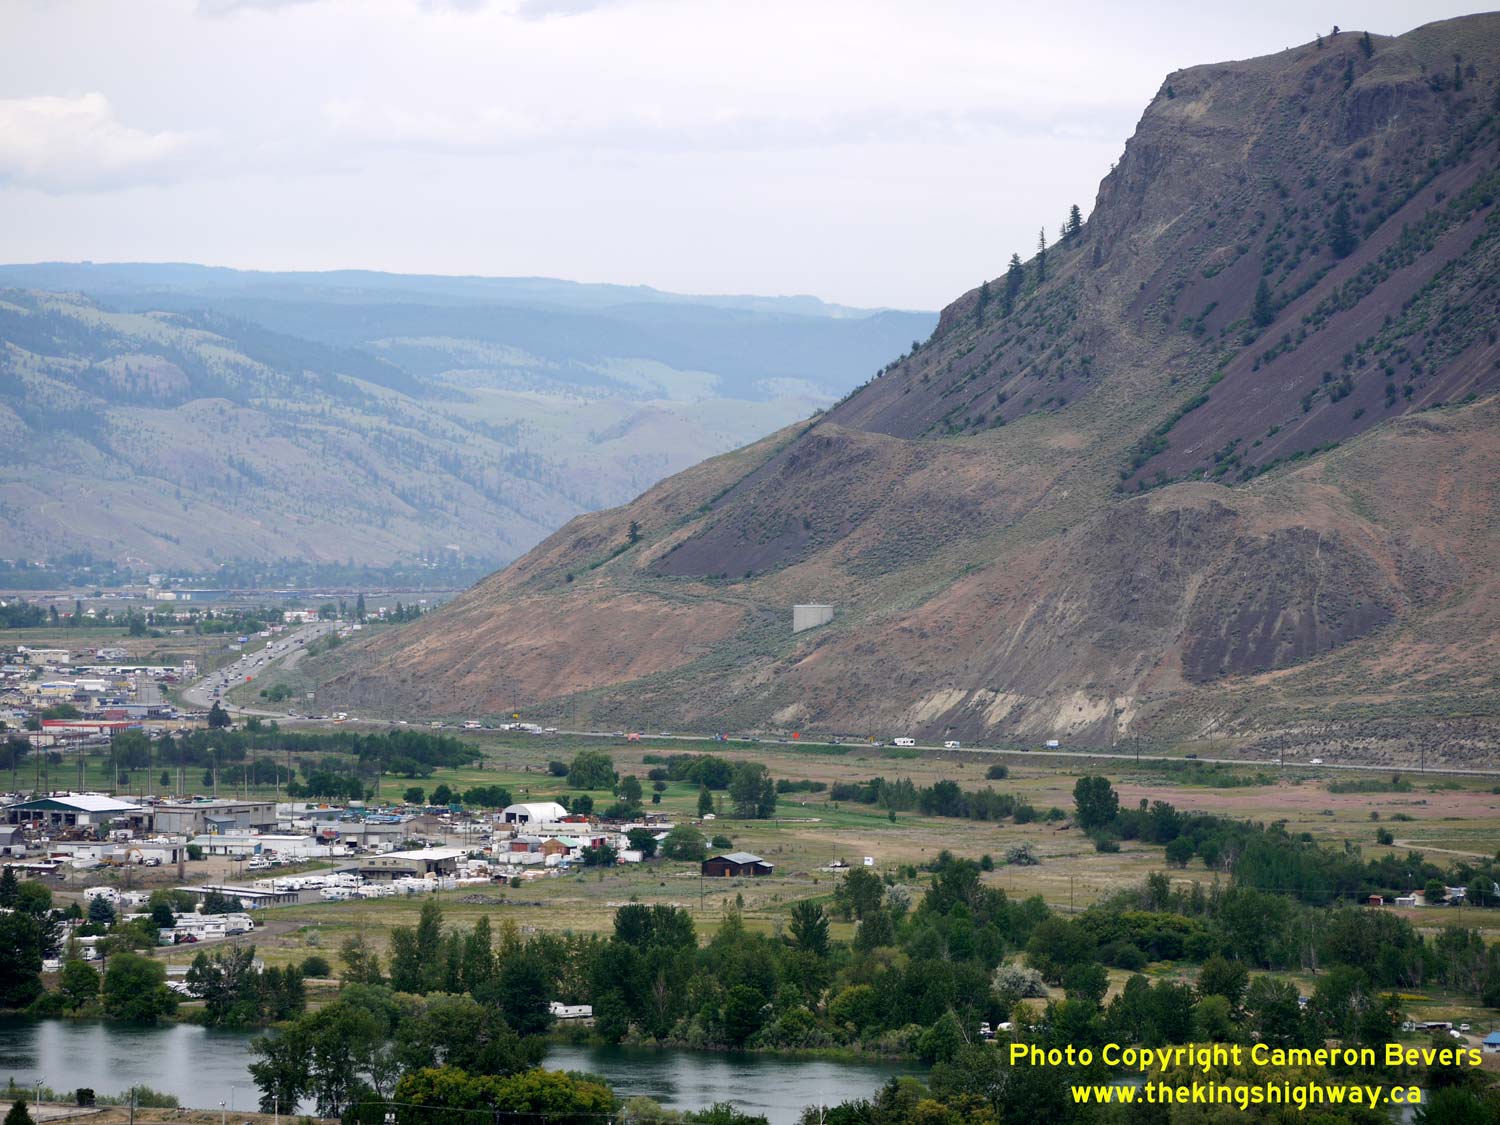
Left - Approaching the South Thompson River Bridge and the Trans-Canada Highway (Hwy 1 & Hwy 97) Interchange on the East Kamloops Bypass (Hwy 5), facing
south. See an Enlarged Photo Here. (Photograph taken on June 1, 2015 - © Cameron Bevers) Right - Distant view of the East Kamloops Bypass (Hwy 5). The dusty, towering mountains beside the highway look more like somewhere in California than Canada. See an Enlarged Photo Here. (Photograph taken on June 1, 2015 - © Cameron Bevers)
Continue west along BC Highway 5 from Kamloops to the Coquihalla Highway |
|---|
Links to Adjacent BC Highway Photograph Pages:
Back to BC Highway 3B Photos /
British Columbia Highways Photo Index /
On to BC Highway 6 Photos
Ontario Highway History - Main Menu / Vacation Highway Photos - Main Menu Website contents, photos & text © 2002-2026, Cameron
Bevers (Webmaster) - All Rights Reserved / Contact Me
|
|---|