
| 
| |
|
|
This page contains photographs of British Columbia's Highway 1 (Trans-Canada Highway), arranged by location from Sicamous
westerly to the Highway 97 Junction at Monte Creek. All photographs displayed on this page were taken by the Webmaster (Cameron Bevers). To view photos of other
British Columbia Highways, please select a highway number listed on the
British Columbia Photograph Index Page. Click on any thumbnail to see a larger image!
Please note that all photographs displayed on this website are protected by copyright. These photographs must not be
reproduced, published, electronically stored or copied, distributed, or posted onto other websites without my written permission. If you want to use photos from this
website, please email me first for permission. Thank-you!
|
|---|
|
Page 4: BC Highway 1 (Trans-Canada Highway) Photographs: Sicamous to Highway 97
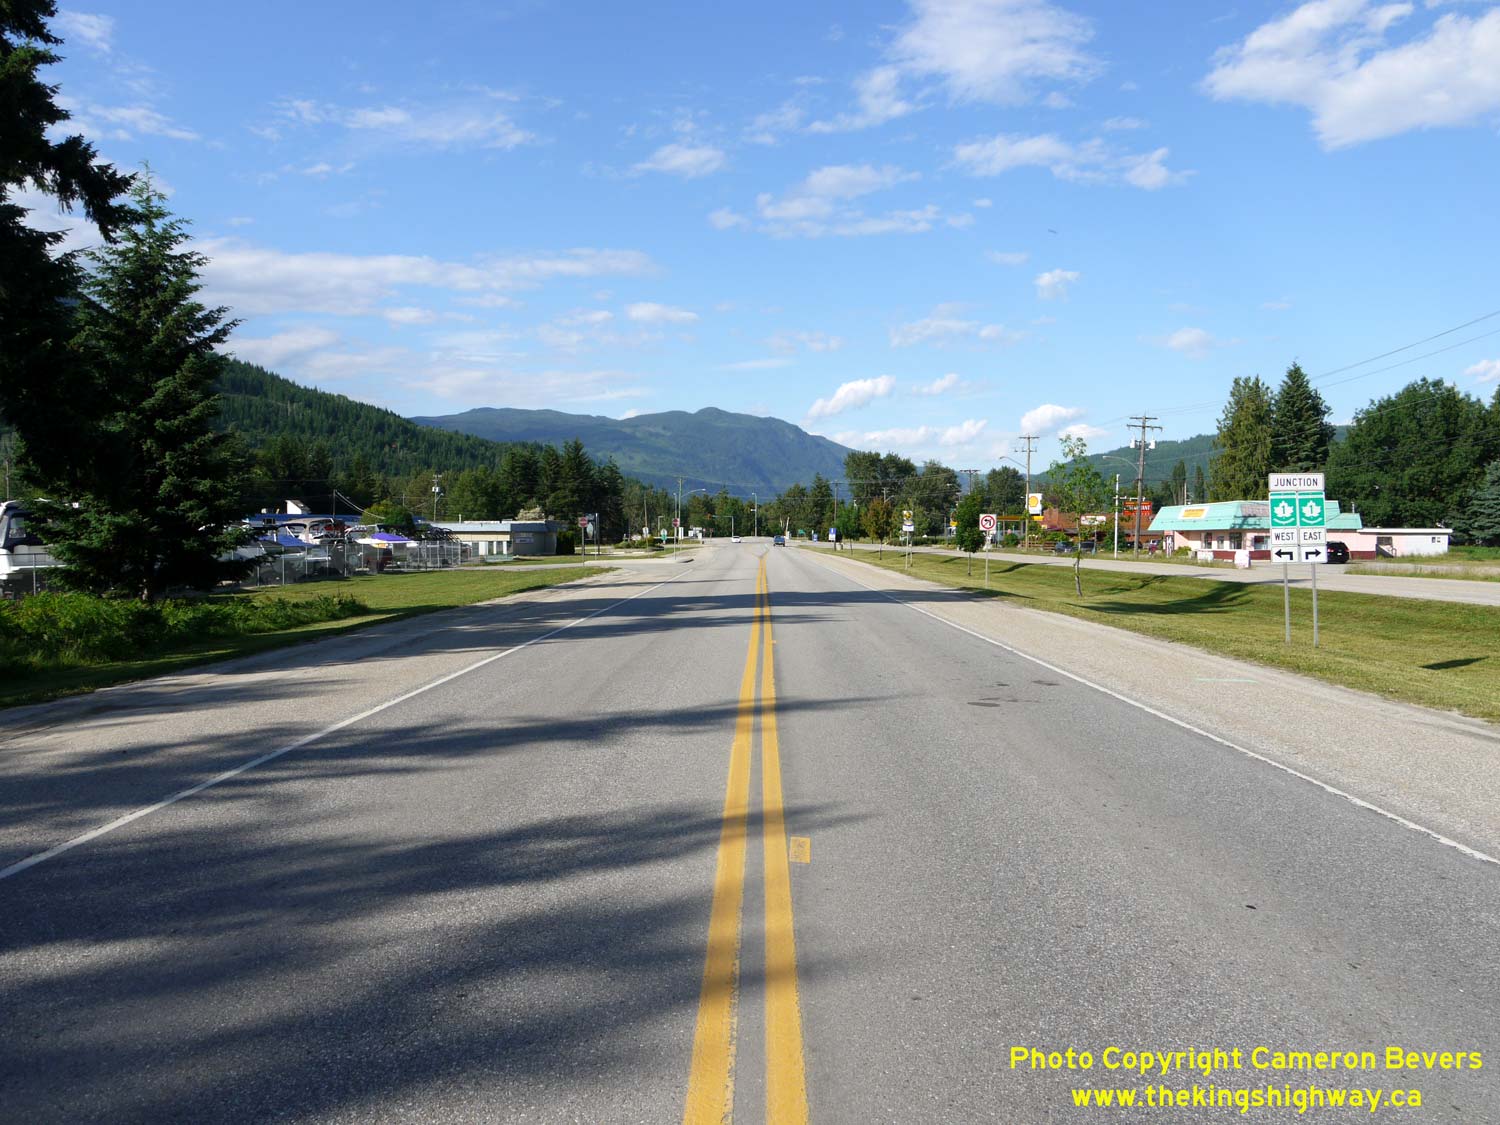

Left - Approaching the Trans-Canada Highway (Hwy 1) Junction on northbound Hwy 97A in Sicamous. See an
Enlarged Photo Here. (Photograph taken on June 5, 2015 - © Cameron Bevers) Right - Junction sign assembly on northbound Hwy 97A approaching the Hwy 1 Junction. See an Enlarged Photo Here. (Photograph taken on June 5, 2015 - © Cameron Bevers) 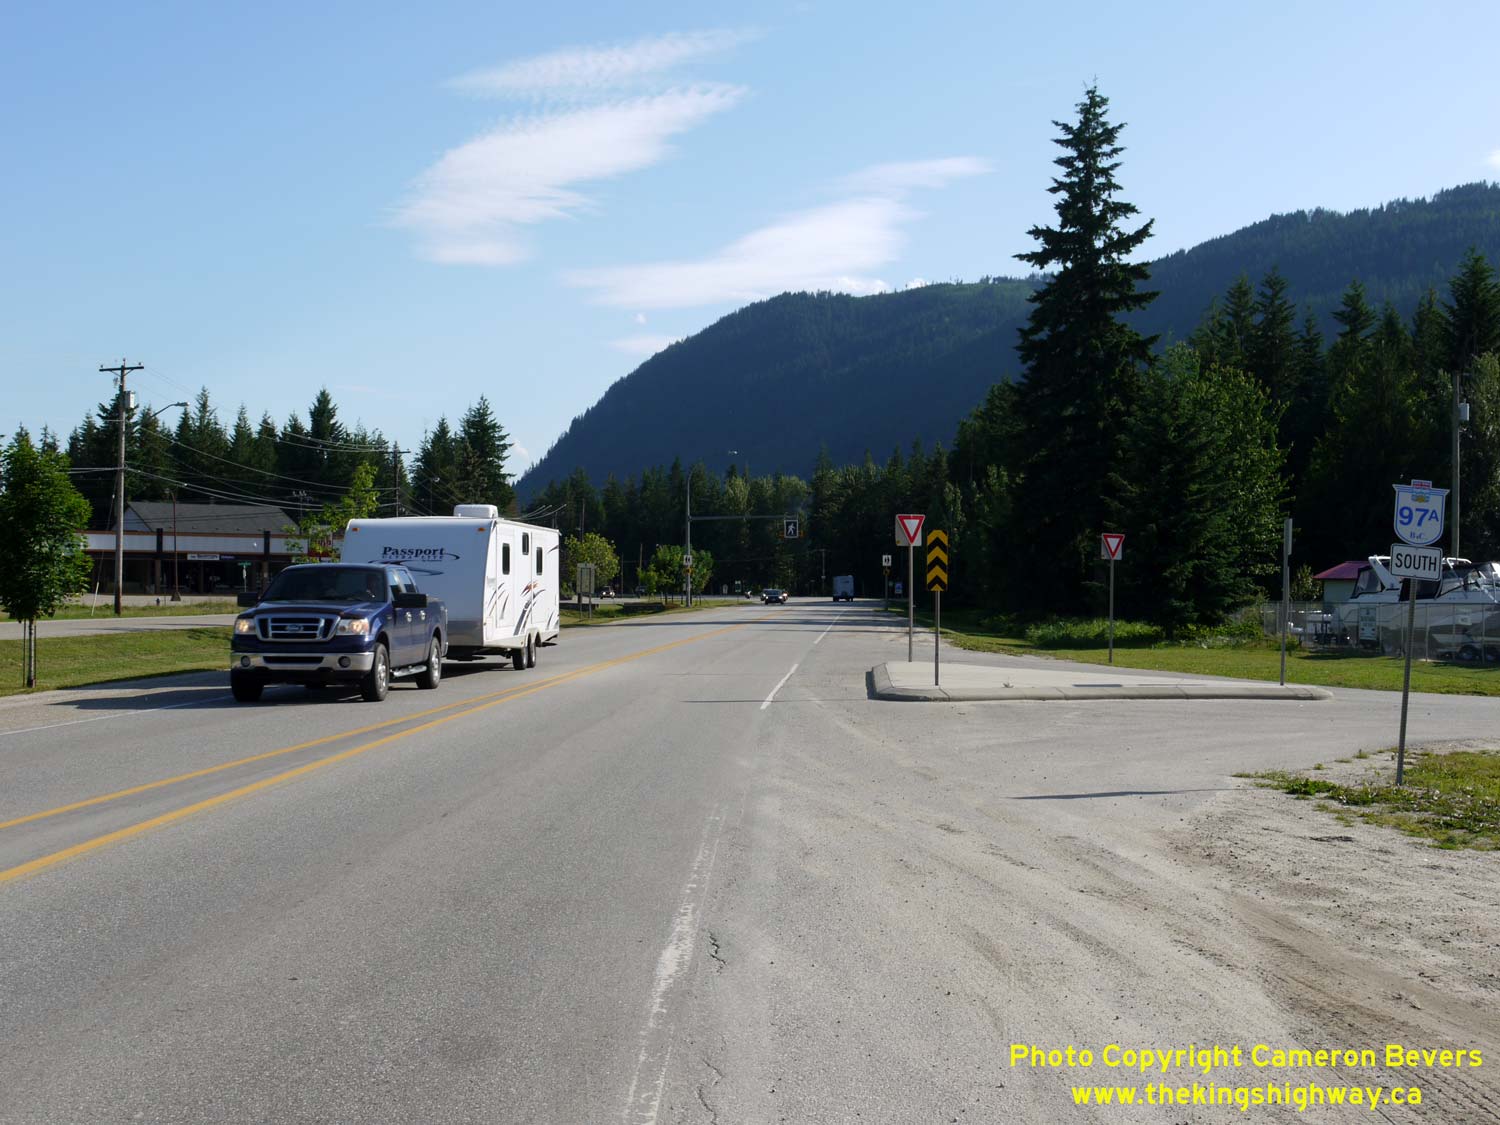
Left - Facing south along Hwy 97A near the Hwy 1 Junction in Sicamous in 2015. The route of Hwy 97A begins at the Hwy 1 Junction and heads south towards
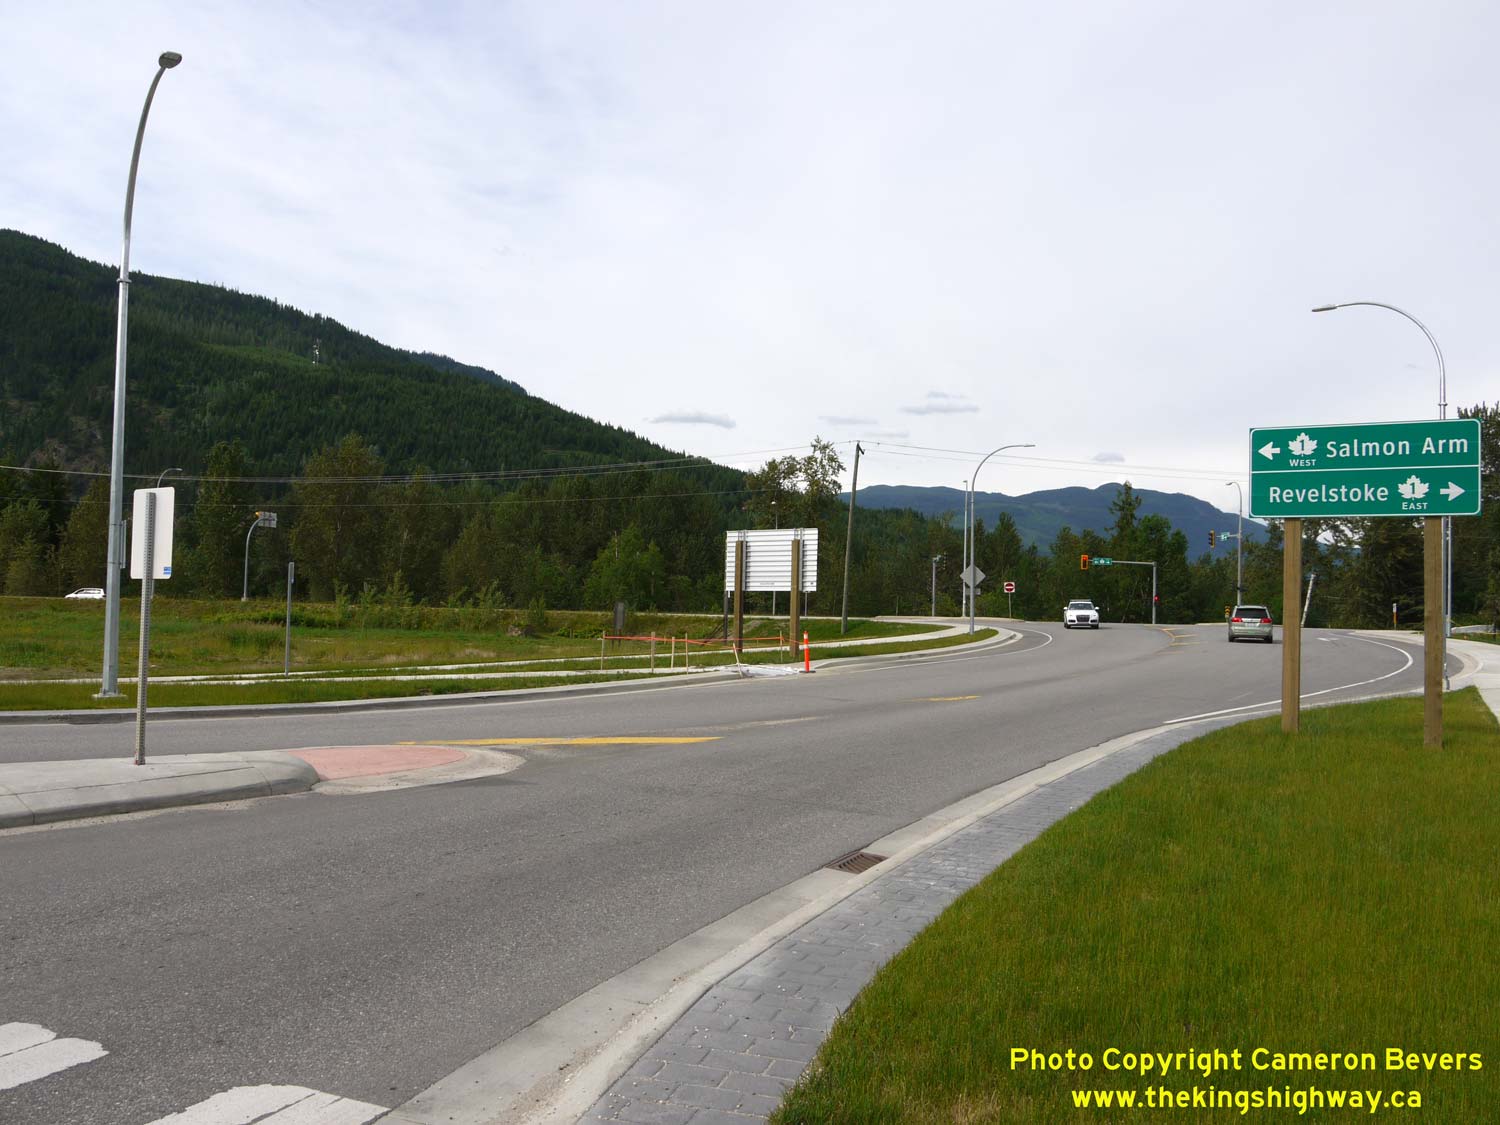
Vernon. See an Enlarged Photo Here. (Photograph taken on June 5, 2015 - © Cameron Bevers) Right - Green destination guide sign at the northern terminus of Hwy 97A in 2017, indicating the directions along Hwy 1 to Salmon Arm and Revelstoke. See an Enlarged Photo Here. (Photograph taken on June 3, 2017 - © Cameron Bevers) 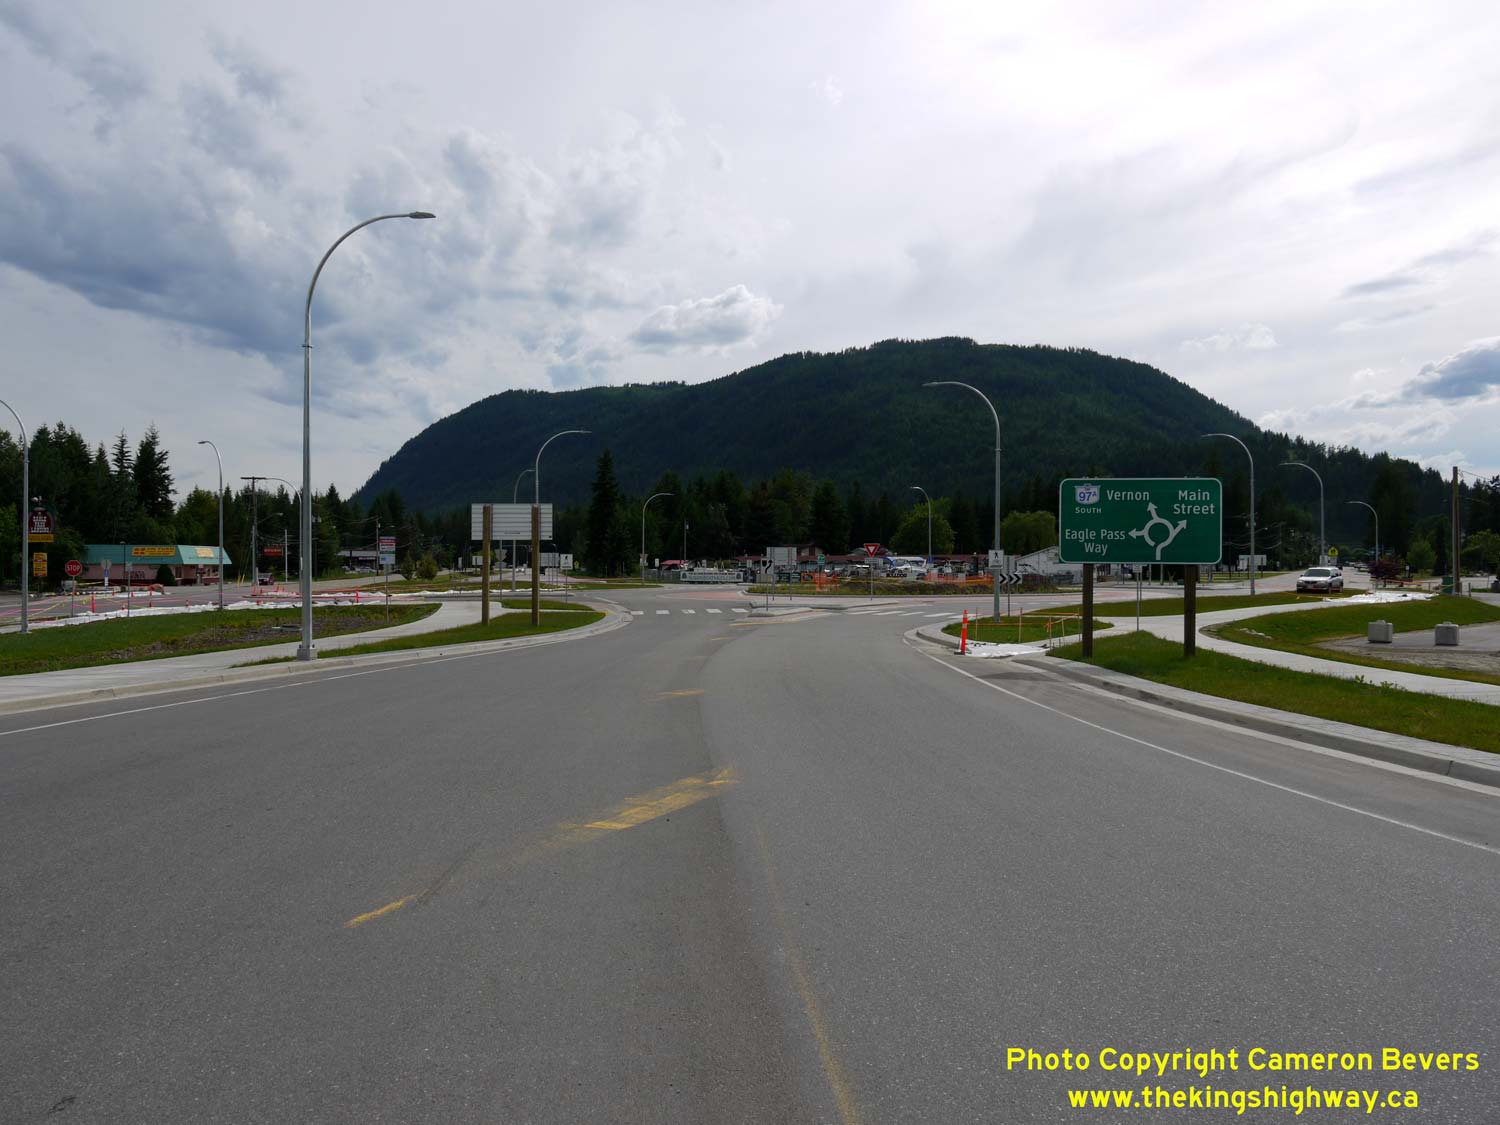

Left - Facing south along Hwy 97A from the Hwy 1 Junction in 2017. A roundabout was recently constructed on Hwy 97A immediately south of the Hwy 1 Junction.
See an Enlarged Photo Here. (Photograph taken on June 3, 2017 - © Cameron Bevers) Right - Junction sign assembly on eastbound Hwy 1 approaching the Hwy 97A Junction in Sicamous. See an Enlarged Photo Here. (Photograph taken on June 5, 2015 - © Cameron Bevers) 

Left - Oversized British Columbia Hwy 97A route marker on the Trans-Canada Highway (Hwy 1) in Sicamous. Westbound motorists should note that Hwy 97A is the
first of several routes in British Columbia bearing a Hwy 97 route number. Altogether, there are five different routes: Hwy 97, Hwy 97A, Hwy 97B, Hwy 97C &
Hwy 97D. Hwy 1 intersects four of the five Hwy 97 routes between Sicamous and Cache Creek. Hwy 97D via Logan Lake is the only one out of the five different Hwy 97
routes which does not connect to Hwy 1. See an Enlarged Photo Here. (Photograph taken on June 5, 2015 - © Cameron Bevers) Right - Facing east across the Sicamous Narrows Bridge on Hwy 1. See an Enlarged Photo Here. (Photograph taken on June 5, 2015 - © Cameron Bevers) 

Left - Northern side of the Sicamous Narrows Bridge on the Trans-Canada Highway (Hwy 1). See an
Enlarged Photo Here. (Photograph taken on June 5, 2015 - © Cameron Bevers) Right - Plaque commemorating the completion of the Sicamous Narrows Bridge on Hwy 1 in 1962. See an Enlarged Photo Here. (Photograph taken on June 5, 2015 - © Cameron Bevers) 

Left - A transport truck crosses the Sicamous Narrows Bridge on Hwy 1. This is definitely one of the more sizeable bridges situated along the Trans-Canada
Highway in British Columbia. See an Enlarged Photo Here. (Photograph taken on June 5, 2015 - © Cameron Bevers) Right - Facing west along the Trans-Canada Highway (Hwy 1) towards Salmon Arm, about 15 km west of Sicamous. See an Enlarged Photo Here. (Photograph taken on June 5, 2015 - © Cameron Bevers) 
Left - Facing east along the Trans-Canada Highway (Hwy 1) towards Sicamous, about 9 km east of Salmon Arm. See an
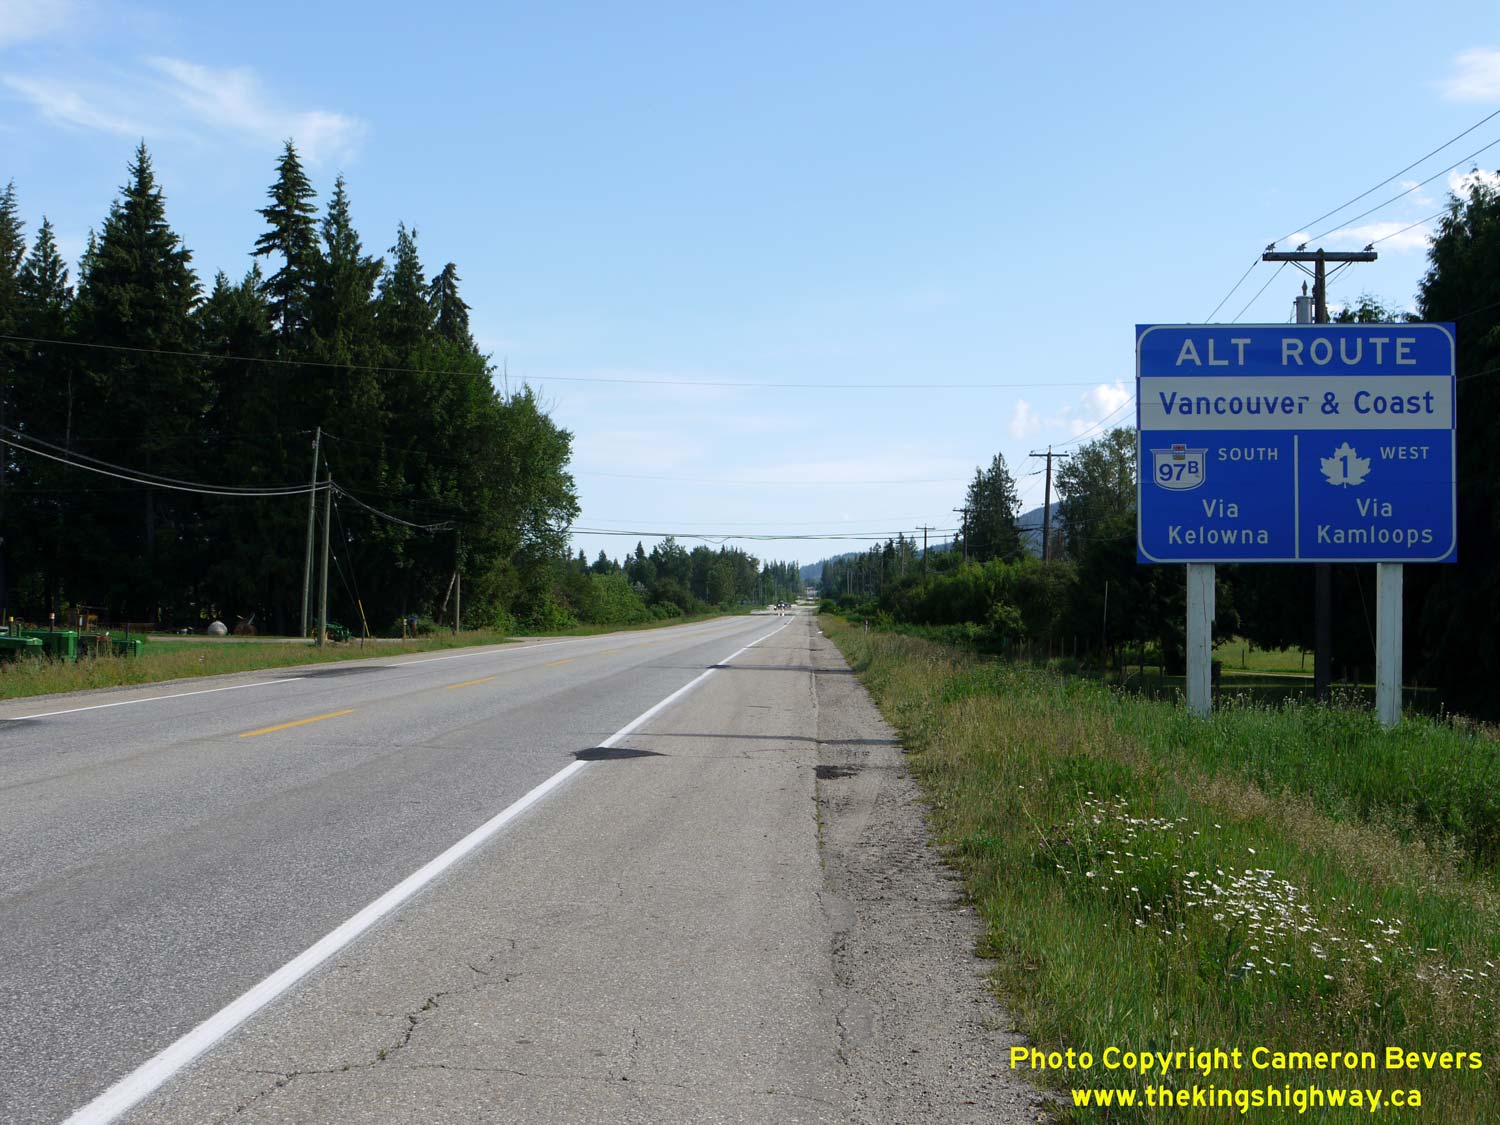
Enlarged Photo Here. (Photograph taken on June 5, 2015 - © Cameron Bevers) Right - Westbound motorists on Hwy 1 are presented with two options to reach Vancouver. The route through Kelowna is longer than the route via Kamloops. See an Enlarged Photo Here. (Photograph taken on June 5, 2015 - © Cameron Bevers) 

Left - Green junction guide sign on westbound Hwy 1 approaching the Hwy 97B Junction in Salmon Arm. See an
Enlarged Photo Here. (Photograph taken on June 5, 2015 - © Cameron Bevers) Right - Distance guide sign on eastbound Hwy 1 at the Hwy 97B Junction in Salmon Arm. See an Enlarged Photo Here. (Photograph taken on June 5, 2015 - © Cameron Bevers) 

Left - Facing east along the Trans-Canada Highway (Hwy 1) towards Sicamous from the Hwy 97B Junction in Salmon Arm. See
an Enlarged Photo Here. (Photograph taken on June 5, 2015 - © Cameron Bevers) Right - View of the Hwy 1 & Hwy 97B Junction, facing west towards Salmon Arm. The City Centre lies about 4 km to the west of the highway junction. See an Enlarged Photo Here. (Photograph taken on June 5, 2015 - © Cameron Bevers) 

Left - Green guide sign at the northern terminus of Hwy 97B, indicating the lane arrangement at the Hwy 1 Junction. See an
Enlarged Photo Here. (Photograph taken on June 5, 2015 - © Cameron Bevers) Right - Facing south along Hwy 97B from the Hwy 1 Junction in Salmon Arm. Hwy 97B connects with Hwy 97A between Enderby and Sicamous. See an Enlarged Photo Here. (Photograph taken on June 5, 2015 - © Cameron Bevers) 

Left - Junction sign assembly on eastbound Hwy 1 approaching the Hwy 97B Junction in Salmon Arm. See an
Enlarged Photo Here. (Photograph taken on June 5, 2015 - © Cameron Bevers) Right - Facing west along Hwy 1 from the Hwy 97B Junction in Salmon Arm. See an Enlarged Photo Here. (Photograph taken on June 5, 2015 - © Cameron Bevers) 

Left - Green junction guide sign approaching the Hwy 97B Junction on eastbound Hwy 1. See an
Enlarged Photo Here. (Photograph taken on June 5, 2015 - © Cameron Bevers) Right - Hwy 1 descends a number of short hills between the Hwy 97B Junction and Downtown Salmon Arm. See an Enlarged Photo Here. (Photograph taken on June 5, 2015 - © Cameron Bevers) 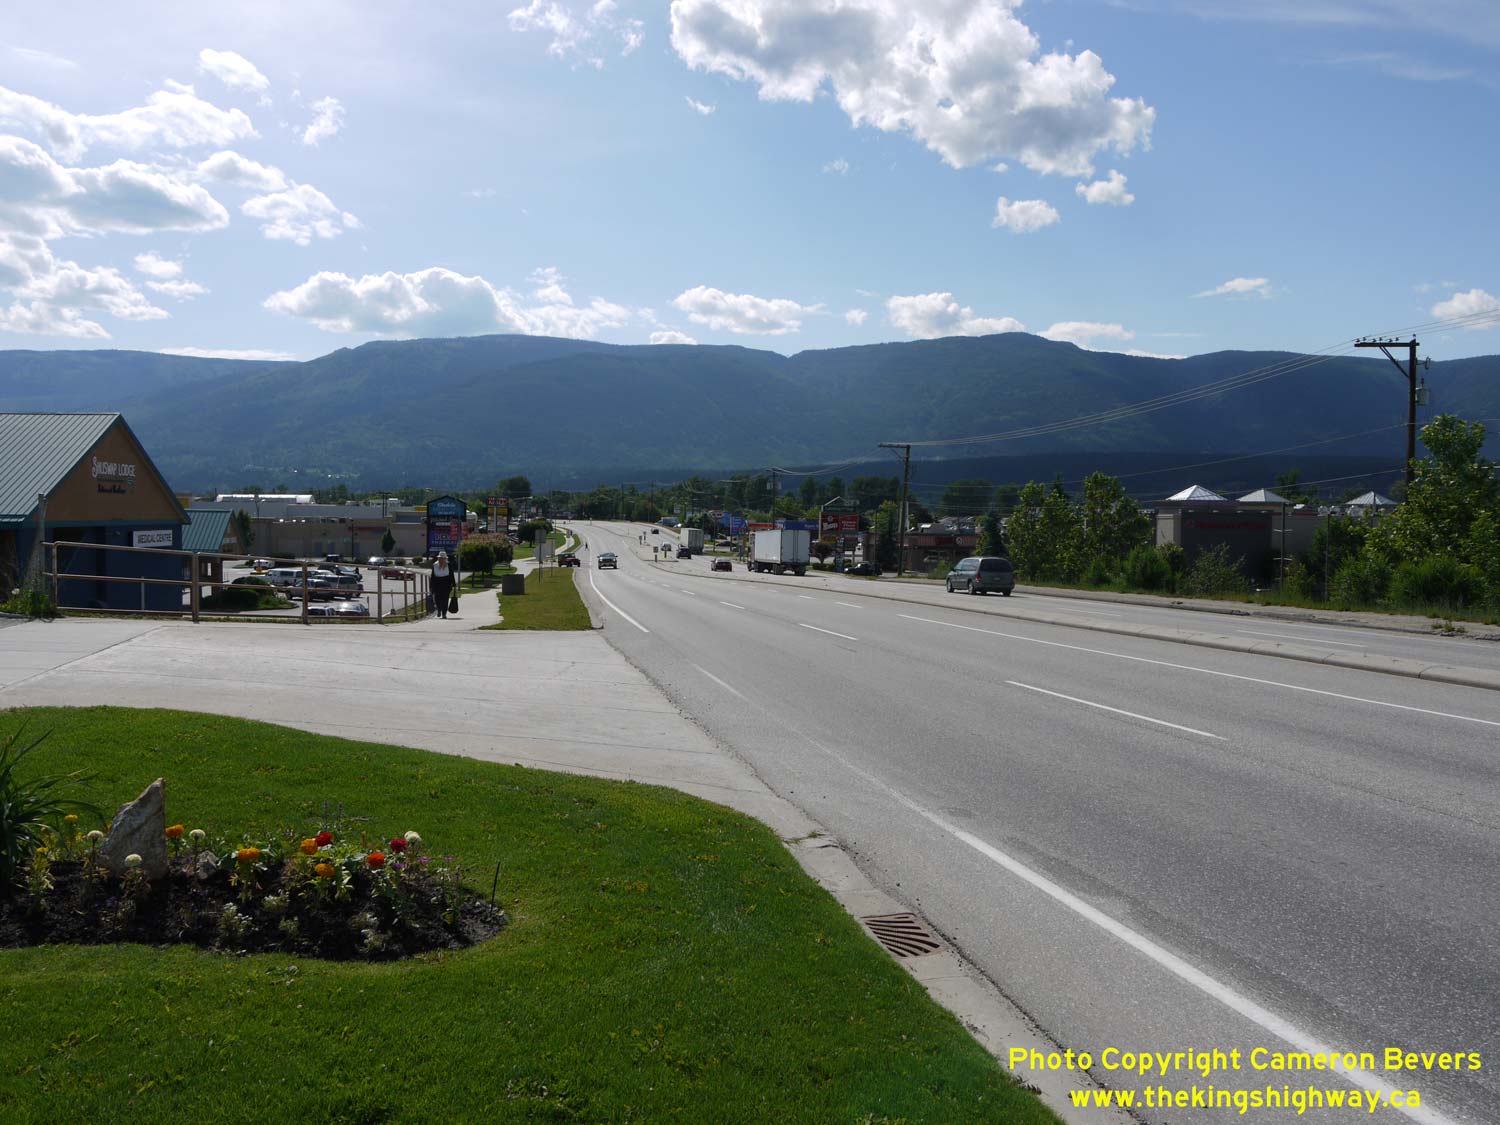

Left - Facing west along Hwy 1 approaching 30th Avenue in Salmon Arm. See an
Enlarged Photo Here. (Photograph taken on June 5, 2015 - © Cameron Bevers) Right - Facing west along Hwy 1 approaching the 21st Avenue Interchange in Salmon Arm. This stand-alone underpass with highway entrance and exit ramps is the only grade-separated interchange along Hwy 1 in Salmon Arm. The interchange is located along a busy commercial strip at the eastern entrance to Salmon Arm. See an Enlarged Photo Here. (Photograph taken on June 5, 2015 - © Cameron Bevers) 

Left - Distance guide sign on eastbound Hwy 1 departing Salmon Arm. See an
Enlarged Photo Here. (Photograph taken on June 5, 2015 - © Cameron Bevers) Right - Salmon Arm entrance sign on the eastbound Trans-Canada Highway (Hwy 1). Scenic Mount Ida can be seen in the distance. See an Enlarged Photo Here. (Photograph taken on June 5, 2015 - © Cameron Bevers) 

Left - The Trans-Canada Highway (Hwy 1) passes through this scenic valley about 21 km west of Salmon Arm. See an
Enlarged Photo Here. (Photograph taken on June 5, 2015 - © Cameron Bevers) Right - Hwy 1 winds its way east along the shores of Shushap Lake, about 5 km west of Sorrento. See an Enlarged Photo Here. (Photograph taken on June 5, 2015 - © Cameron Bevers) 

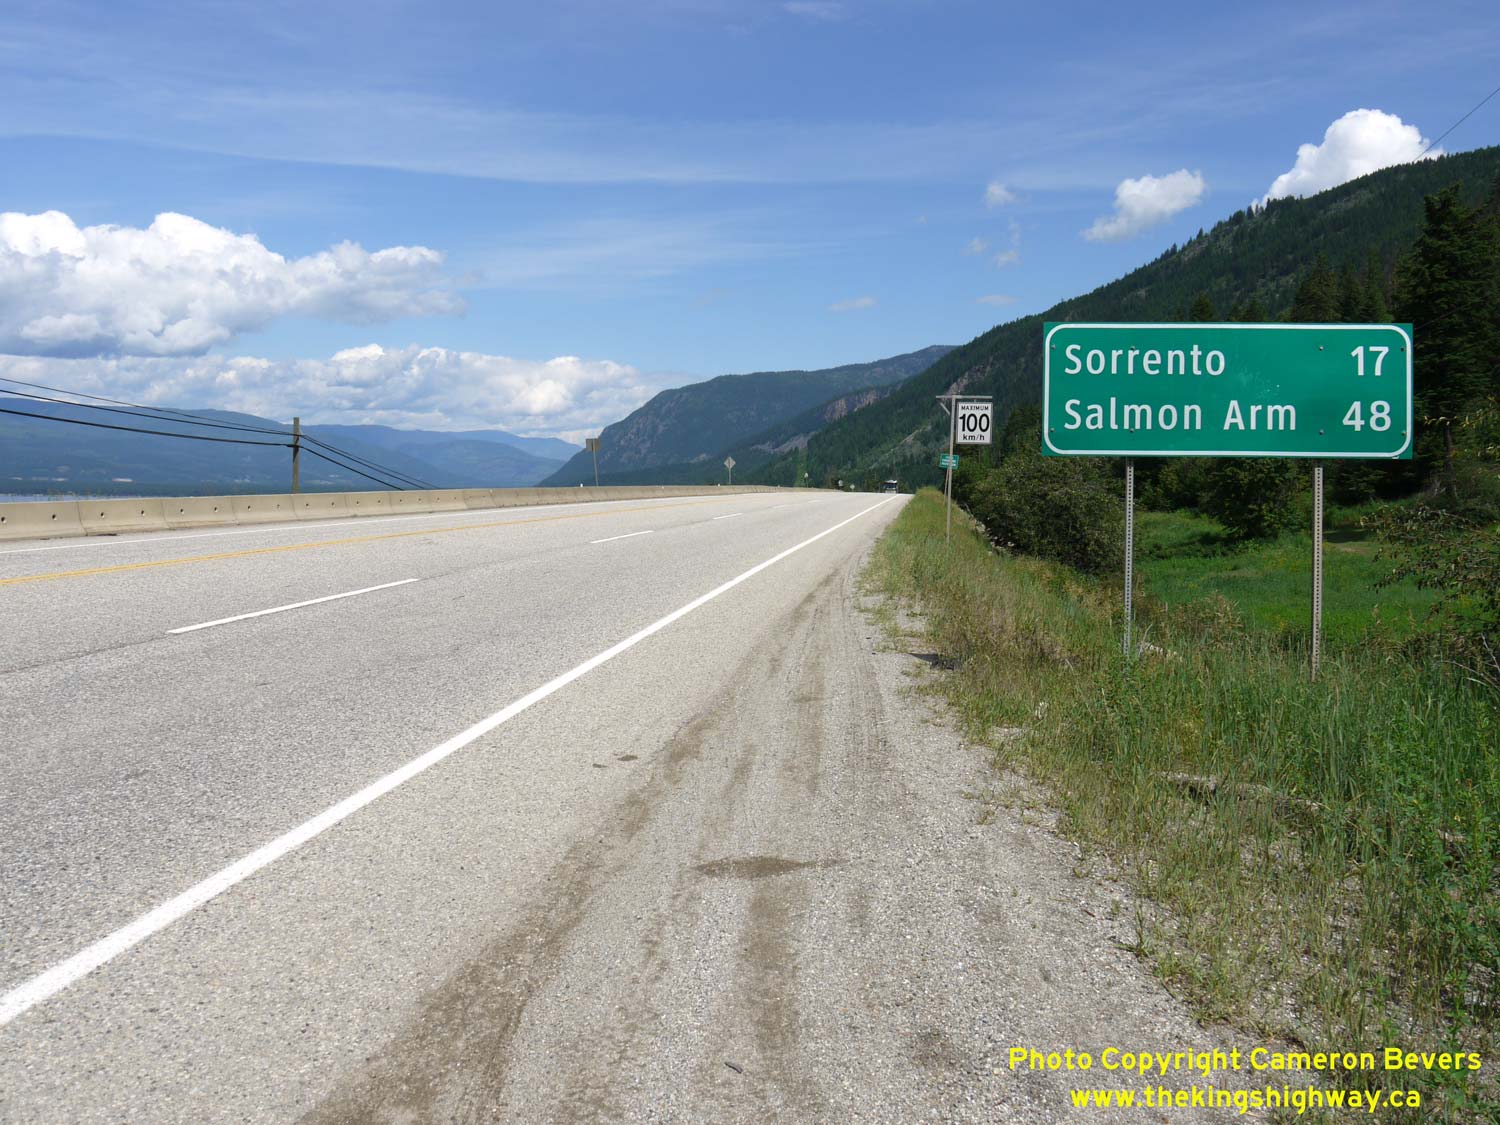
Left - Scenic view of Hwy 1 beside Shushap Lake, about 5 km west of Sorrento. See an
Enlarged Photo Here. (Photograph taken on June 5, 2015 - © Cameron Bevers) Right - Sign on westbound Hwy 1 marking the upcoming turn-off to Chase. Note the bighorn sheep warning sign in the background. See an Enlarged Photo Here. (Photograph taken on June 5, 2015 - © Cameron Bevers) 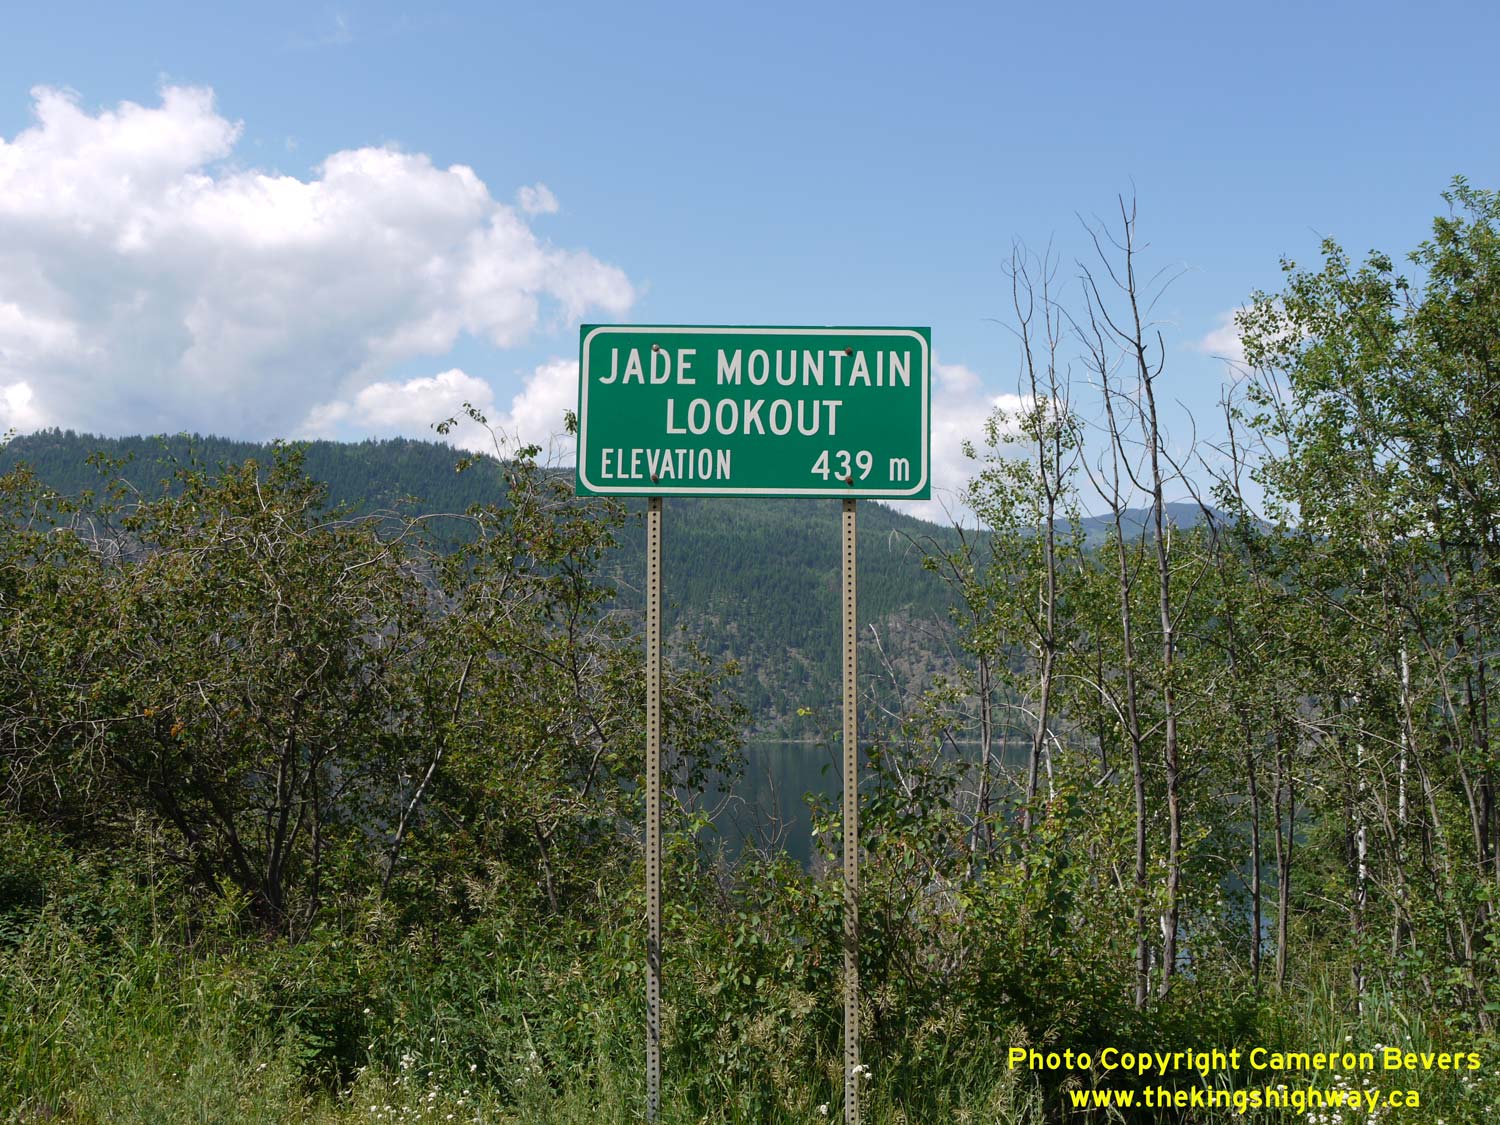
Left - Sign marking the Jade Mountain Lookout on the Trans-Canada Highway (Hwy 1) just east of Chase. See an
Enlarged Photo Here. (Photograph taken on June 5, 2015 - © Cameron Bevers) Right - Distance guide sign on eastbound Hwy 1 departing Chase. See an Enlarged Photo Here. (Photograph taken on June 5, 2015 - © Cameron Bevers) 
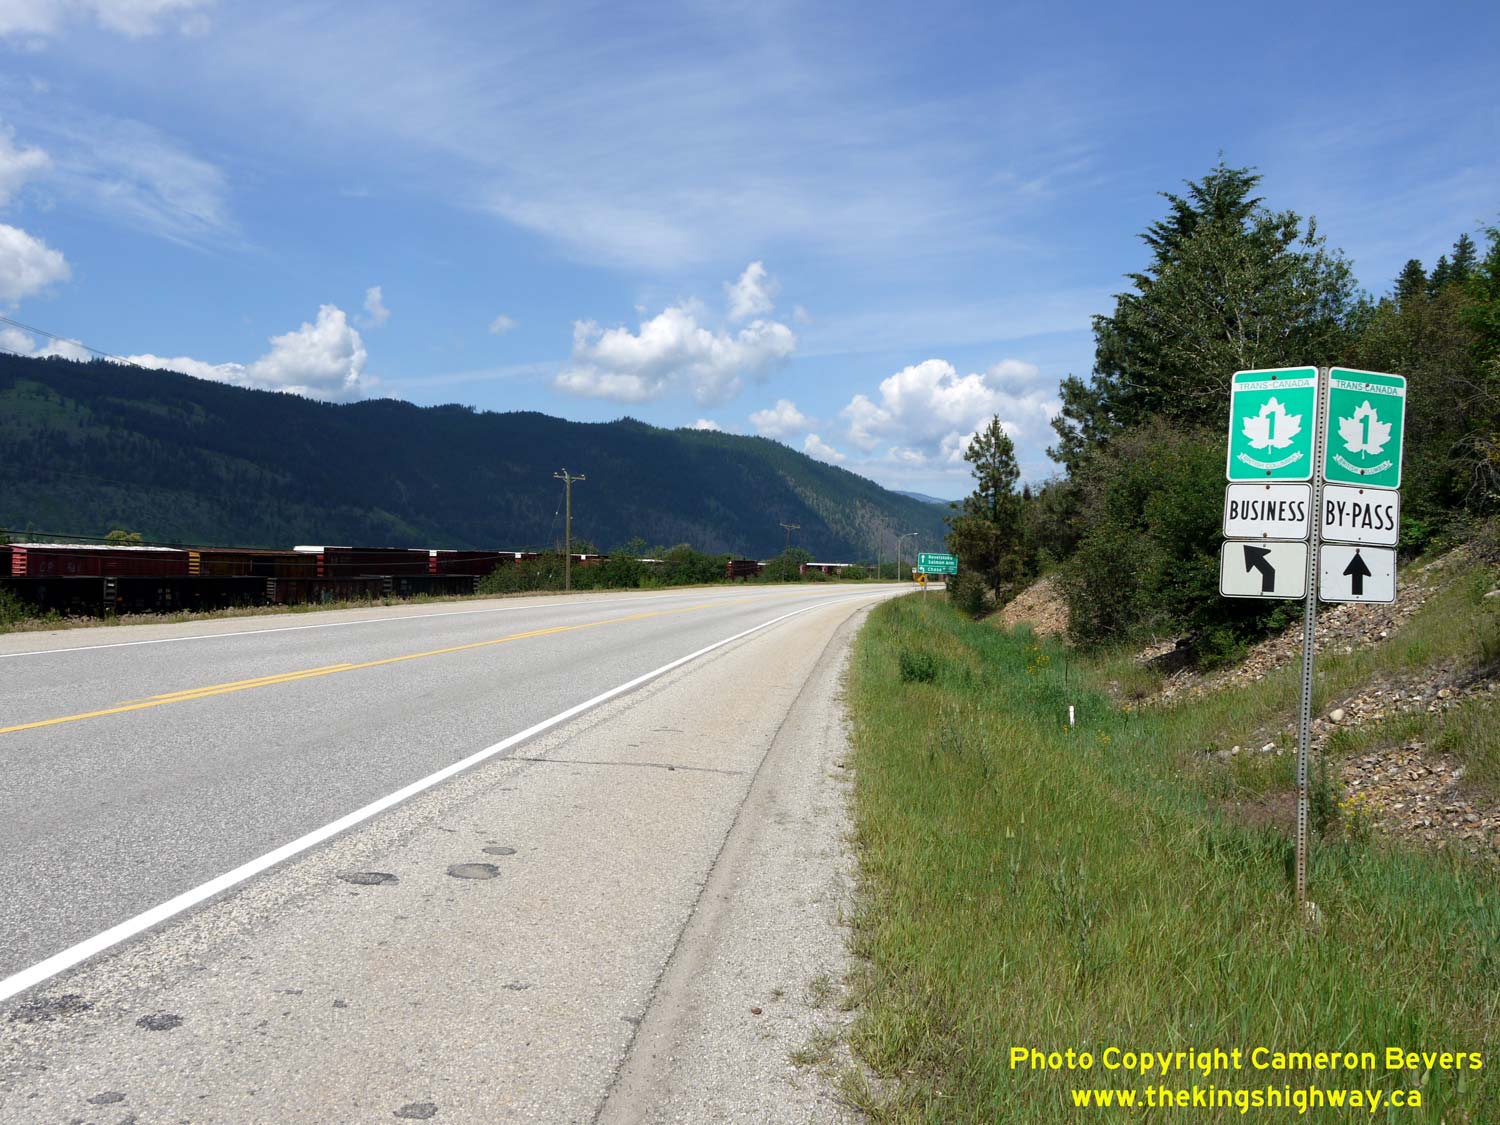
Left - Hwy 1 descends this long grade approaching Chase. The eastern entrance to Chase (Shushap Avenue) lies just ahead at right. See an
Enlarged Photo Here. (Photograph taken on June 5, 2015 - © Cameron Bevers) Right - Junction sign assembly on the eastbound Trans-Canada Highway (Hwy 1) approaching the western entrance to Chase. A Hwy 1 Business Route begins just ahead at the intersection. The Business Route directs Hwy 1 traffic off of the main highway and into the Town Centre, while through traffic can use the Hwy 1 Bypass Route straight ahead. See an Enlarged Photo Here. (Photograph taken on June 5, 2015 - © Cameron Bevers) 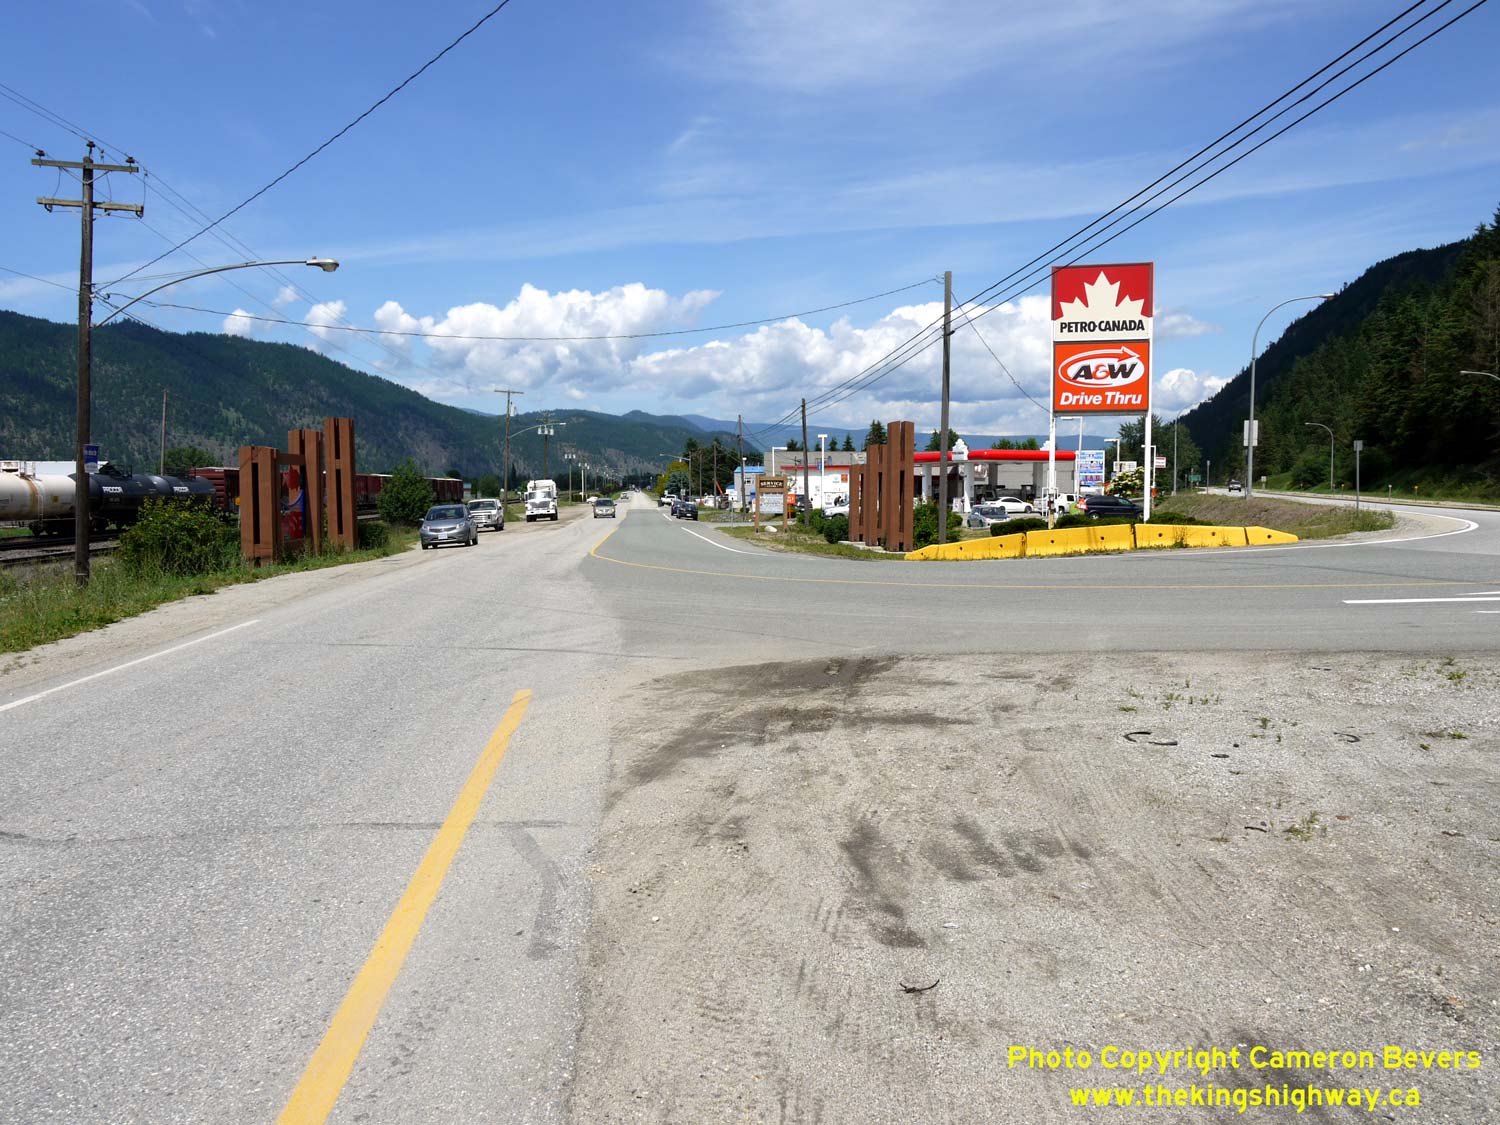
Left - Facing east along the Hwy 1 Business Route (Shushap Avenue) from the Trans-Canada Highway (Hwy 1) Junction in Chase. It is very obvious from this
vantage point that Hwy 1 once passed right through Downtown Chase before the bypass was built. The Hwy 1 Bypass can be seen to the right of the service station. See
an Enlarged Photo Here. (Photograph taken on June 5, 2015 - © Cameron Bevers) Right - Western terminus of the Hwy 1 Business Route in Chase. The westbound lane of the original highway alignment was retained as a right-turn channelization ramp. See an Enlarged Photo Here. (Photograph taken on June 5, 2015 - © Cameron Bevers) 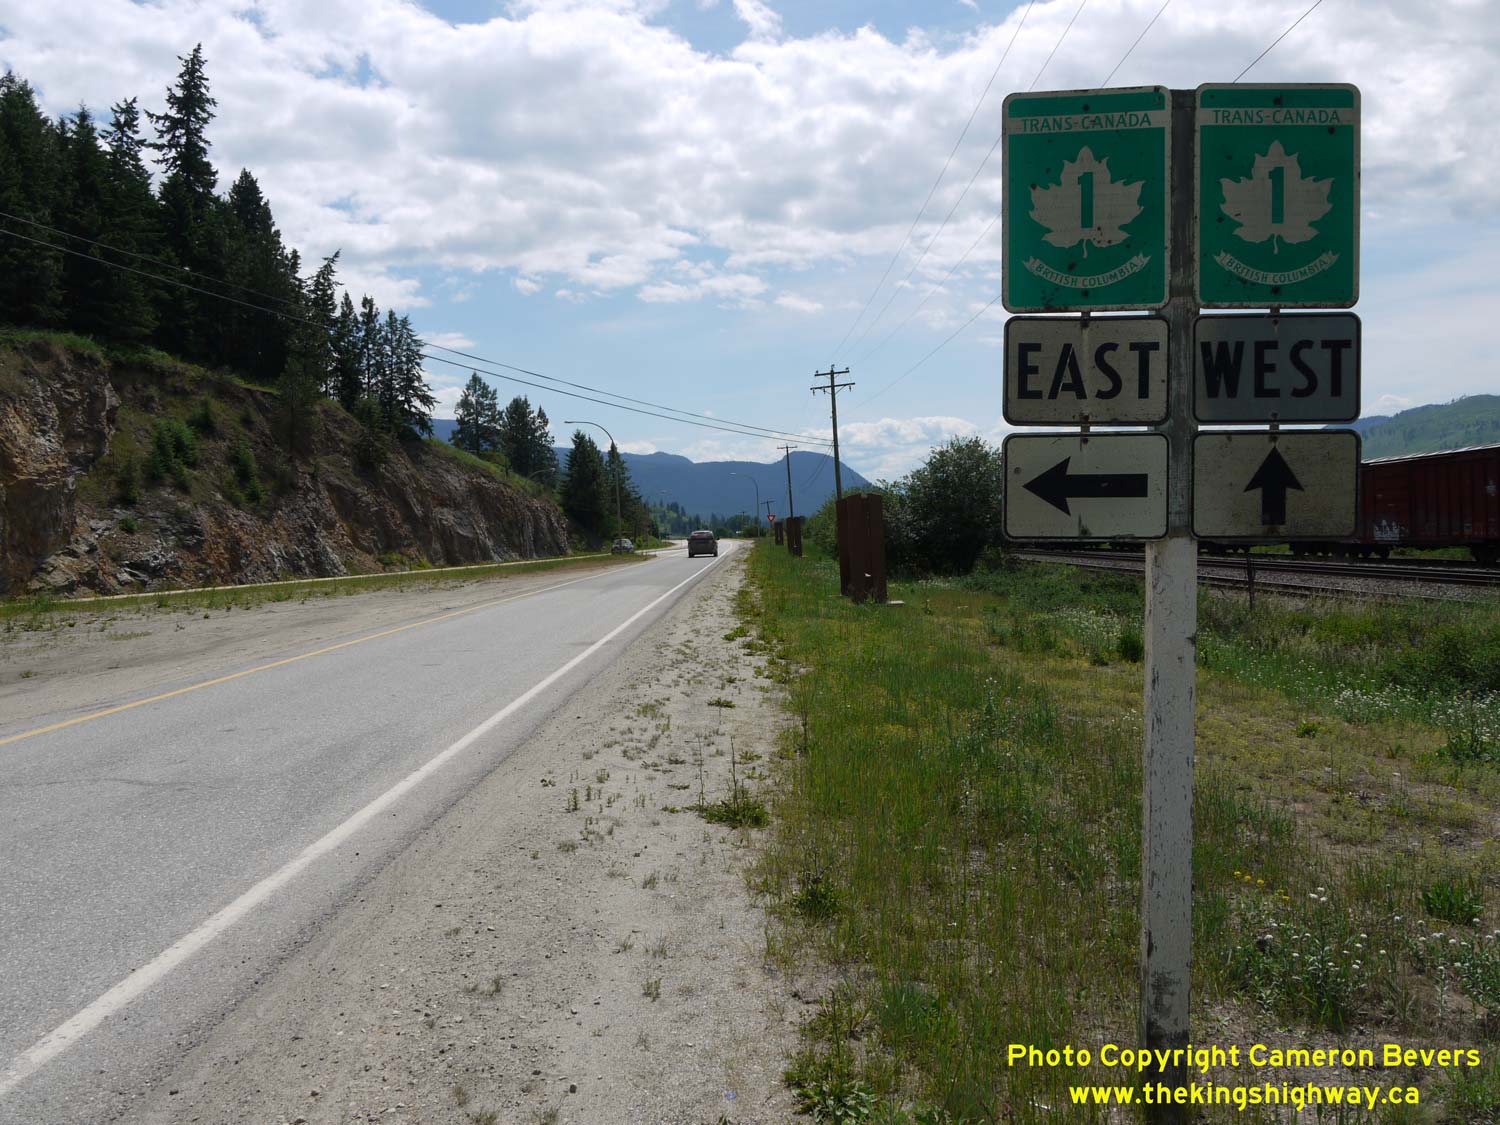

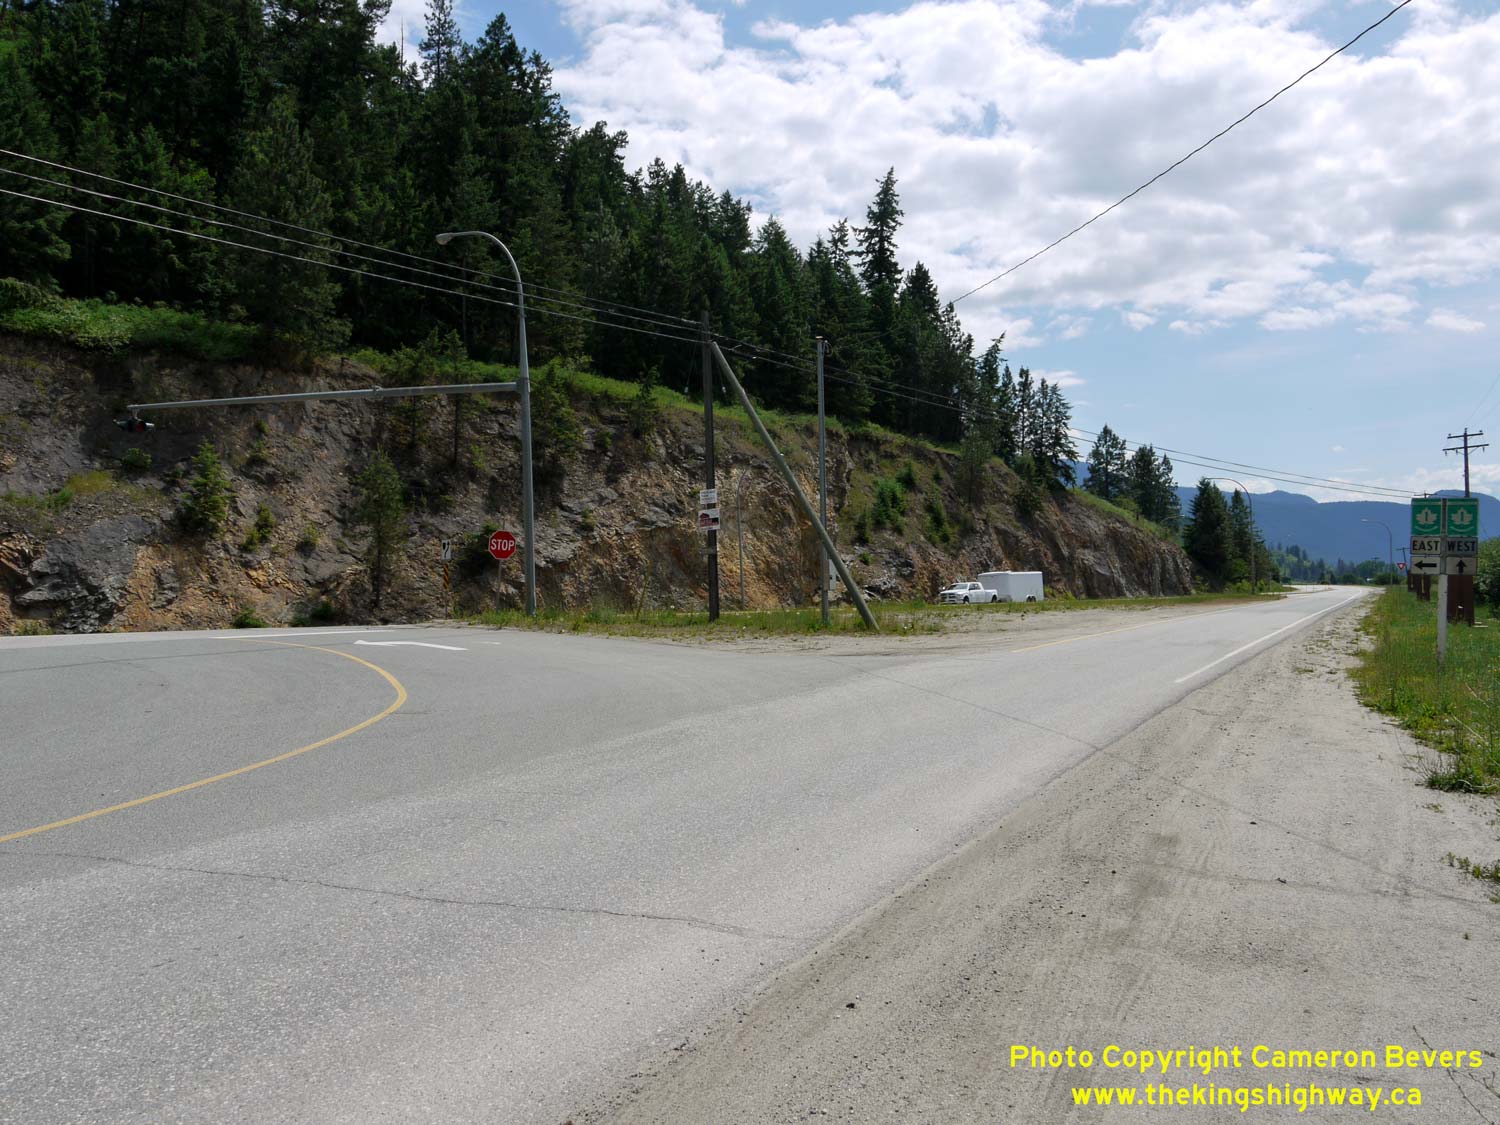
Left - An older junction sign assembly marking the Hwy 1 Junction at the western entrance to Chase. See an
Enlarged Photo Here. (Photograph taken on June 5, 2015 - © Cameron Bevers) Right - View of Hwy 1 and the South Thompson River Valley, about 1 km west of Chase. See an Enlarged Photo Here. (Photograph taken on June 5, 2015 - © Cameron Bevers) 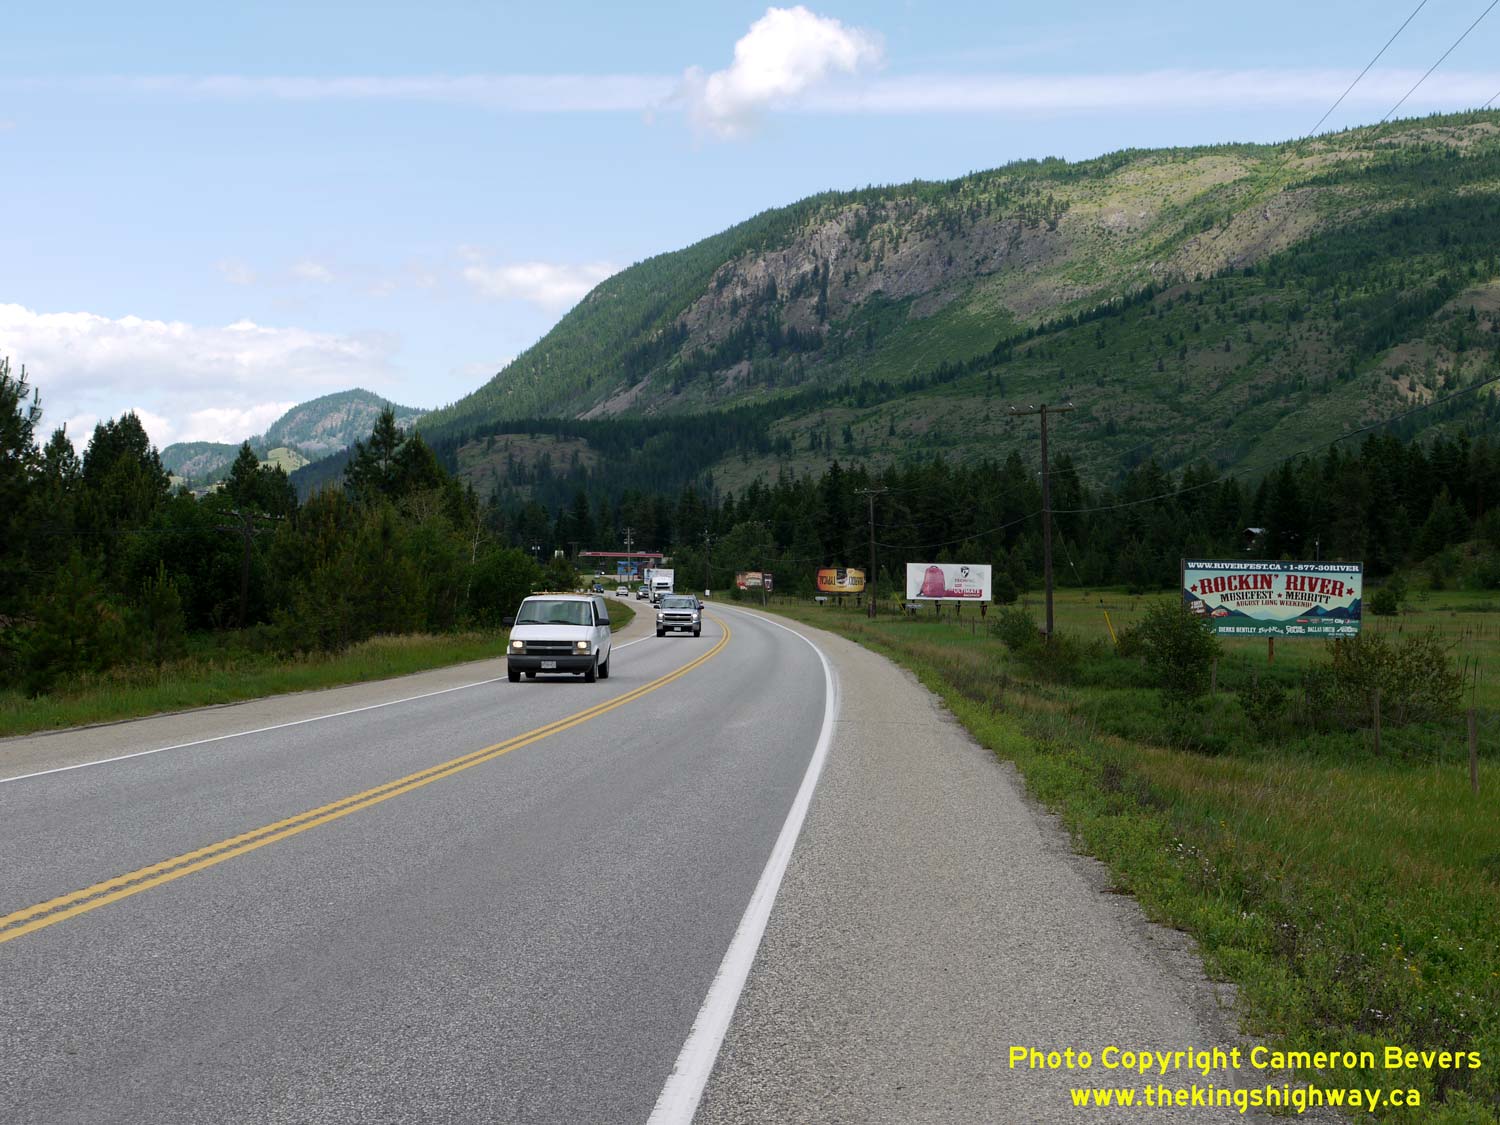
Left - Facing east along Hwy 1, about 3 km west of Chase. See an
Enlarged Photo Here. (Photograph taken on June 5, 2015 - © Cameron Bevers) Right - Facing west along Hwy 1 towards the start of the Pritchard Diversion. The small community of Pritchard was bypassed by a new four-lane Trans-Canada Highway during a recent highway improvement project. The new highway was still under construction at left at the time this photo was taken in 2015. See an Enlarged Photo Here. (Photograph taken on June 5, 2015 - © Cameron Bevers) 
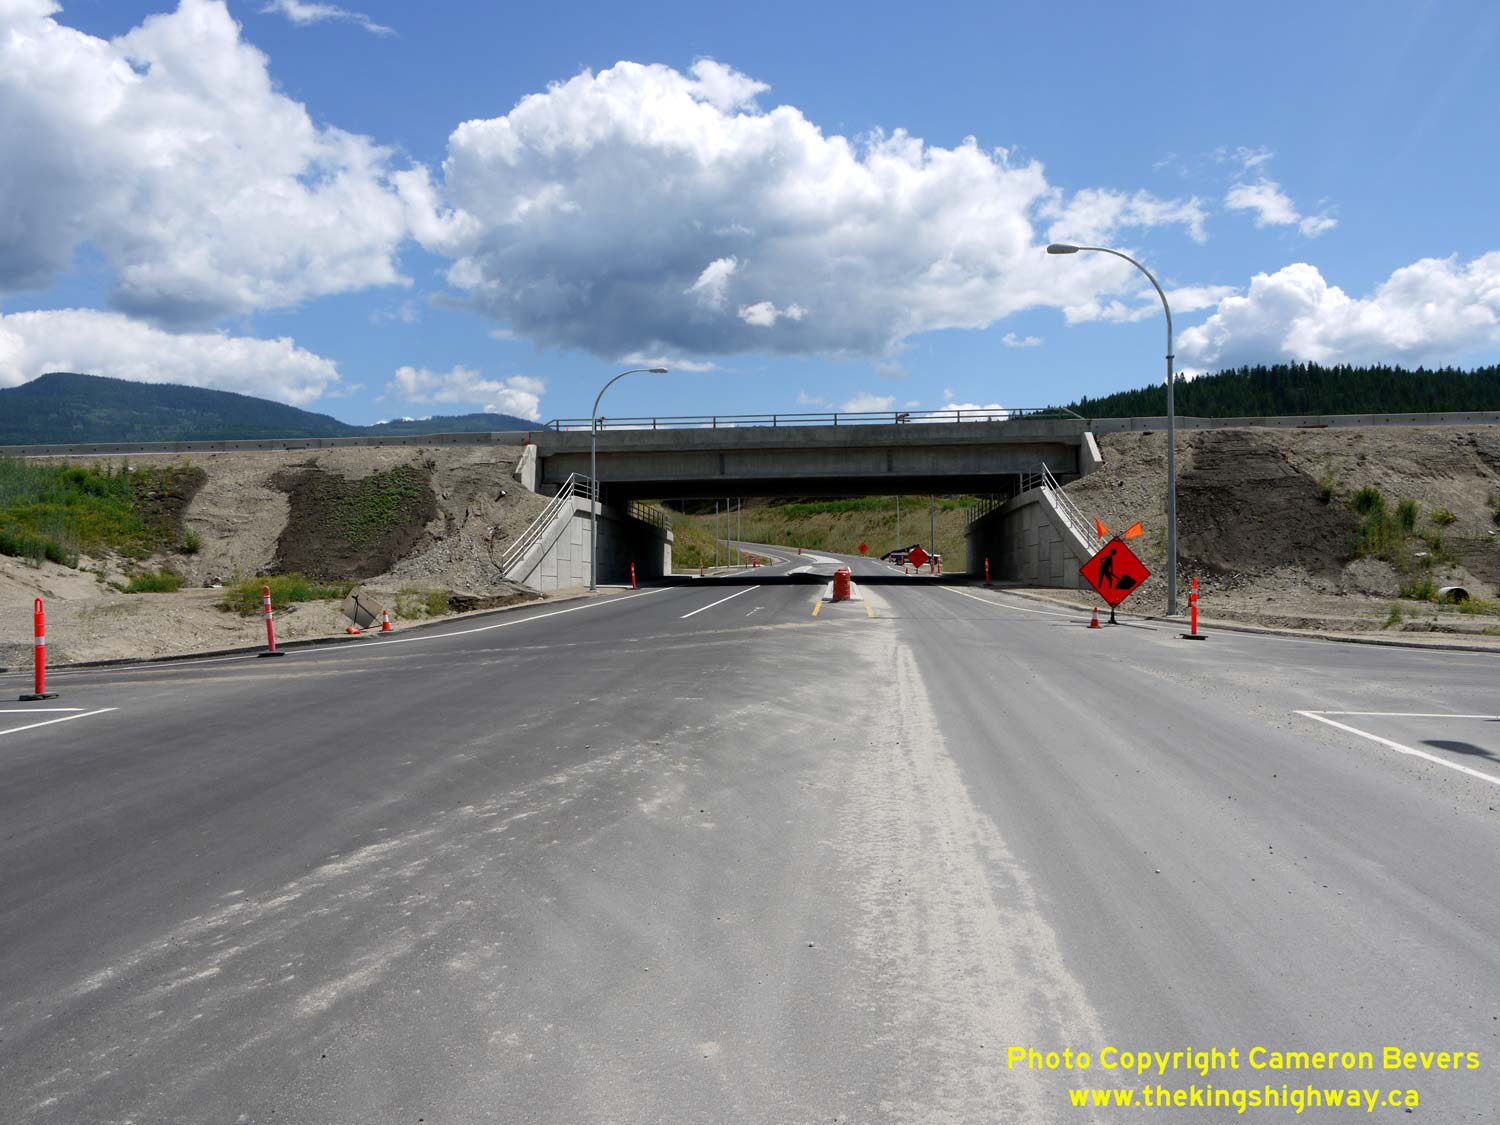
Left - Facing west along Hwy 1 towards Kamloops at Pritchard. See an
Enlarged Photo Here. (Photograph taken on June 5, 2015 - © Cameron Bevers) Right - Pritchard Interchange under construction on the new route of Hwy 1 in 2015. See an Enlarged Photo Here. (Photograph taken on June 5, 2015 - © Cameron Bevers) 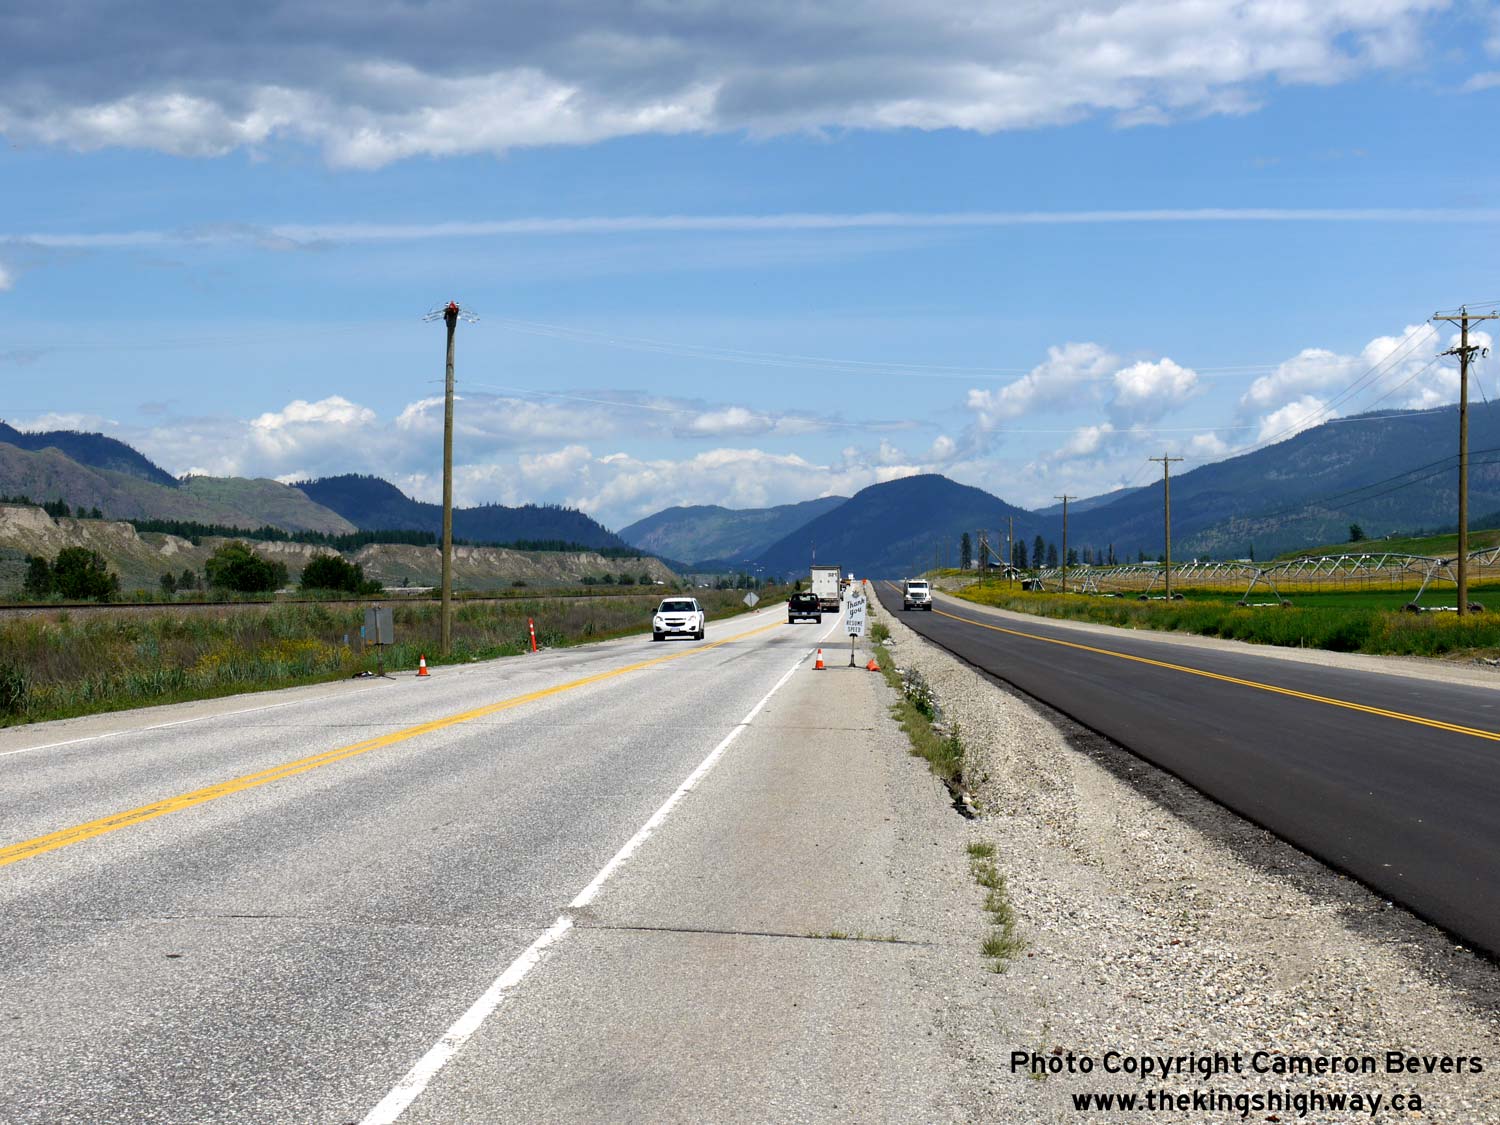

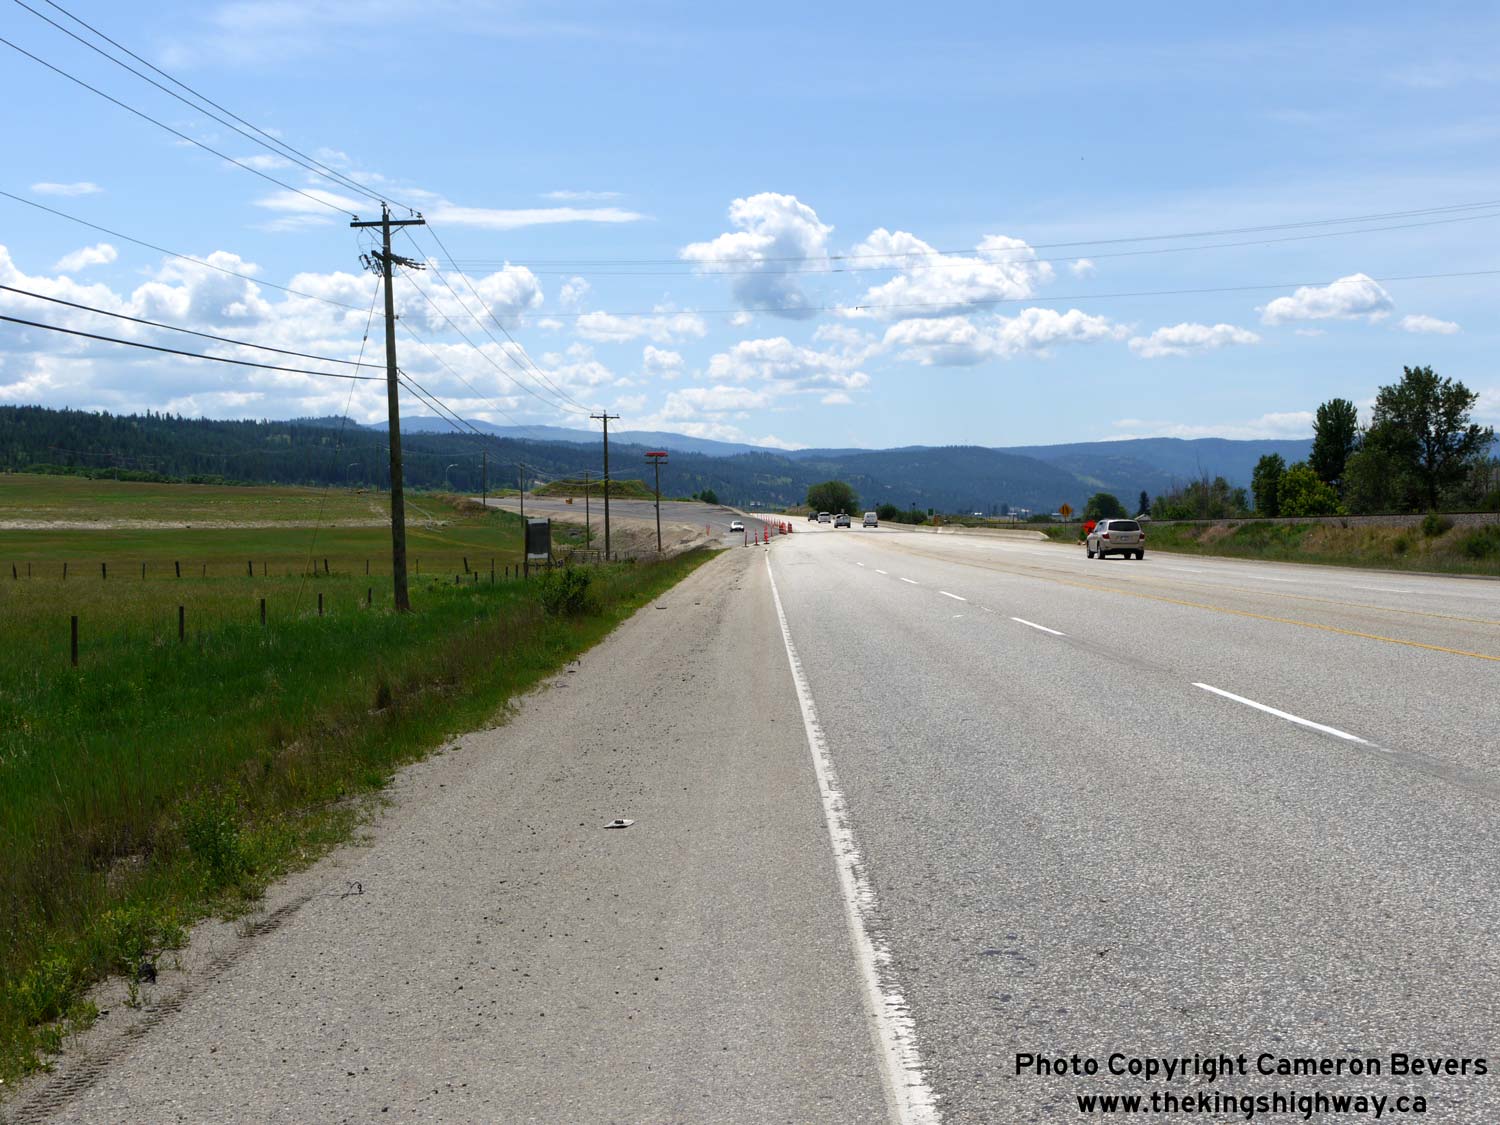
Left - Facing east along the Trans-Canada Highway (Hwy 1) about 22 km west of Chase. The existing two-lane highway was in the process of being "twinned" at the
time this photo was taken in 2015. The existing two-lane highway now forms the westbound lanes of Hwy 1, while a new two-lane roadway was built at right to carry
eastbound traffic. Due to construction staging, the new south roadway was temporarily striped to carry two-way traffic during 2015, in preparation for reconstruction
of the existing north roadway. See an Enlarged Photo Here. (Photograph taken on June 5, 2015 - © Cameron Bevers) Right - Facing west towards Kamloops along the Trans-Canada Highway (Hwy 1) about 22 km west of Chase. See an Enlarged Photo Here. (Photograph taken on June 5, 2015 - © Cameron Bevers) 

Left - Facing east along the Trans-Canada Highway (Hwy 1) towards Chase at Miner's Bluff Road, located about 2 km east of Monte Creek. See an
Enlarged Photo Here. (Photograph taken on June 5, 2015 - © Cameron Bevers) Right - Facing west towards Kamloops along the Trans-Canada Highway (Hwy 1) about 1 km east of Monte Creek. See an Enlarged Photo Here. (Photograph taken on June 5, 2015 - © Cameron Bevers) 
Above - Distance guide sign on the eastbound Trans-Canada Highway (Hwy 1) at the Hwy 97 Interchange at Monte Creek. See
an Enlarged Photo Here. (Photograph taken on June 5, 2015 - © Cameron Bevers)
Continue west along BC Highway 1 from Highway 97 to Kamloops |
|---|
Links to Adjacent BC Highway Photograph Pages:
Back to BC Highway 395 Photos /
British Columbia Highways Photo Index /
On to BC Highway 3 Photos
Ontario Highway History - Main Menu / Vacation Highway Photos - Main Menu Website contents, photos & text © 2002-2026, Cameron
Bevers (Webmaster) - All Rights Reserved / Contact Me
|
|---|